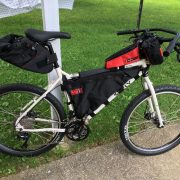
Day 4: Into Castilla y León (Logroño to Belorado)

Distance: 56 mi / 90km

Climbing: 4,098 ft / 1249m

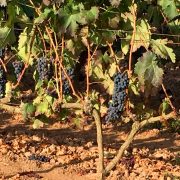
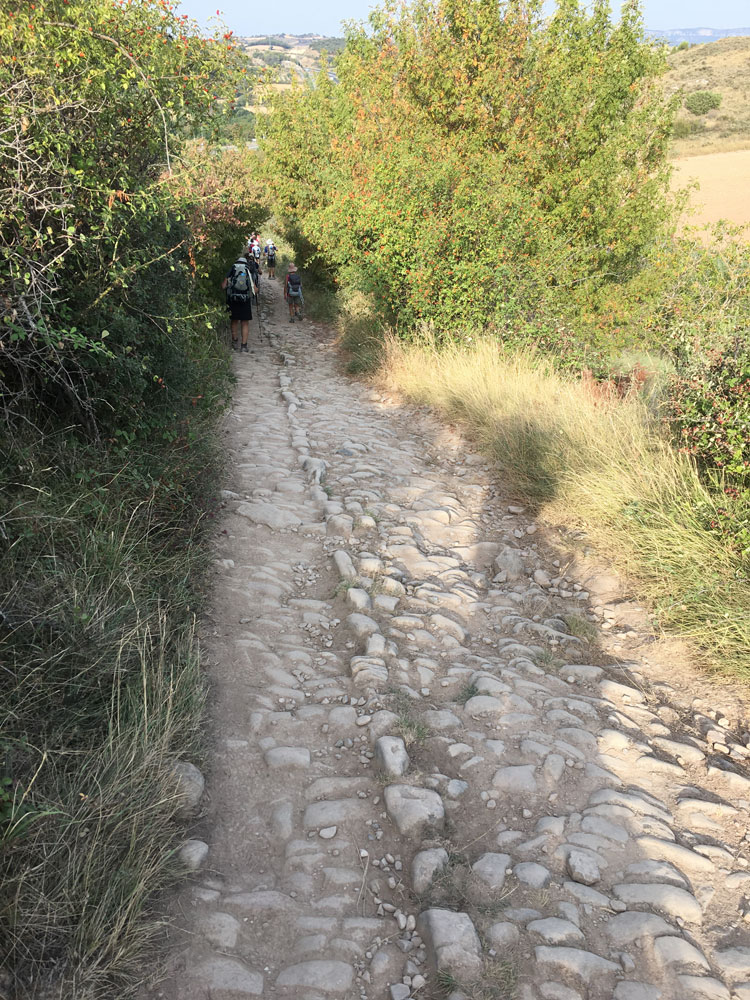
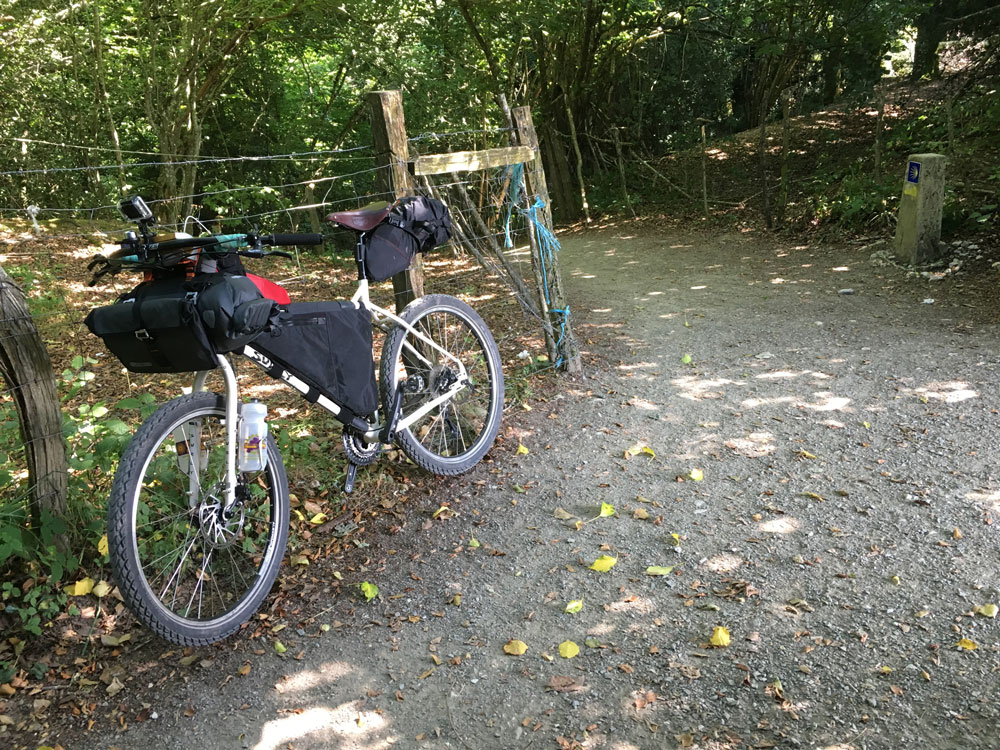
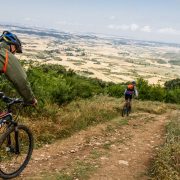
This was my longest day yet, and I had expected it to also be the flattest. Overall the route was pleasant with many dirt roads through the vineyards of Rioja connecting small villages. It seems that from Logroño, it is more possible to ride the next few regions of the Camino Francés without a mountain bike. There were only a few short sections where a tougher machine would have helped, and overall I was very happy with my bike/gear setup for it’s ability to handle just about anything the path can present.
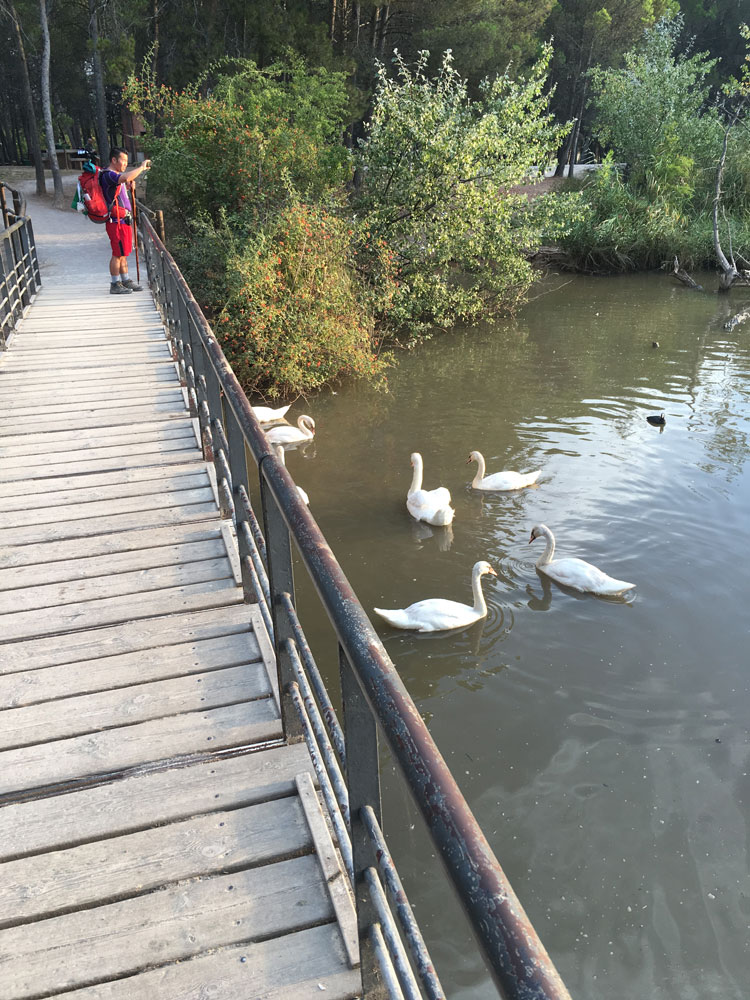
2016-09-04-08.20.10

Enjoying the morning light on the way past the reservoir out of Logroño.
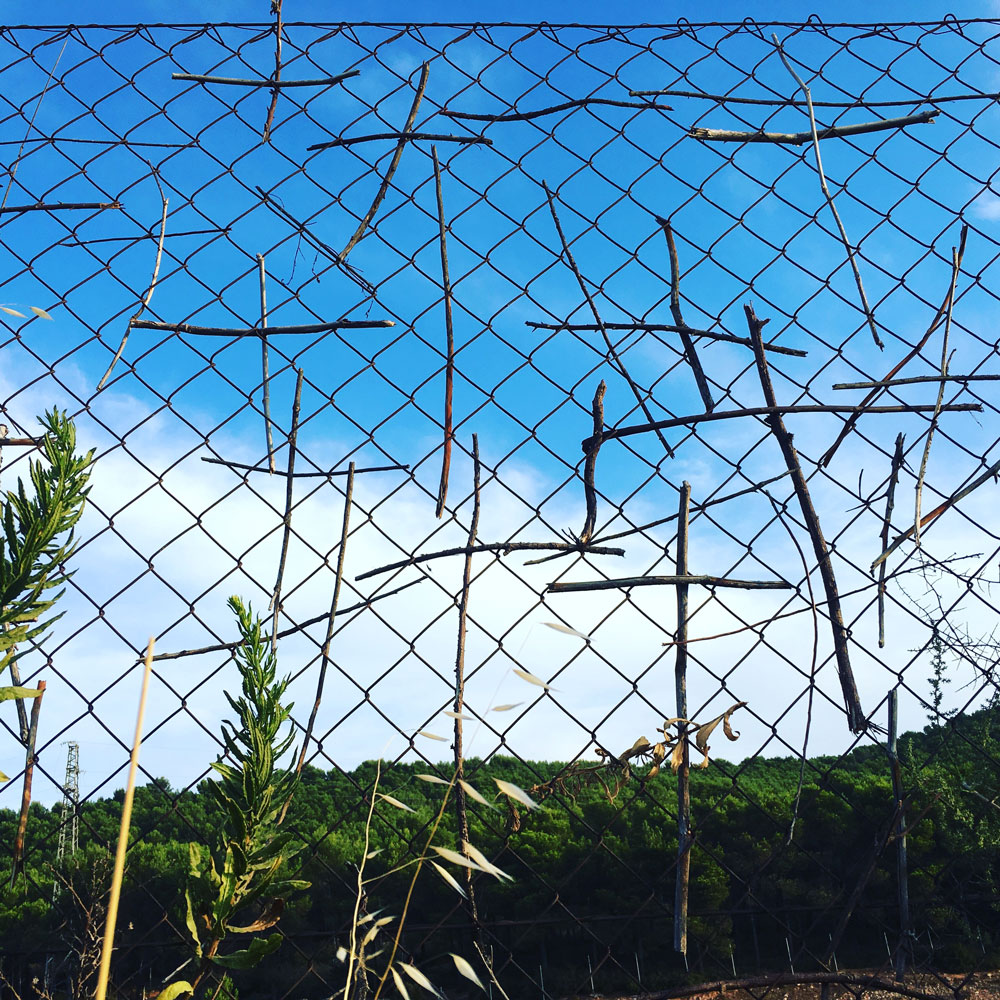
 

2016-09-04-08.33.21-2

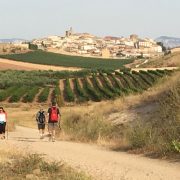
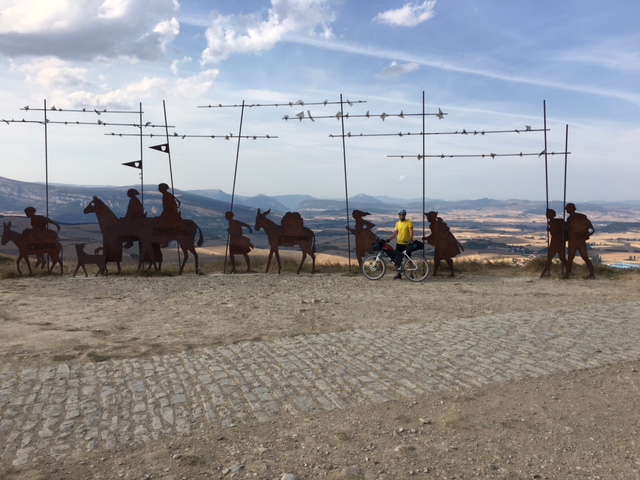
Pilgrim crosses on the top of the hill past Logroño.
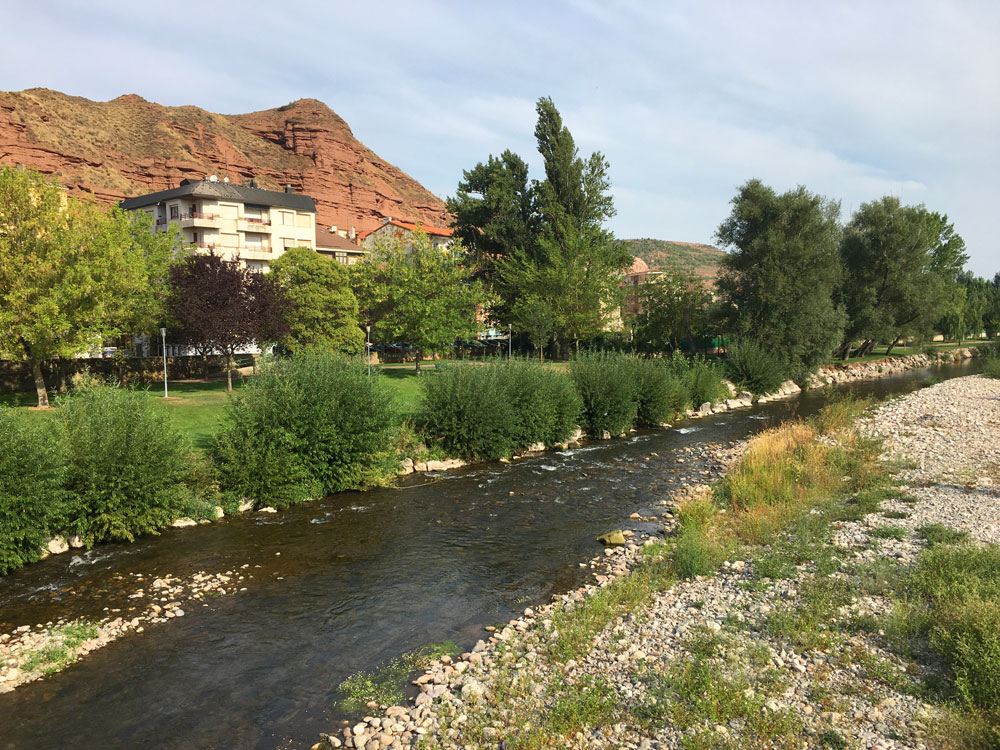
2016-09-04-10.37.18

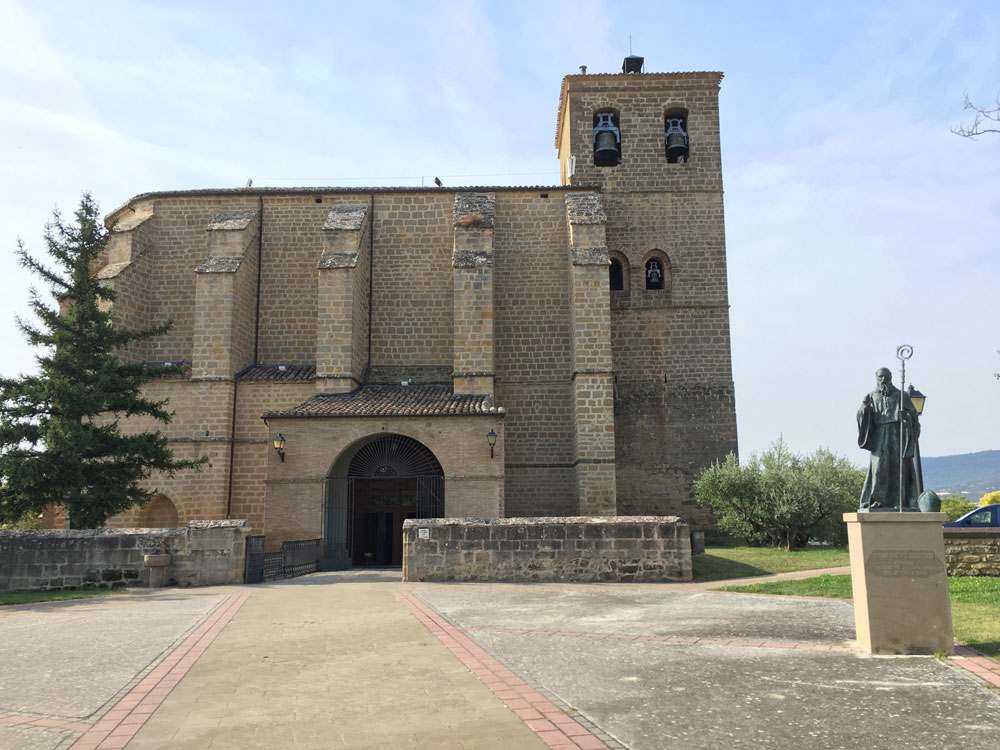
Nájera

2016-09-04-11.12.51-2

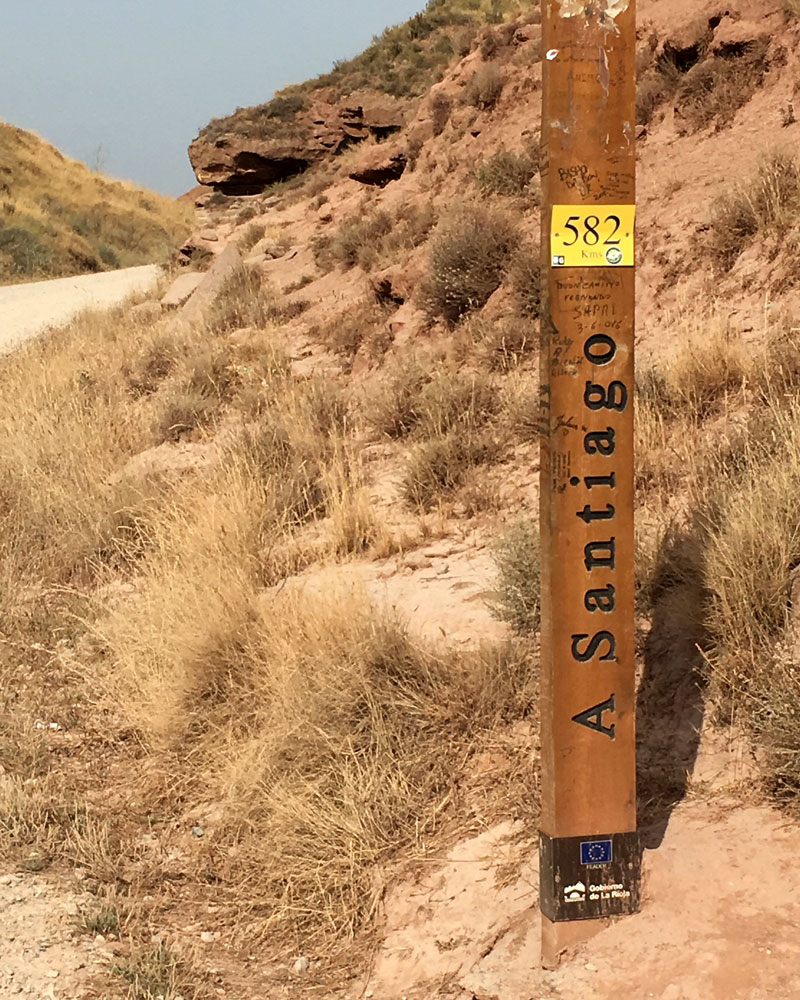
Distance marker just past Nájera.

2016-09-04-12.04.27

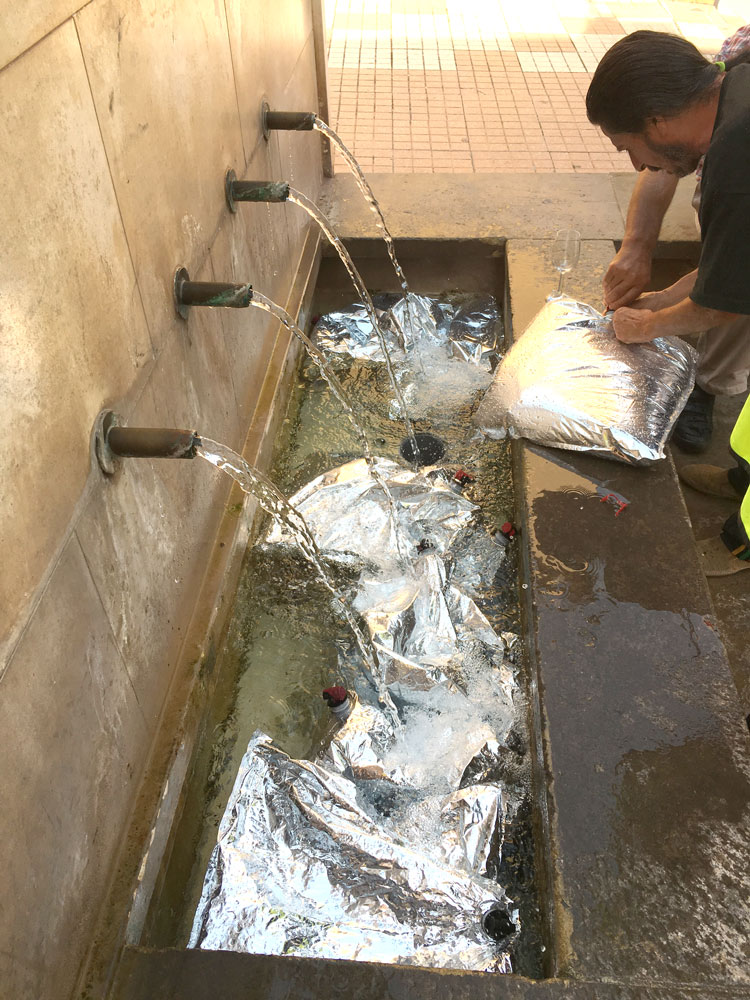
In Azofra, keeping the wine cool until tonight’s festival.

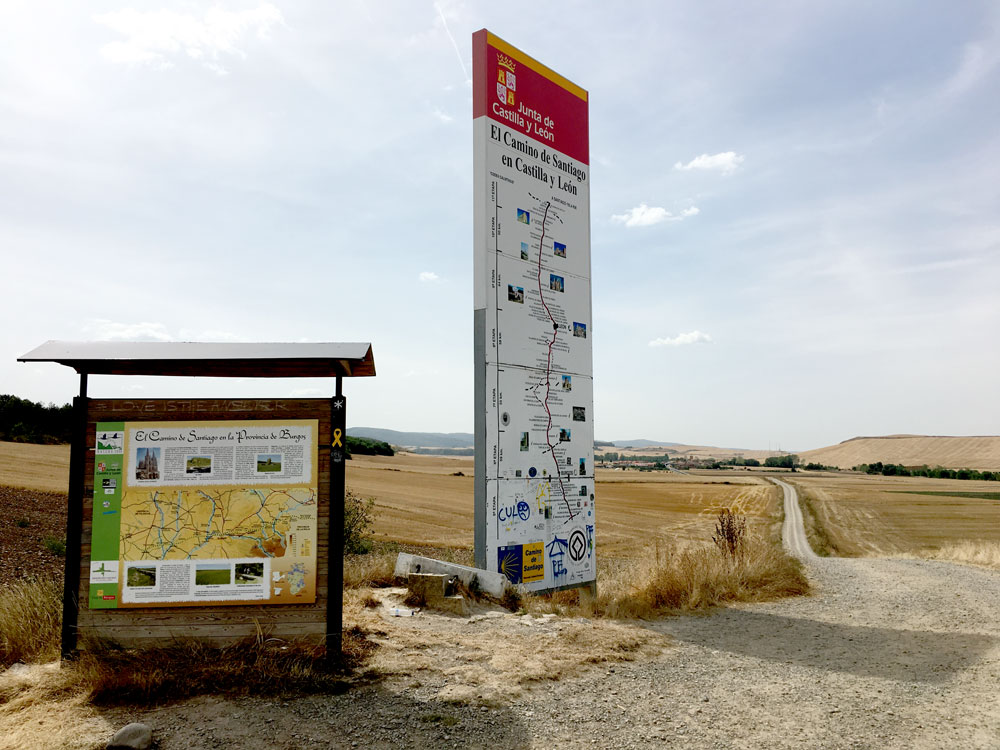
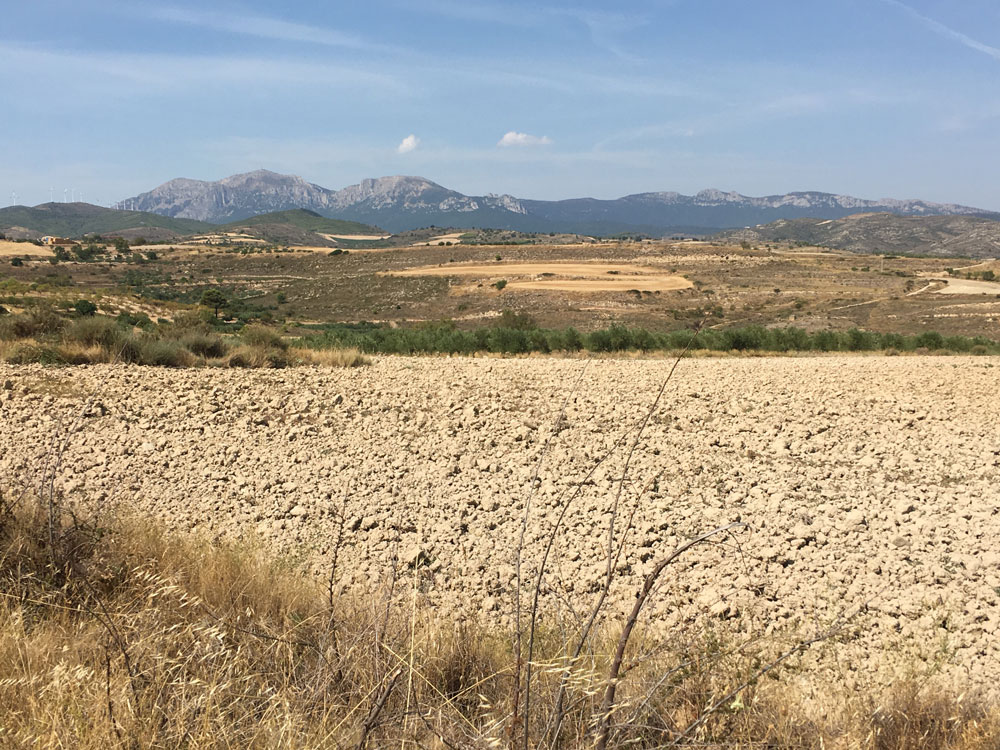
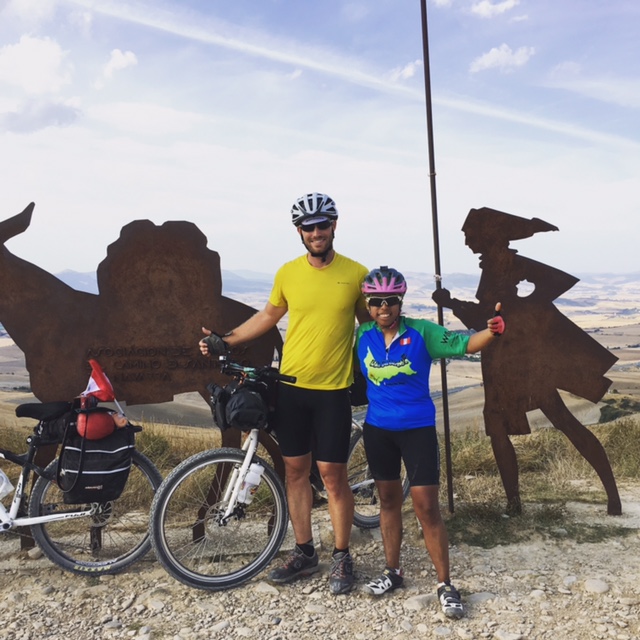
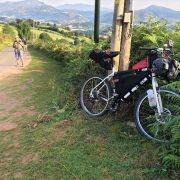
The heat wave unfortunately has continued, and it hit me the hardest on a not so steep, but very long and grueling climb up to Cirueña along the gravel road. At the top I was thankful for a small rest area and to find my two biking friends from Peru that I met two days earlier. Around this point I found a very tall sign welcoming me into yet another Spanish Region, Castilla y León. The states really fly by on a bike, even if the progress feels slow and steady at times!
2016-09-04-12.30.56

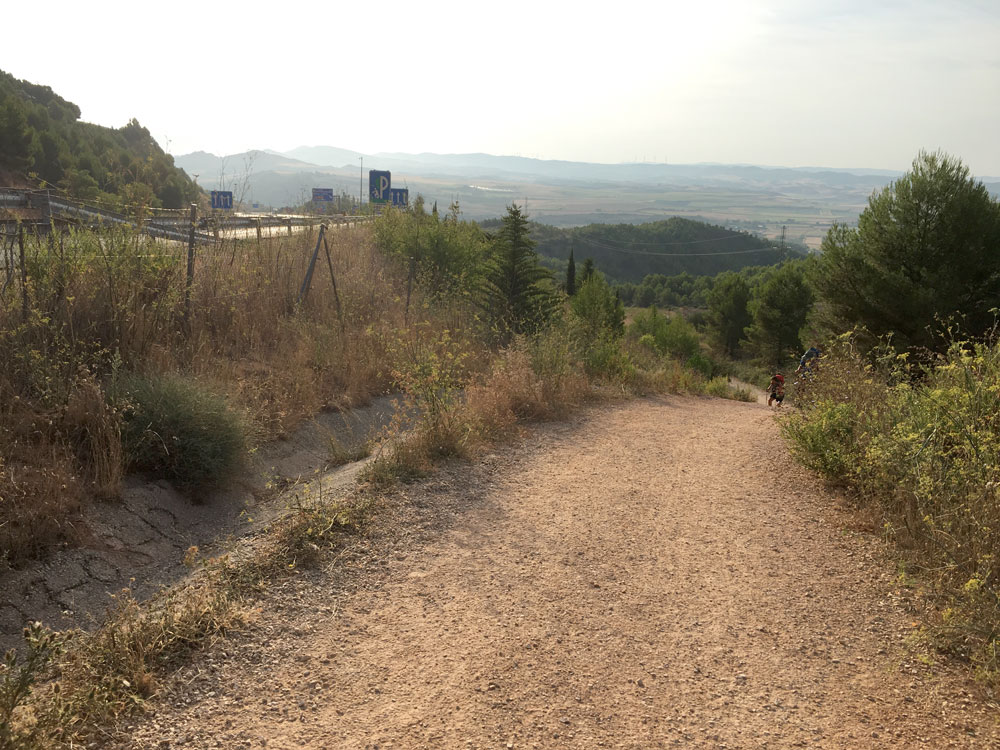
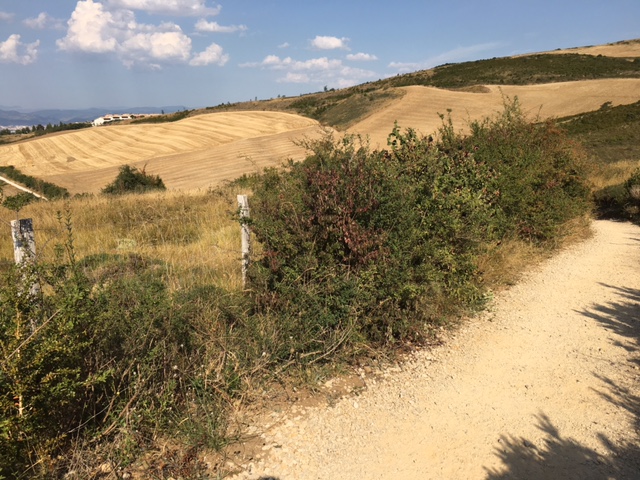
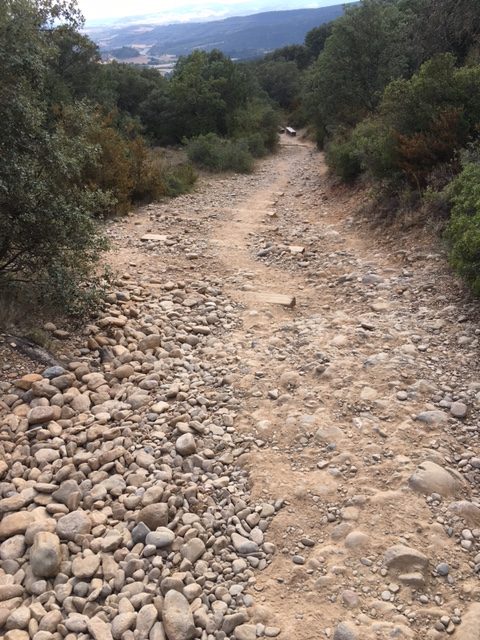
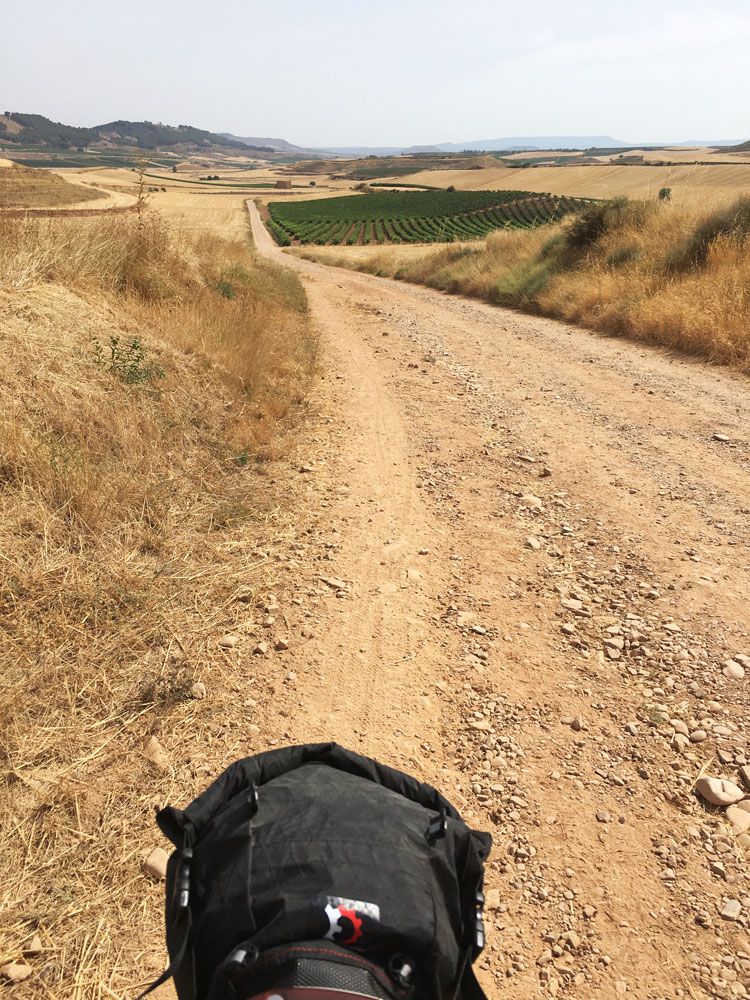
The long, slow path up to Cirueña.

2016-09-04-14.39.53

Announcing the start of Castilla y León with a strangely tall sign.
2016-09-04-15.23.45

On the last section of the path to Belorado, a strong headwind picked up, and at some times I had to make an effort to keep my momentum on flat ground. I was impressed at the bike packing gear’s ability to slice through the headwind better than having racks and panniers. At times when the wind was on my side, it did feel like the frame bag might be catching a bit more than if that area would be open.

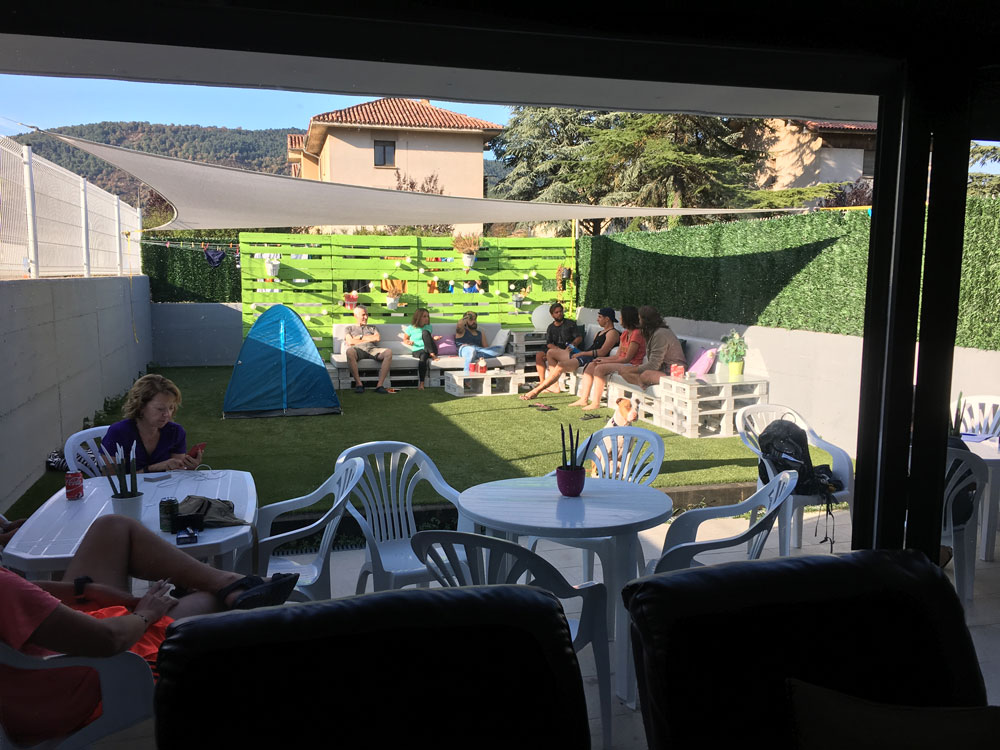
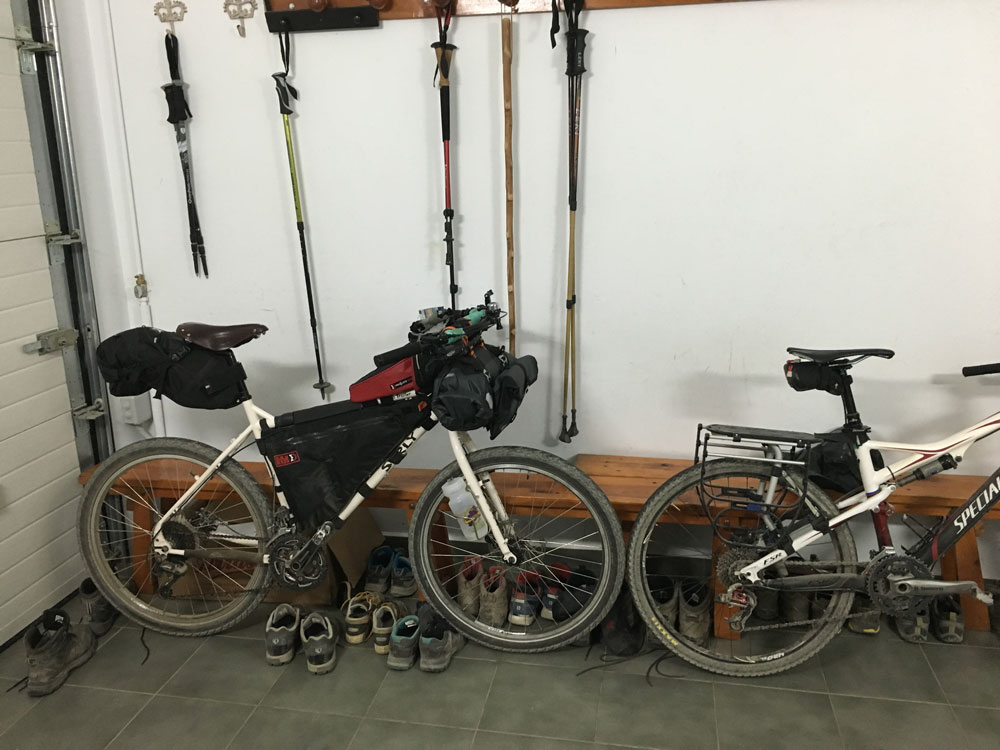
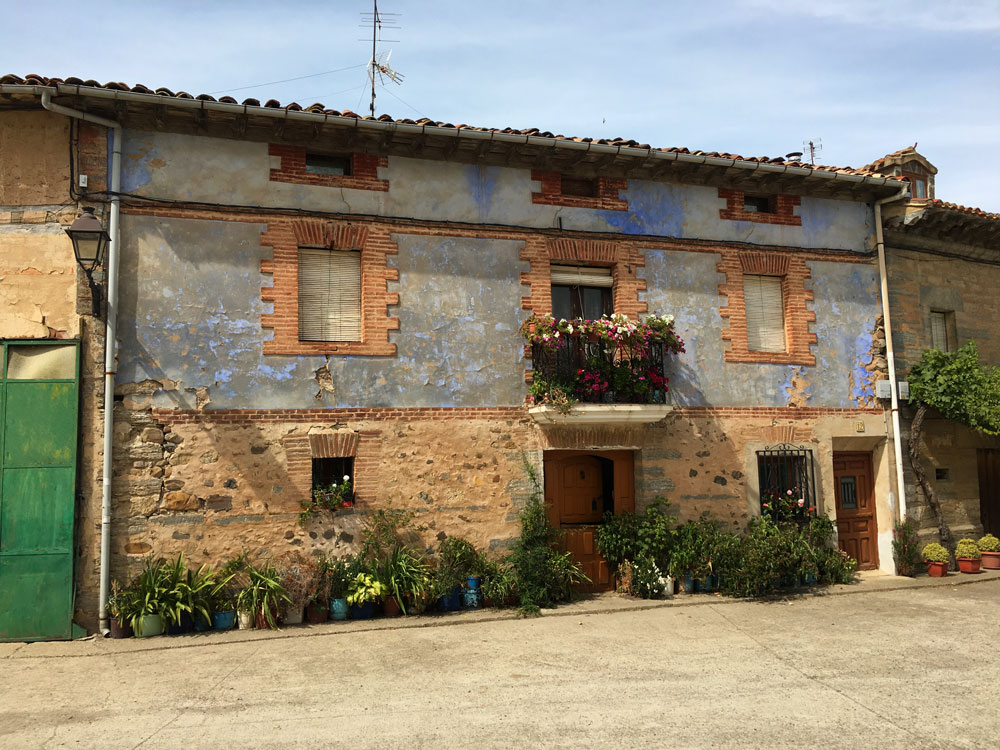
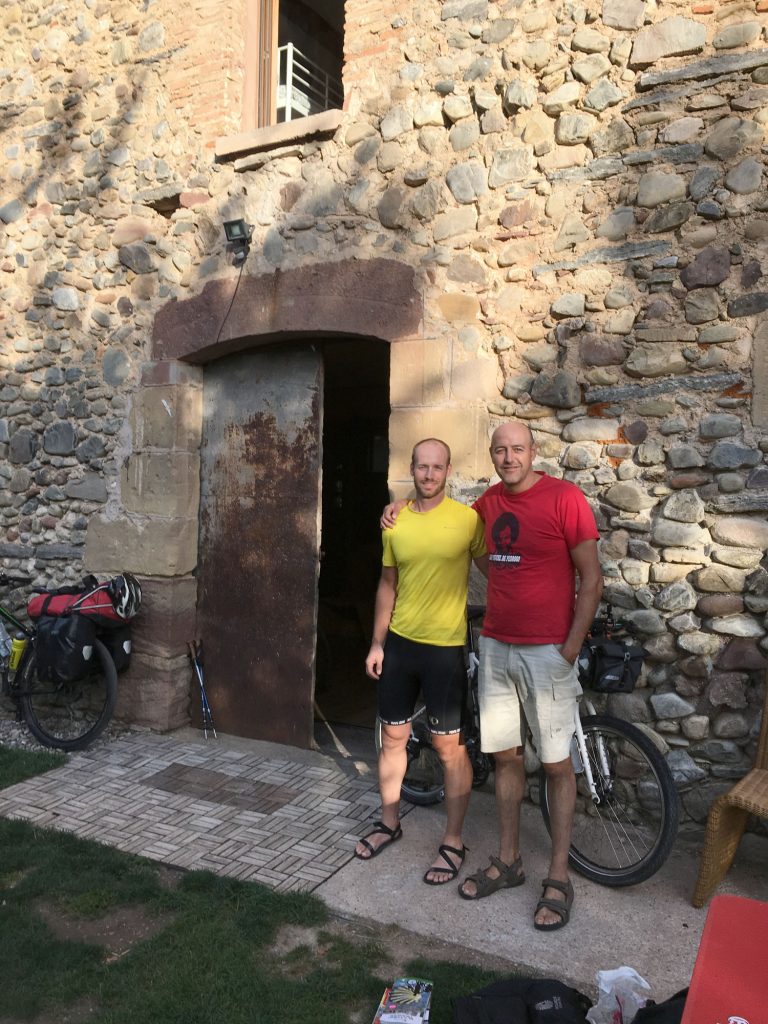
Thankfully without feeling as overheated as the day before, I arrived into Belorado earlier than any previous day, and still felt pretty good. I reserved a bed at the new El Salto albergue, just on the edge of town in a renovated 19th century hydroelectric plant. This beautiful space is the handiwork of two brothers from the region (Pepe & Fernando), who had opened it first as a bike shop three years ago, and as an albergue only last month. I was happy to meet two American peregrinos traveling together who were staying here, one on a bike and the other on foot, following a walking itinerary day by day. Together we cleaned up the bikes and I was thankful to have access to a shop stand to tune up my brakes and cables.
2016-09-05-08.49.46

Pepe and I outside the El Salto albergue

In the many albergues that I’ve stayed along various Caminos in Spain, this will definitely go down as one of my favorites. I stayed up late into the night talking to Pepe about his vision for the place, adventure bikes, and ways to get each of our families outside on the trail. Pepe and Fernando were born in Belorado, but spent most of their lives in Madrid, and had recently moved back to the area to develop local tourism in the area and be closer to the place their family is from. They also have a vision to bring cyclists from the city of Burgos out into the countryside and explore the land on two wheels. The idea of a tough adventure bike travel really appealed to them, and they lamented that most of the interest in Spain is to spend an extra 1000 Euros to take 1kg (2.2 lbs.) off the bike, not to have a bike that can take you anywhere. I wouldn’t be surprised if Surly bikes will make an entrance in Spain because of the work of these two.

The building itself is a work of art, built off the grid and powered by solar energy. The area was so quiet that I slept right through the entire night without interruption, my first time since coming to Spain almost a week ago. The albergue is not just for cyclists on the Camino, but is open to all. Be sure not to miss it if you are passing through!

About 1/3 of the way to Santiago!
2016-09-05-08.50.34

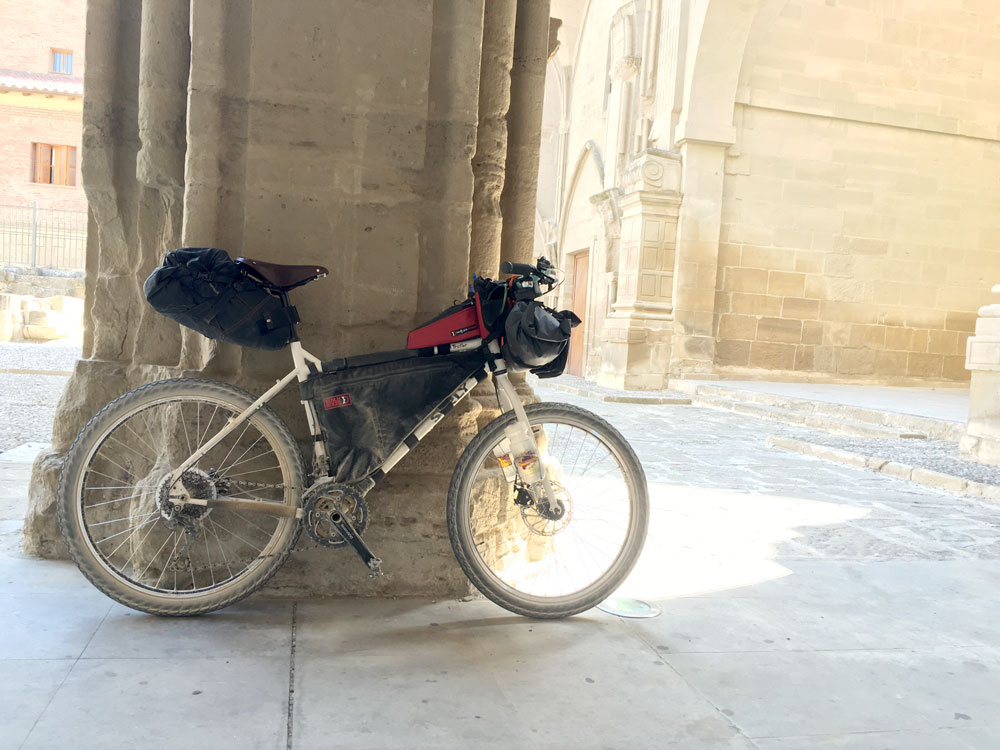
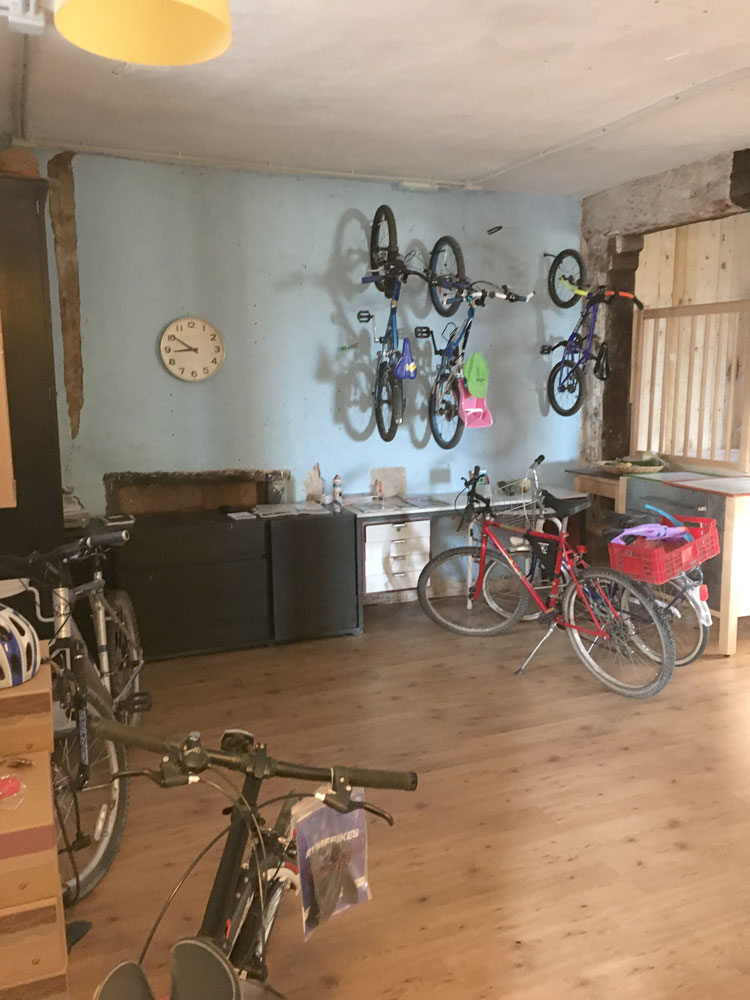
El Salto albergue, great secure space for overnight bike storage.
2016-09-05-08.12.54

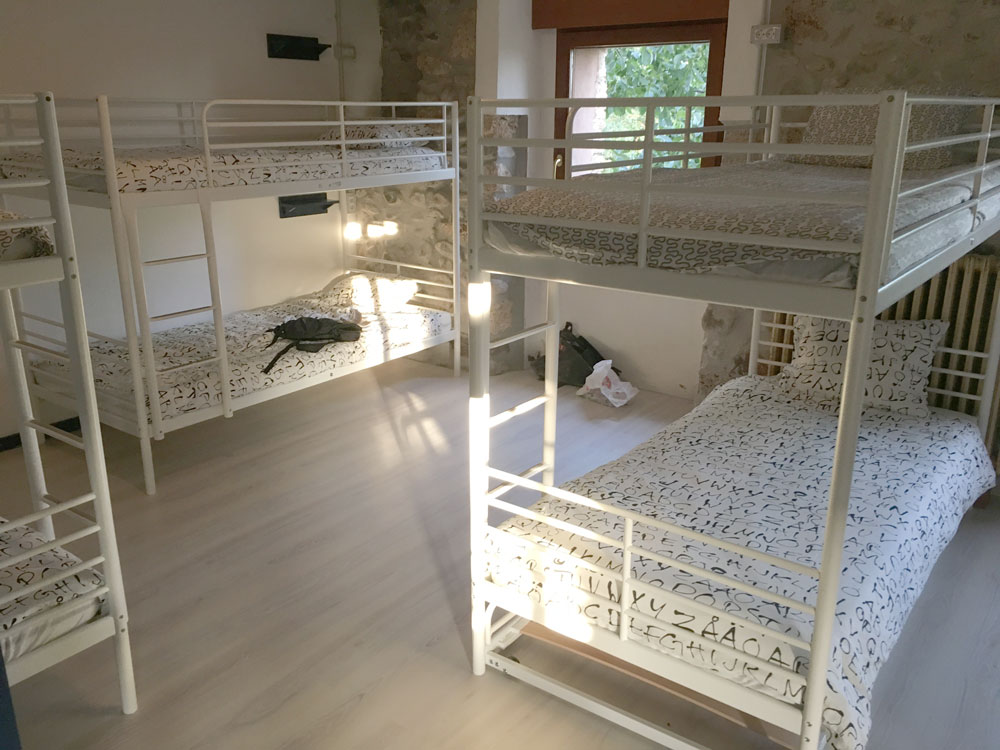
El Salto albergue- I had this room all to myself!
2016-09-04-16.42.22

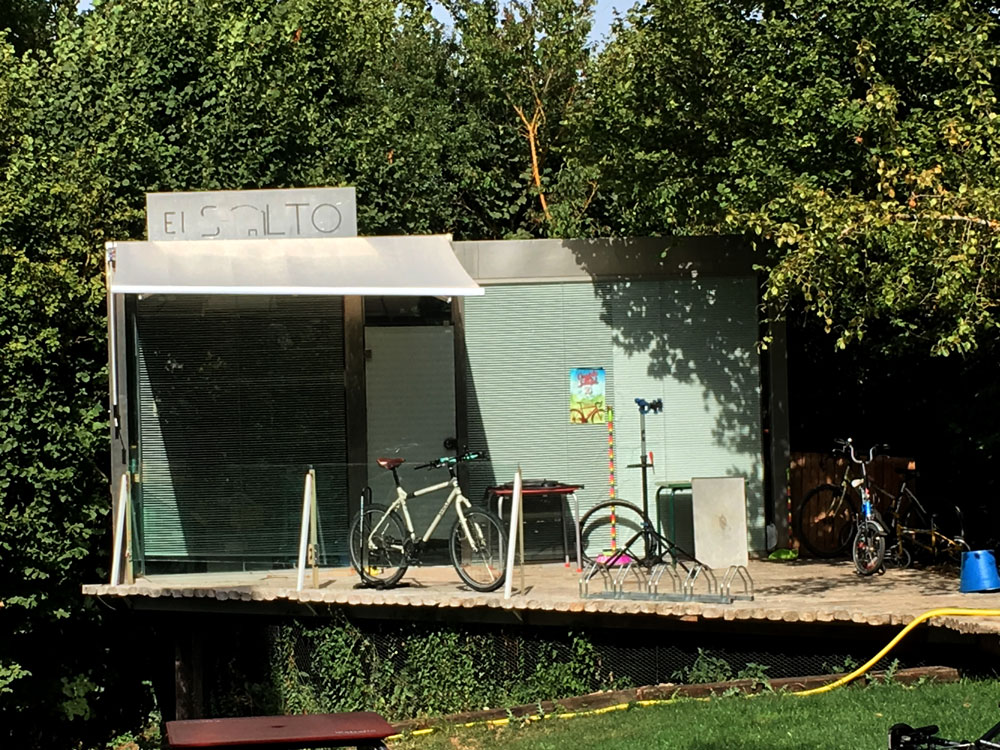
Outdoor bike shop/stand for guest use at El Salto albergue. Nice to see my bike looking so light and clean! Pepe recommend chain lube with wax to combat the dusty roads.
2016-09-04-19.21.51

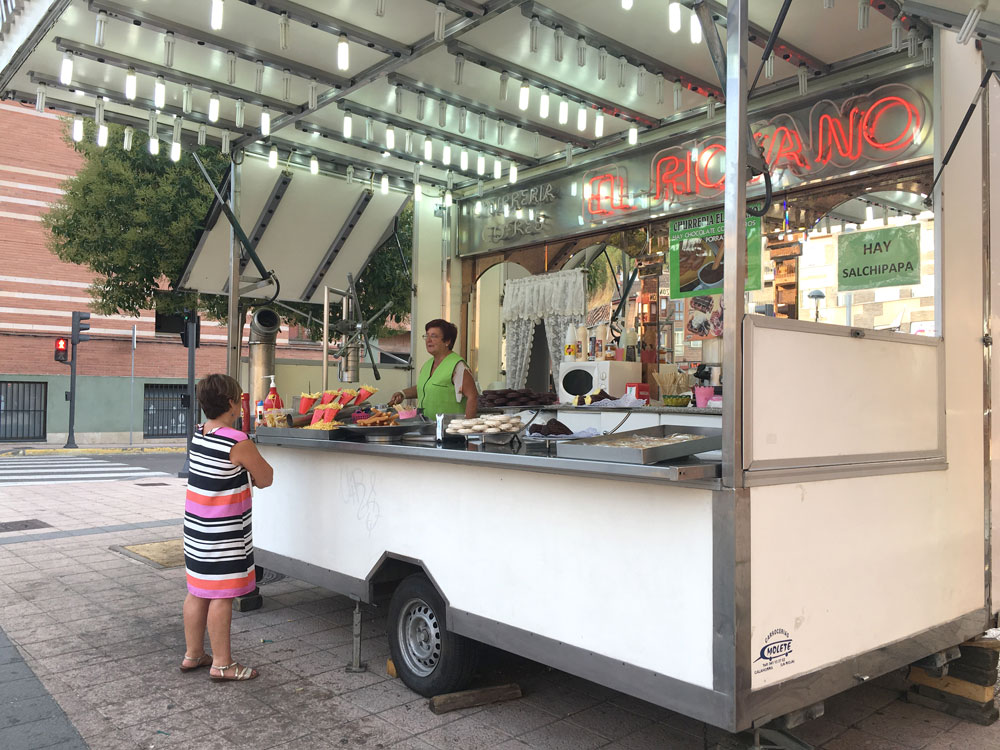
Churros in Belorado.

2016-09-04-21.14.31

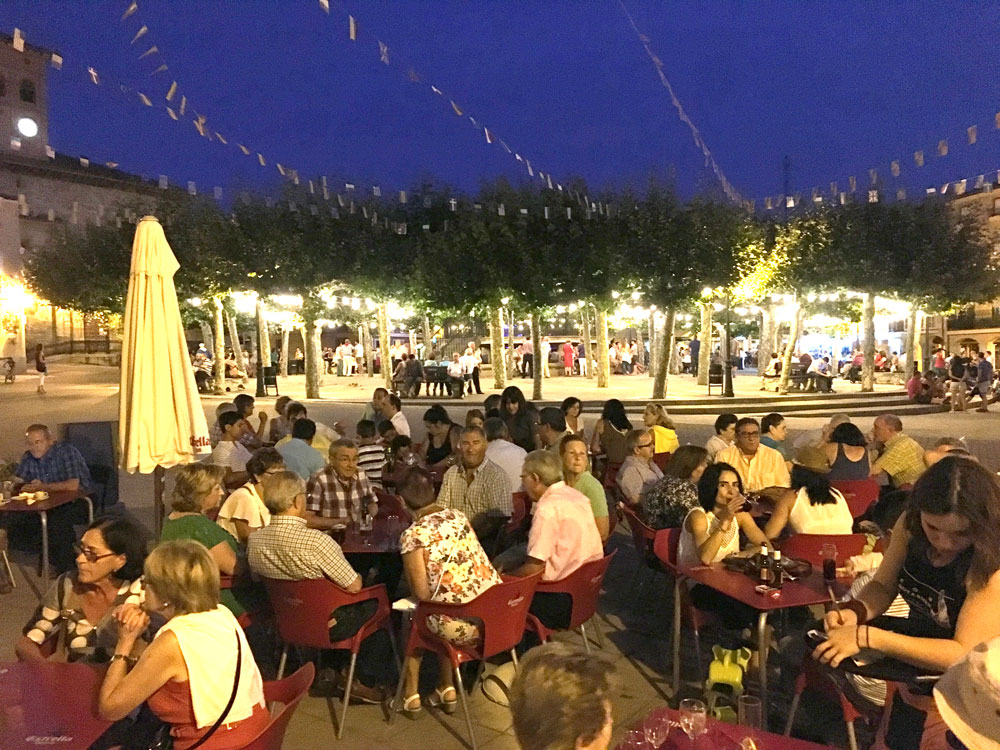
Belorado at night
 

Day 3: Rolling hills into Rioja (Puente la Reina to Logroño)

Distance: 49.6 mi / 79.8km

Climbing: 4544 ft / 1385m

Today was another scorcher with temperatures in the high 90F (35C+) and little shade. The path was a nice variety of rolling dirt routes, with a little pavement in and out of the towns. It was my longest day so far, and also had the easiest and steepest trail sections to date.

Most of today’s route would be best ridden with a mountain bike with front suspension and disc brakes. Even some local cyclists with this setup avoided the last section of trail from Los Arcos to Viana, opting for the parallel road instead. With the right setup and mad skills, you might be able to ride the full thing, but most likely you’d be riding 90-95% of it and walking a few short sections, and unhappy or scared at others.

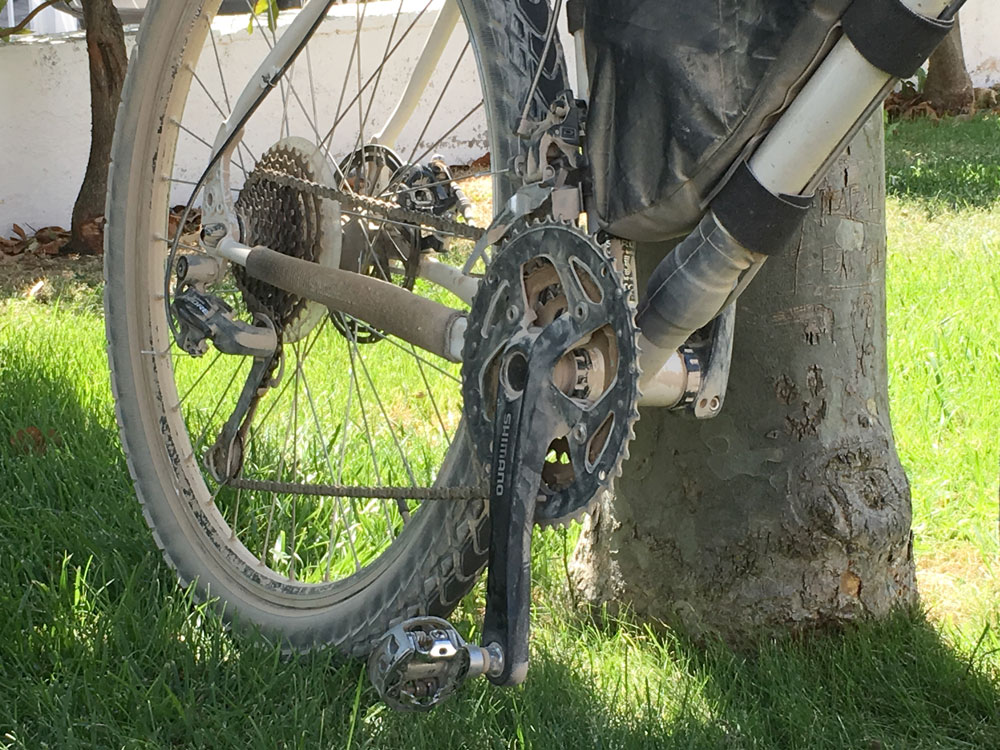
I’m amazed at the amount of dust on everything. I oiled my chain this morning, at lunch, and again when returning today. The dust seems to dry everything out within a few hours.

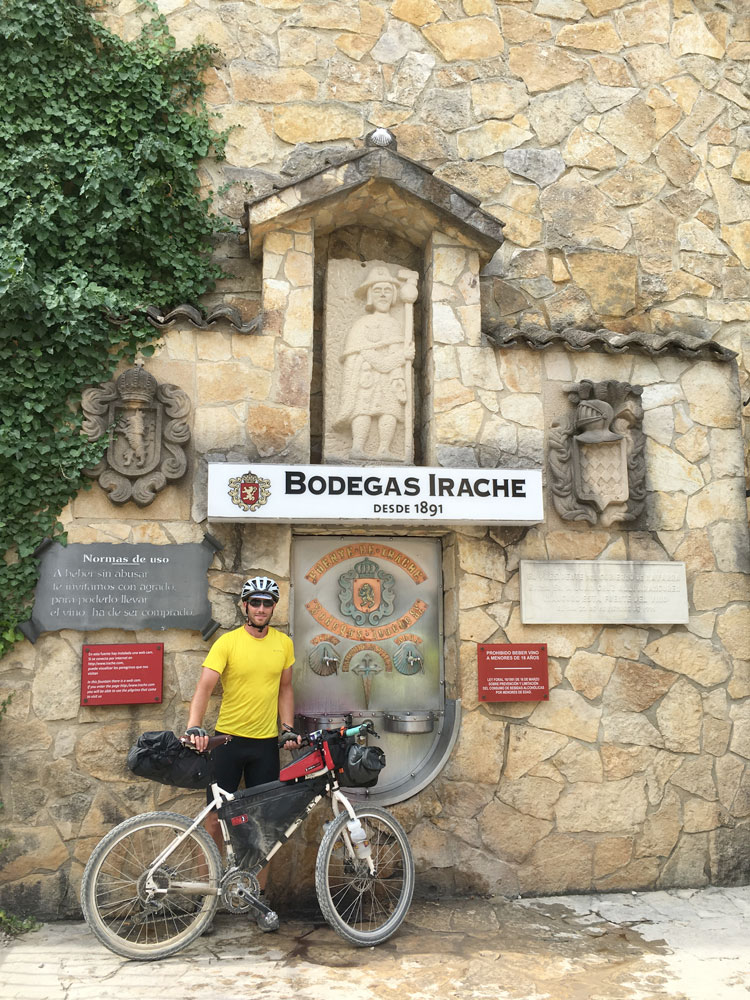
A few highlights include picturesque smaller Camino towns along the rolling hills, the famous bridge in Puente la Reina, crossing a Roman Bridge, the wine fountain at Irache, and entering the Rioja region right before Logroño.

2016-09-03-08.36.35

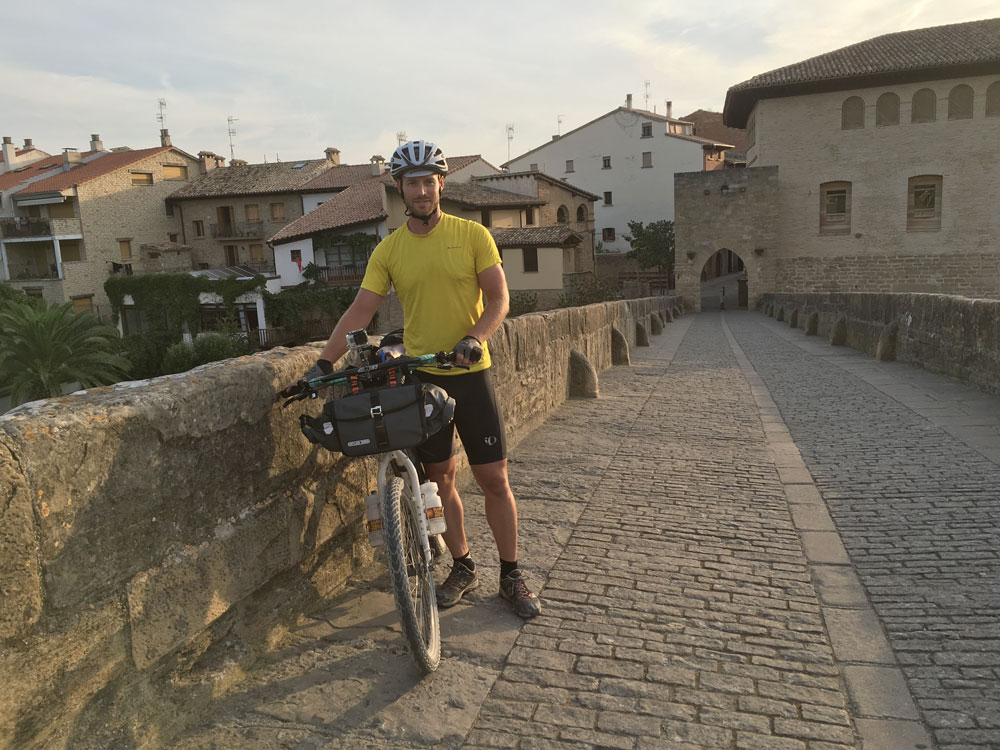
Famous bridge at Puente la Reina

2016-09-03-08.56.43

Climbing the path out of Puente la Reina

2016-09-03-09.25.52

Roman Bridge in need or repair. This was the first place on the path so far where I had to carry my bike for a short section.

2016-09-03-09.44.01

Narrow & rugged stony paths shared with walkers. Glad to have good brakes and a bell. I mounted the bell upside town near my brake lever, so I could tap it while descending. I found I used it much more than when it was more in the center of my bars.

2016-09-03-10.33.11

Church in Villatuerta

2016-09-03-15.28.04

Countryside near Estella.

2016-09-03-12.12.31

Every pilgrim needs this photo.

2016-09-03-12.15.26

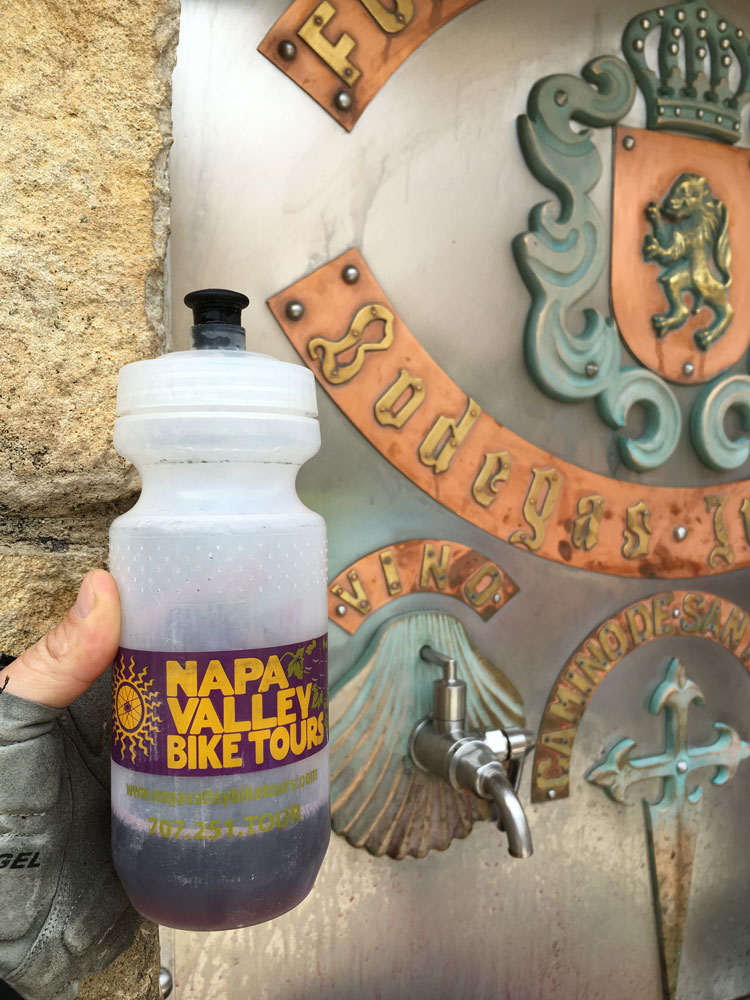
Napa Valley Bike Tour water bottle feels right at home in Navarra.


2016-09-03-13.22.07

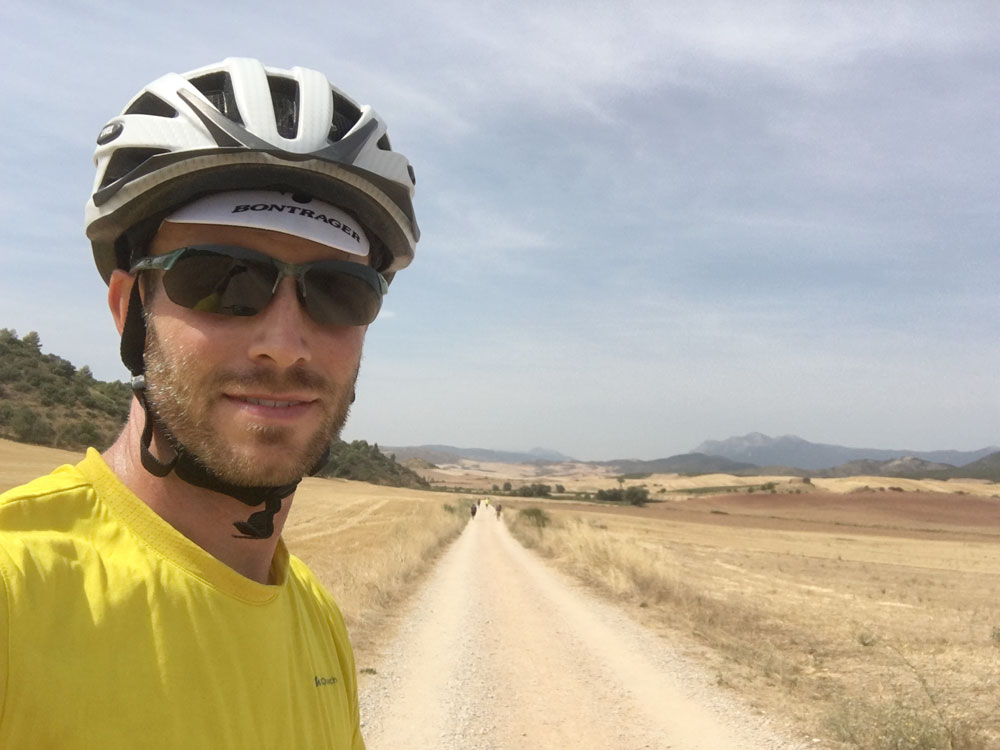
Path near the area of the cover photo of Hiking the Camino guidebook

2016-09-03-14.09.25

Assessing the dust in Los Arcos

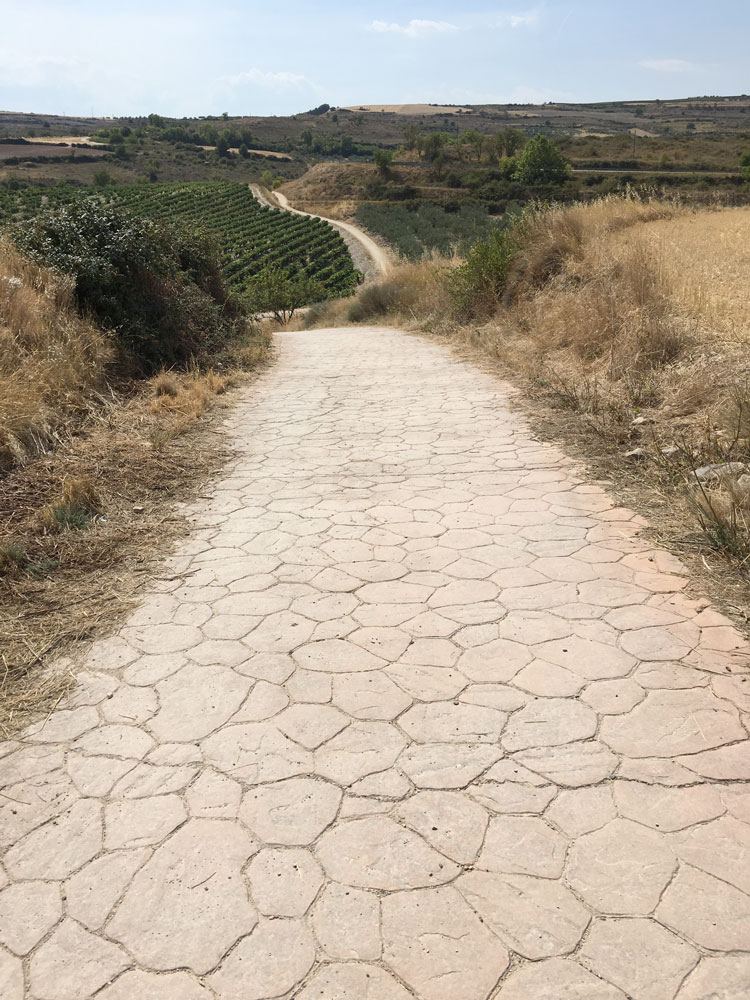
2016-09-03-15.18.18

What were they thinking when they paved these trails?

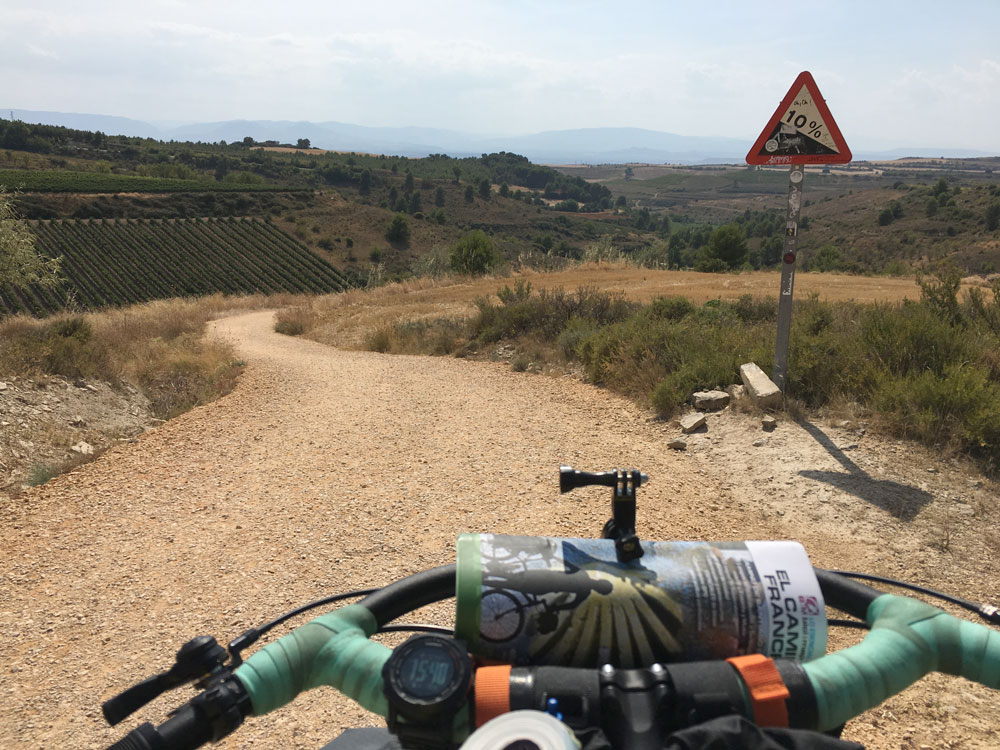
2016-09-03-15.40.40

10% grade between Torres del Rio and Viana. Steepest part is around the corner.

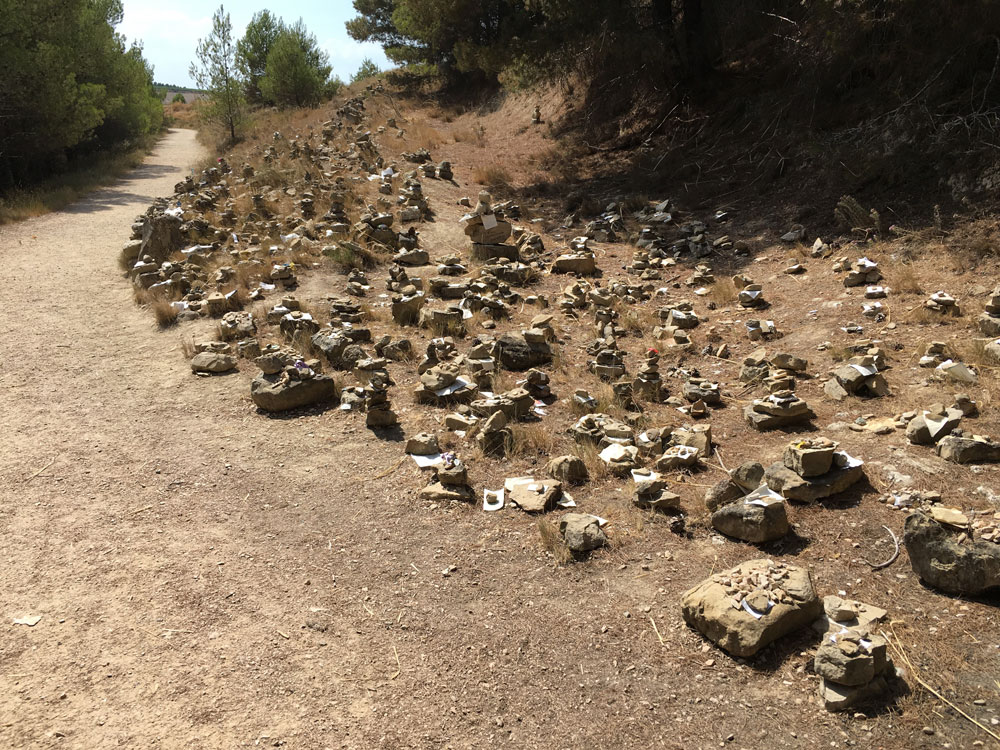
2016-09-03-15.30.06

Collection of personalized cairns.


2016-09-03-16.27.55

Relaxing in the shade at a public park in Viana


Day 2: Through Pamplona & the Alto de Perdon (Zubiri to Puente de Reina)

Distance: 40.8 mi / 65km

Climbing: 2894 ft / 882m

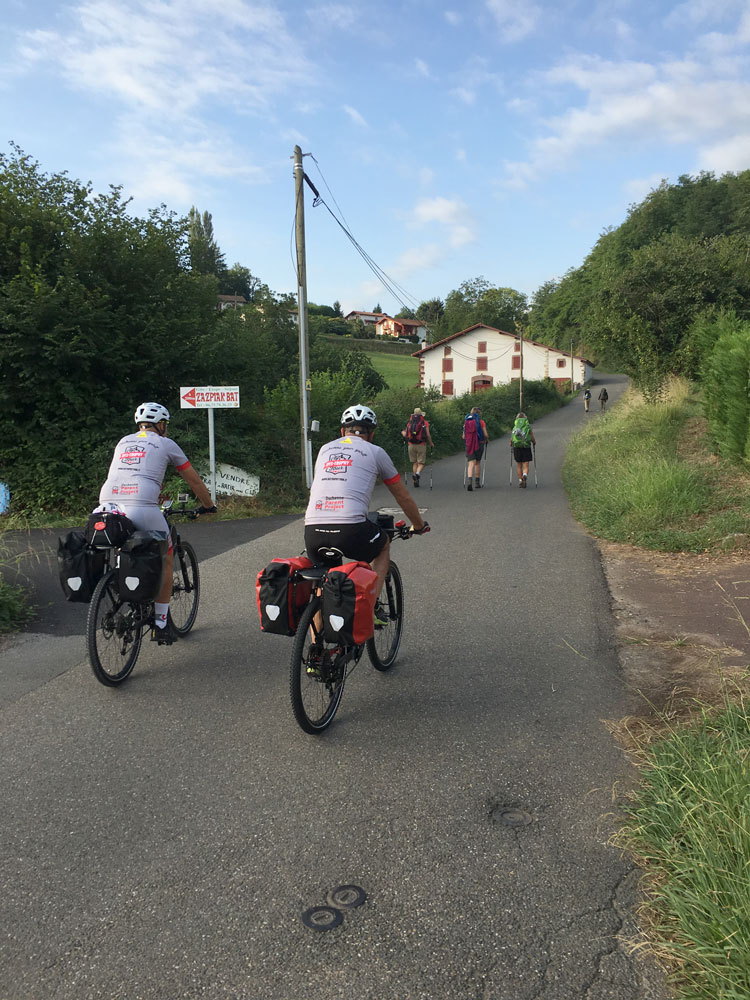
The road out of Zubiri was full of walking pilgrims, and the Swiss cyclist and I stayed together for the first 5km in order to startle the walkers twice in succession. Even with a bell’s warning and saying “good morning” in whatever language I guess people to be by the brand of their backpacks, many are inevitably in a pilgrim daze that in unrattle-able. Overall the path was fun rolling single track, good for MTB 2.0″+ tires, but would have been challenging on a road bike. There’s always a road option for those preferring that. About halfway to Pamplona, there’s a great bike path following the river that offers a respite from the crowded narrow trail, and a quicker way into the city.

IMG_7703

River bike path into Pamplona

IMG_7707

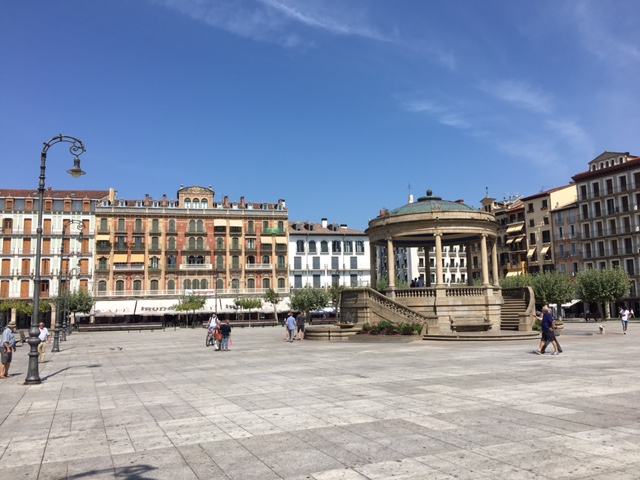
Pamplona main square

IMG_7713

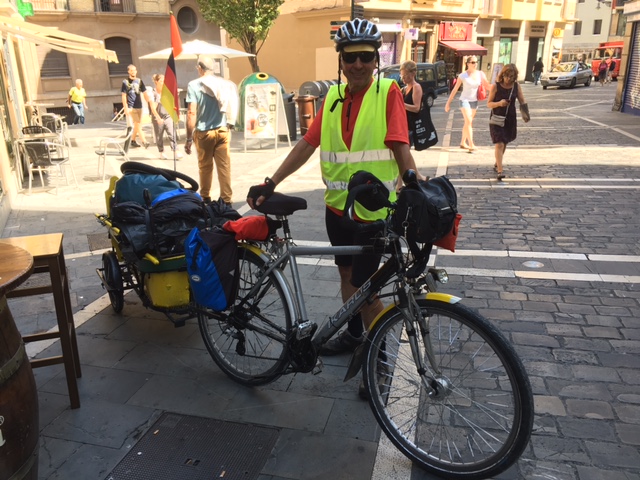
This guy biked from Germany. Wasn’t interested in chatting, just sitting down for a cold beer.

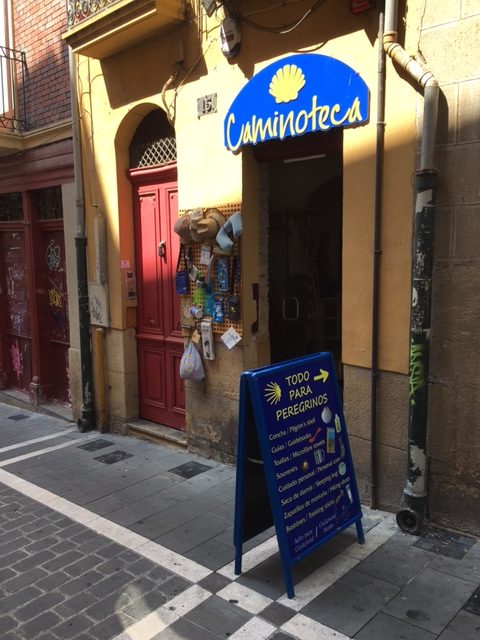
Pamplona was a whirlwind of logistics tasks, including shipping my bike backpack to Santiago (25 euros, they hold it for free for 2 weeks, then 1 euro/day afterwards), getting a bike shop to double check my headset (star nut had slipped), and visiting the location of 20 accommodations on our guidebook maps. I’m super grateful to István and Anita from Caminoteca in Pamplona for their help and advice during that busy time. If you need any gear or information, definitely check them out. They’re just 100m downhill from the Cathedral.

IMG_7708

Caminoteca gear store in Pamplona

IMG_7727

After running out of energy and focus, I Facetimed Anna and Silas from the park at Cuidadela and managed to keep going. Gotta love free T-Mobile data.

It was 4pm until I left, and I was drained on energy to think about climbing the Alto de Perdón and making it to Puente la Reina. The fact that it was over 90F/32C and the sun was fierce didn’t help either. The mechanics at the bike shop say they warn cyclists from taking the dirt rail over Alto de Perdón, mostly because of the rocky sections especially on the descent. Not that it wasn’t possible, they said, more likely just not enjoyable (there is a good road option available).

IMG_7735

Top (front) and bottom (left side) of the steepest part of the path up to Alto de Perdon.

IMG_7732

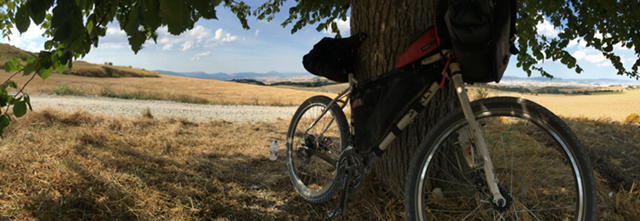
Finding a sole tree to escape the sun for a rest.

Overall the climb was challenging but not impossible or something I would advise someone to skip if they had they were up for the challenge and had a capable bike. Most of it was a gradual uphill on dirt double track, with one really steep section after the small village half way up. I passed many walkers resting under the shade of a few isolated trees along the way, and decided it would be wise to do the same myself.

IMG_7745

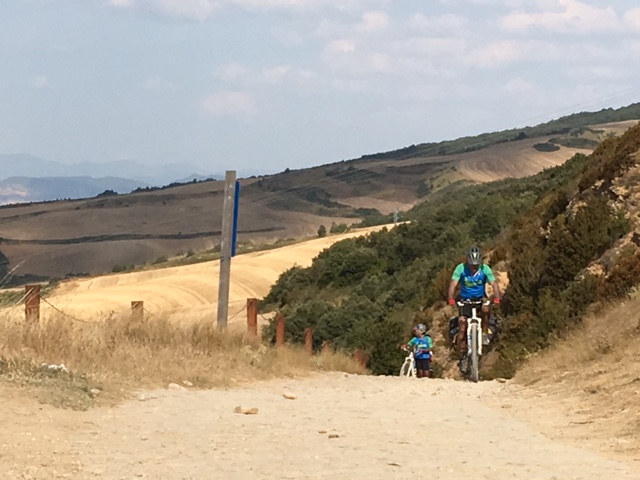
The Peruvians finishing the climb.

IMG_7766

Peru!

IMG_7738

Couldn’t pass without this shot…Around the top of the pass, I encountered two young Peruvians also doing the climb, and they were tired but enthusiastic when we all arrived there. Almost suddenly at the top, the clouds blocked the sun and the wind picked up and we all felt immediately refreshed. I finally ate the avocado I had carried since France and regained my focus for the way down.

IMG_7750

Beginning of the descent from Alto de Perdon.

IMG_7751

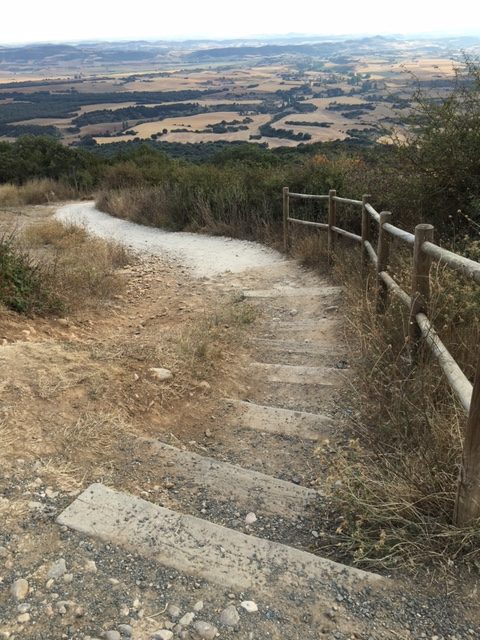
More steps farther down. It leveled out soon after this.

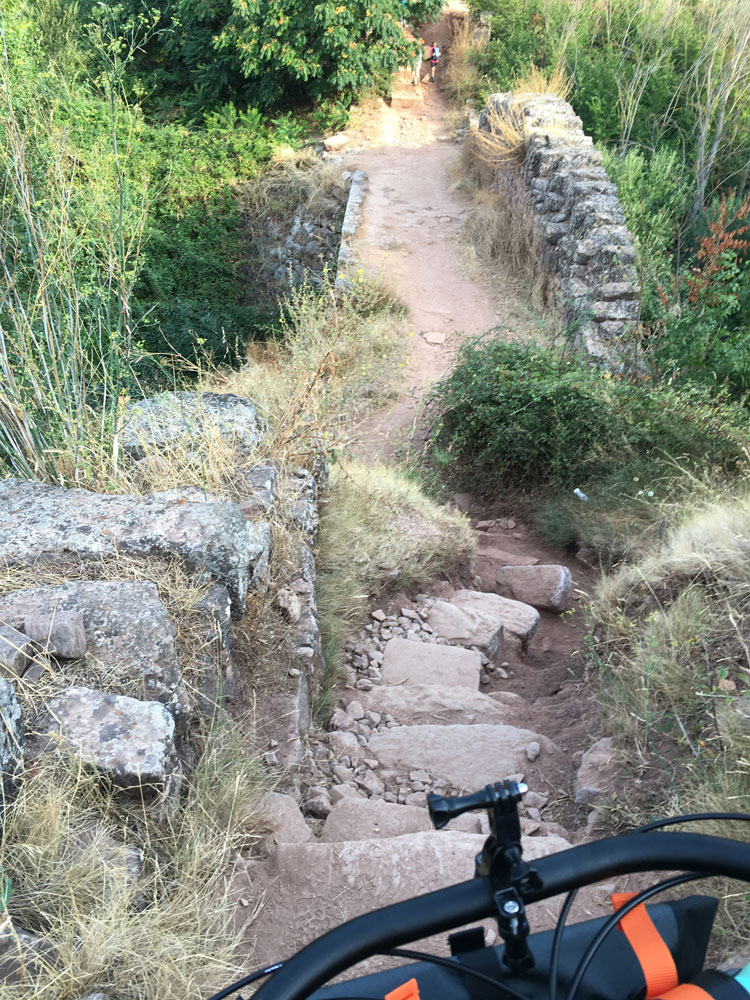
The Spanish cycling guides all warn about the descent from Alto de Perdón, mostly for the rocky initial steep section which has a few sets of stairs. Thankfully next to those stairs there is a way for bikes to pass, but it is rock and steep. I’d only advise this with mountain bike, and suspension would have helped, but wasn’t critical. You could also walk this short steep section in about 10-30 minutes, depending on your footing. Be careful in rain.

Soon afterwards, the path leveled out a bit, but still offered a gentle smoother descent through rolling paths which were thankfully now (because I was so late) empty of hikers. Overall I am super glad that I went over the Alto de Perdón; it was definitely worth the challenge and the descent was manageable for me, even one of the highlights of the day.

IMG_7761

Fiesta in Obanos

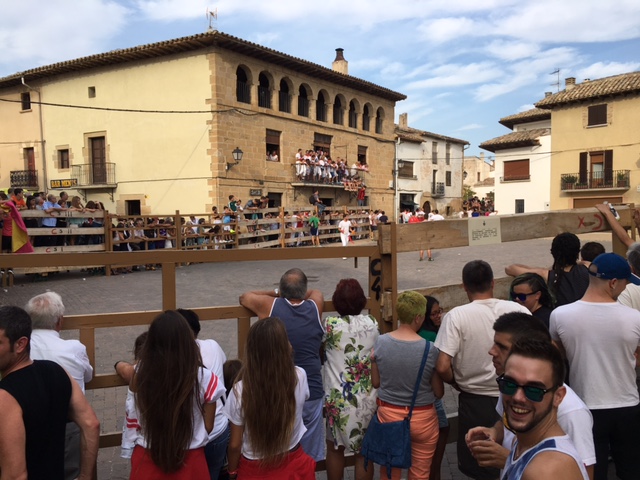
On the way down, I passed through the town of Obanos which was having a very local fiesta that appeared to be a bullfight given the ambulance parked nearby and fencing in the center of town. When I asked the locals for details, they seemed to not to want to talk about it. The center of town had a big banner explaining how the festival was part of the town’s cultural heritage.

I managed to get to Puente la Reina at 6:30pm, thankful I had reserved a space in Albergue Jakue, which is part of the bike albergue network and has a dedicated locked bike shed. It’s a great place to stay with only 4 beds and a private bath in each room, plus the option of a 13 euro buffet at the adjoining hotel. Tomorrow I’m looking to increase my distance as the hills level out and hopefully make it to Logroño. I’m sure I’ll sleep well tonight!

Day 1: Crossing the Pyrenees (St. Jean to Zubiri)

Distance: 34.4 mi / 55km

Climbing: 5978ft / 1822m

When I asked the older woman at the pilgrim office about biking the Napoleon route, she flat out told me it was impossible. They recommend that people take the extremely narrow and trafficked road via Valcarlos. As I had seen other bikers in previous years on the route, I thought it was worth a shot.

2016-09-01-08.31.38-1

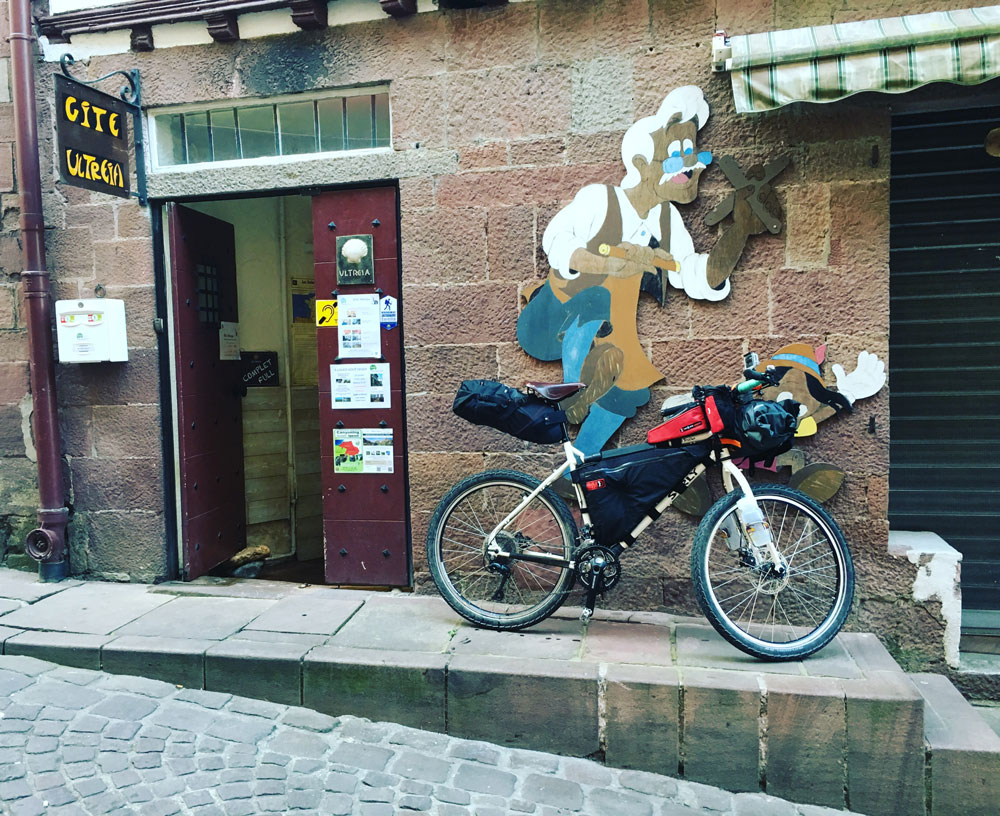
Ready to ride outside Gite Ultreia in St-Jean-Pied-de-Port

I didn’t sleep so well at my Gite in St-Jean-Pied-de-Port as I think the anticipation for the climb the next morning kept people waking up at night, moving around and making noise. I was probably also somewhat still off from the jet lag. At sunrise, I woke up feeling like I hadn’t slept more than a few hours, quite exhausted.

2016-09-01-09.07.18

Start of the climb before the 15% grades. These are two of the three Italians that turned around.

I got off to a late start, working on sorting my gear into the bike packing bags (it takes a little while to perfect your system), and then checking some accommodations around town and the local bike shop. The climb up was steep, especially the first 7km at the beginning up to Orisson. I saw only 5 other cyclists all day, and there were three Italians that turned back after the first 2km. An older Swiss man and a determined Spanish mountain biker made it over the pass.

2016-09-01-10.01.55

One of the steeper grades on the road. I decided to skip the switch backs the walkers took for this instead.

2016-09-01-09.44.03


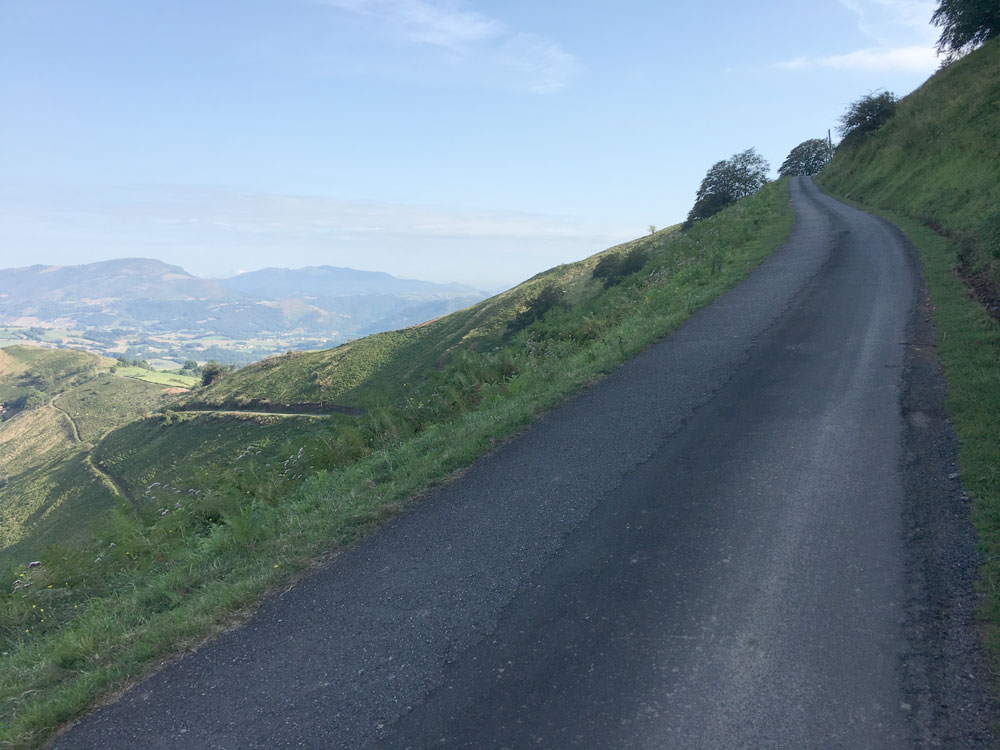
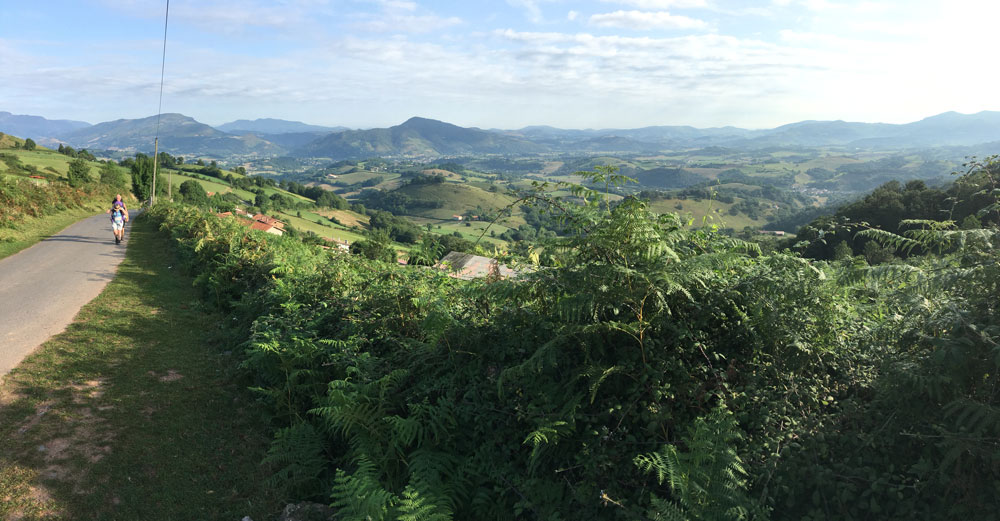
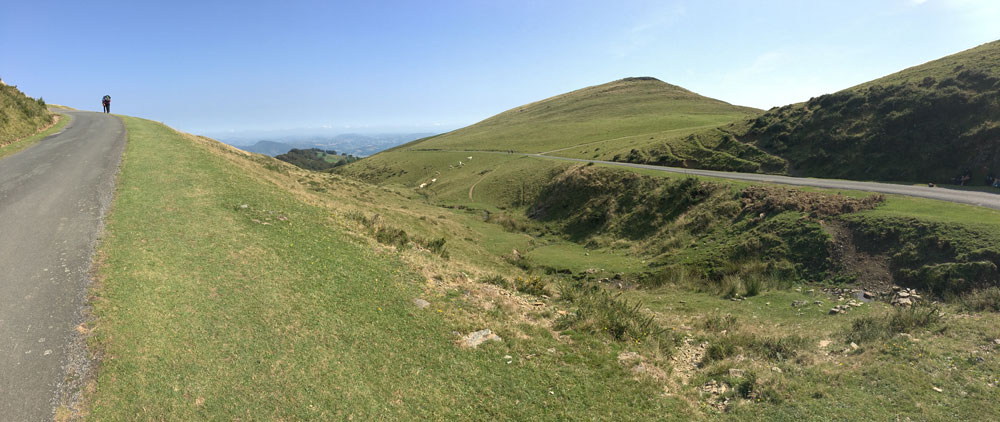
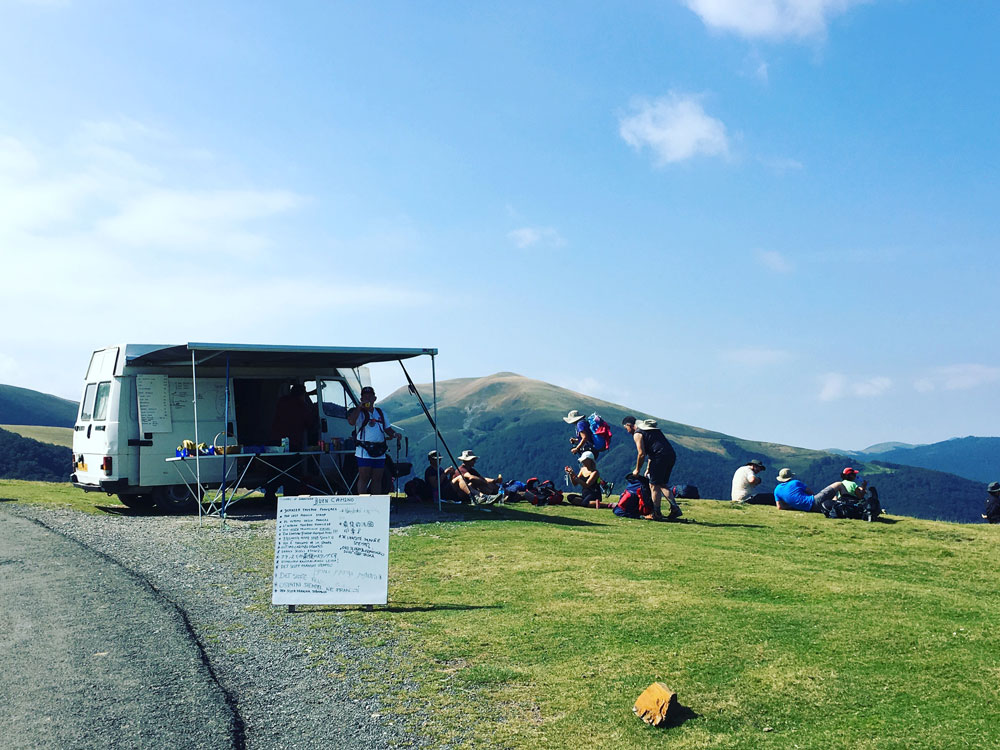
We had a perfectly clear day with spectacular views down into France on the north, with hawks soaring above, shepherds and sheep, horses, and cattle. The Pyrenees have beautiful rolling green fields at the higher elevations that are often used for grazing, which afford great views without many trees obstructing. It was nice to see the familiar food van offering snacks and cold drinks where the path leaves the road 2/3 of the way.

2016-09-01-11.35.50

Getting higher up- the wide panorama shows the same road winding up the mountains.

2016-09-01-12.06.31-1

The famous food van where the road ends. A welcome sight to any weary pilgrim.

2016-09-01-11.59.49

Selfie with sheep.

2016-09-01-12.13.13

Leaving the paved road. The short hike over the saddle is the only place you’d probably want to walk your bike on the Napoleon route.

Many of the walkers I talked to on the climb kept asking me if it was more challenging to walk or bike, trying to figure it out for themselves. After walking this route multiple times, I would probably attest that it’s more challenging to do the climb on a bike with touring gear, but it’s probably a toss up. The steepest grade is around 15% along the paved road, which is steep but possible if you have the right gearing. There was just one section that you really should walk, over a small rocky pass after leaving the paved road. The rest is ridable if you have wide enough tires, and the first 2/3 is along a steep paved road.

2016-09-01-13.12.04

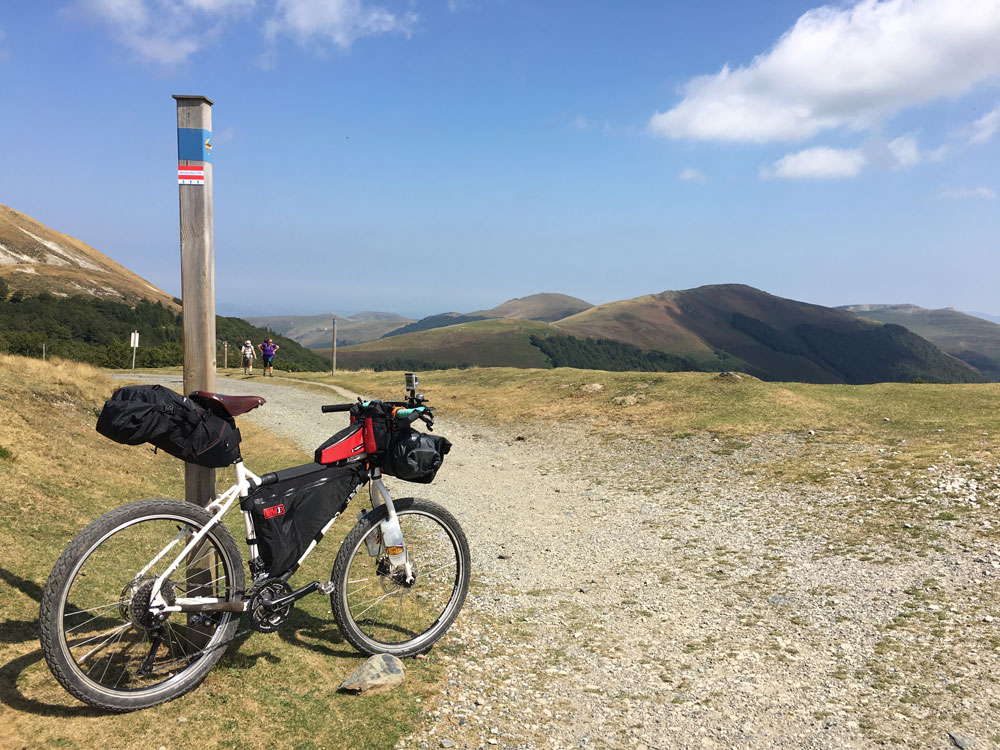
Top of the pass, ready to descend to Roncesvalles.

It’s always a wonderful feeling to cross an international border biking or hiking, and thankfully the first day of the Camino Francés offers this opportunity from France to Spain.

2016-09-01-13.36.58

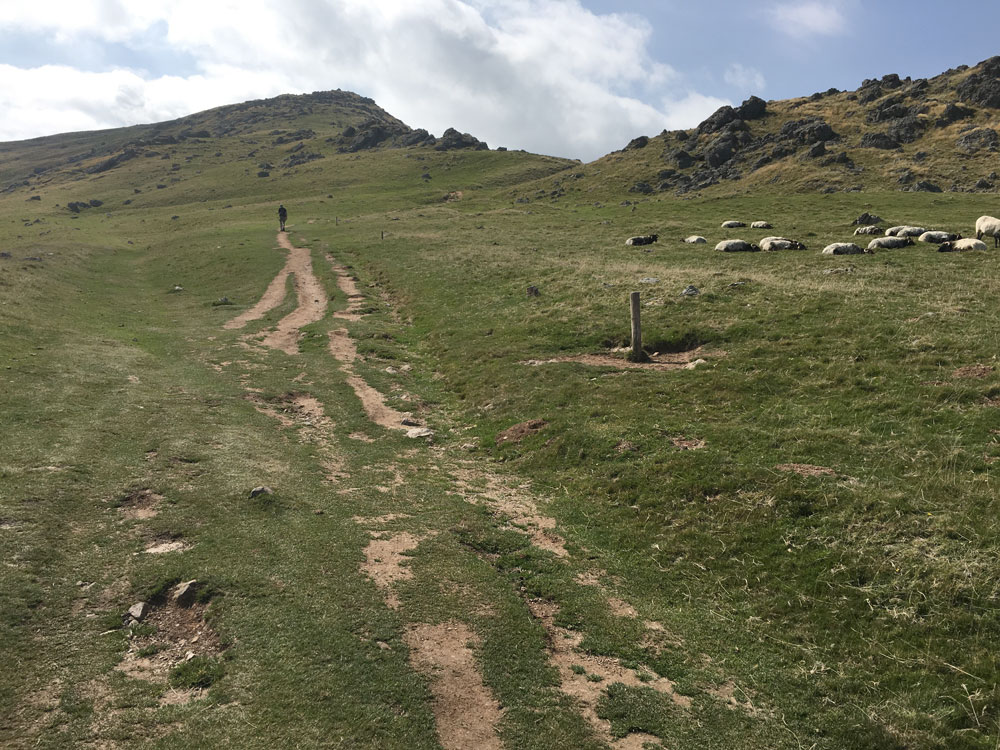
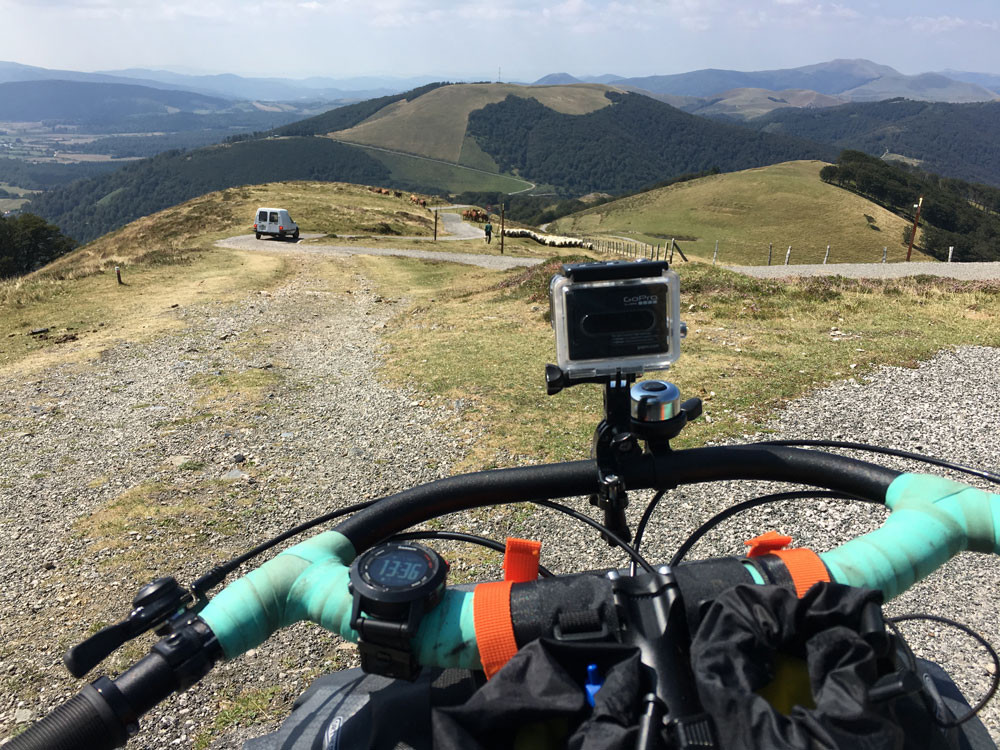
The way down… had to navigate around a herd of sheep and a slow moving vehicle.

2016-09-01-14.08.42-1

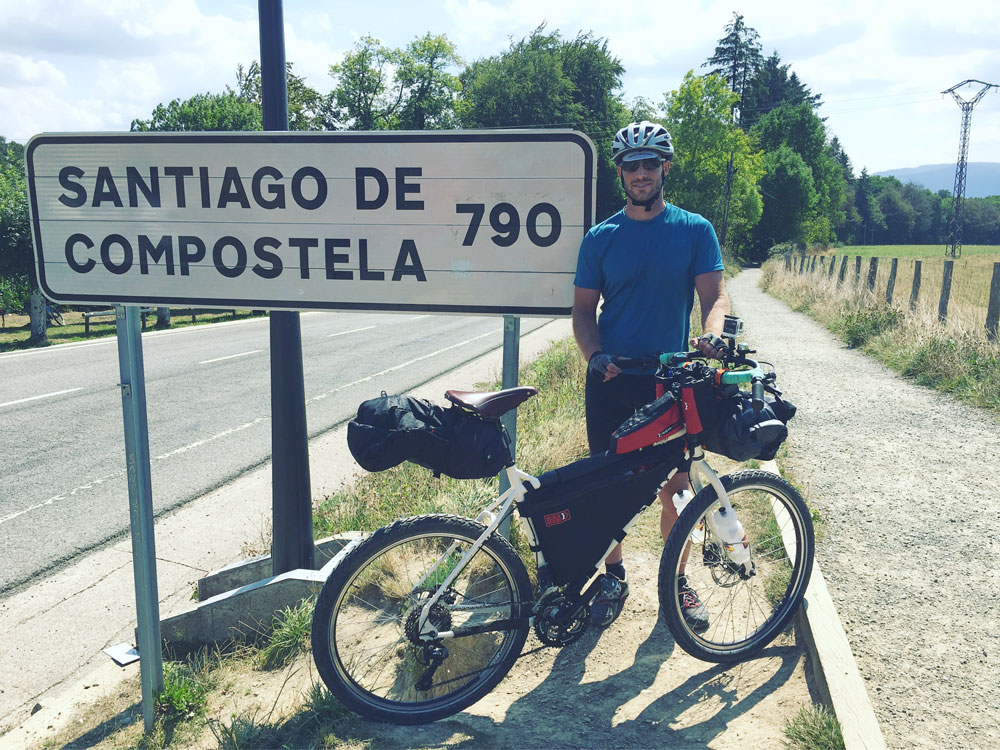
790km to Santiago! Had to get a photo with this famous sign.

Getting down to the monastery at Roncesvalles was a relief, as I assumed it meant most of the challenge of the day was behind me. Later I found out that the climbing over Alto de Erro (some 18% grades) was what really wiped me out, probably mostly from lack of sleep, dehydration, forgetting sunscreen, and general exhaustion catching up with me. The route up and down had some steep and rocky sections, requiring as much focus as I could muster after a long day. I arrived at 6pm in Zubiri, happy to find a great albergue (Suseia, reserved in advance), that was bike friendly and had dinner available within the hour. Thankfully I fell asleep and rested well after a long day.

2016-09-01-15.23.45

The path before Alto de Erro; taking a break after a short climb.

2016-09-01-18.38.08

Albergue Suseia in Zubiri


2016-09-01-18.05.38

Bike storage at albergue.


Madrid to St-Jean-Pied-de Port

After another long travel day, I’m ad St. Jean in France at the foot of the path to cross the Pyrenees tomorrow.

2016-08-31 07.25.59-1

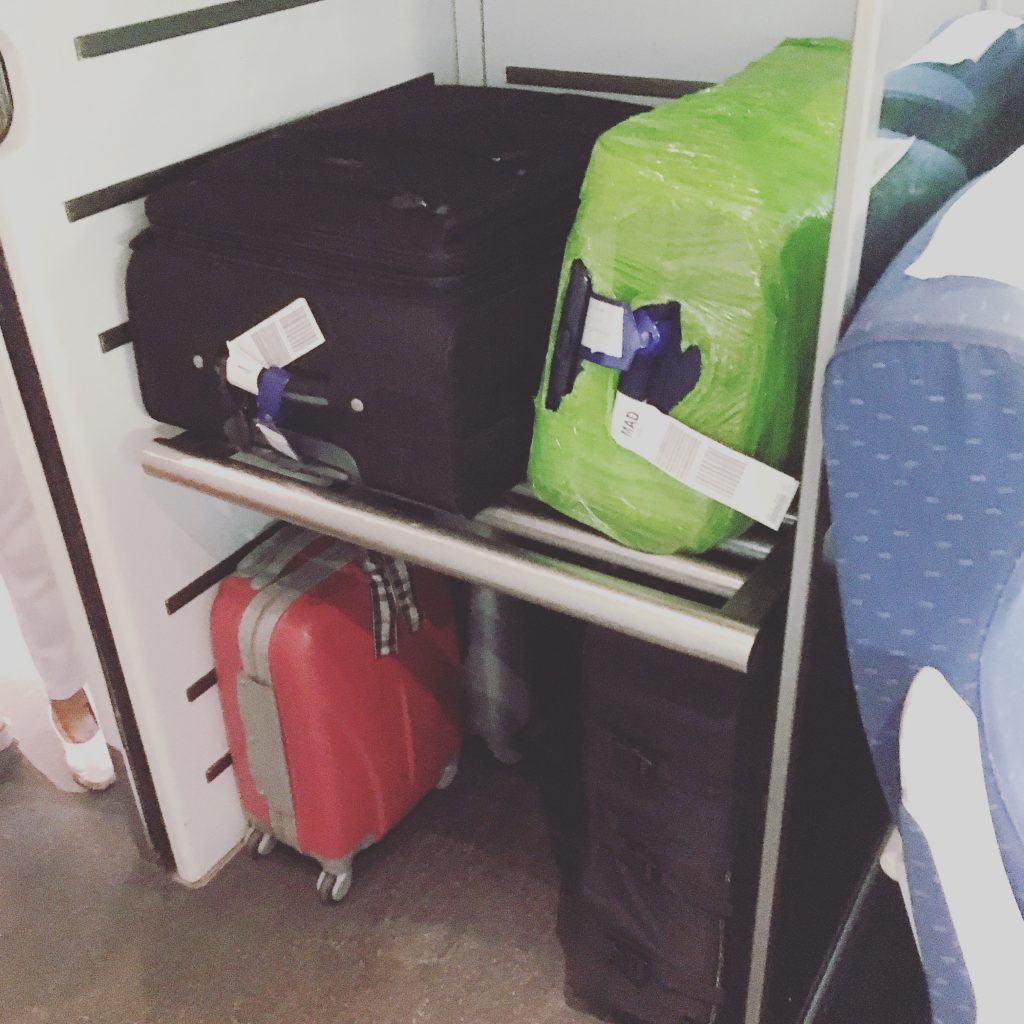
Bike on the bottom right luggage compartment of the Renfe fast train.

2016-08-31 07.56.35-2

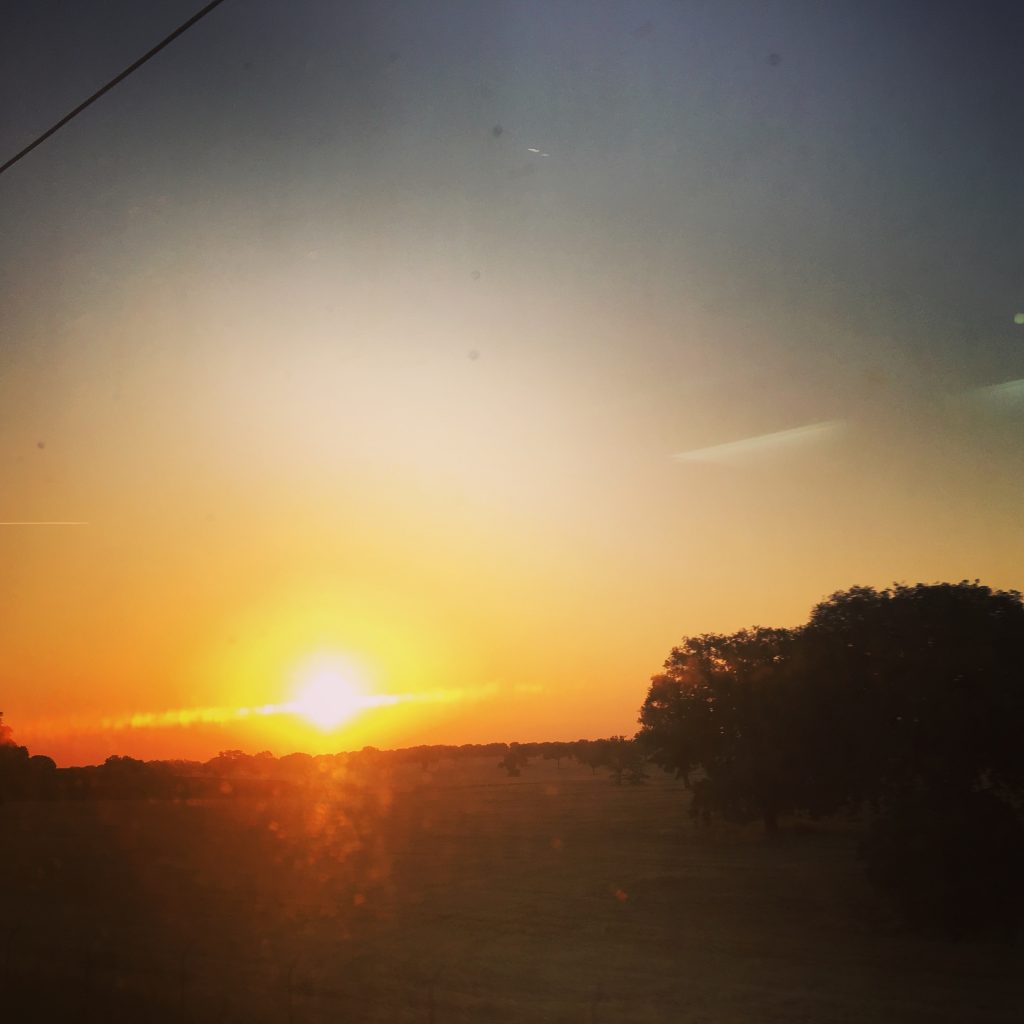
Sunrise from the train

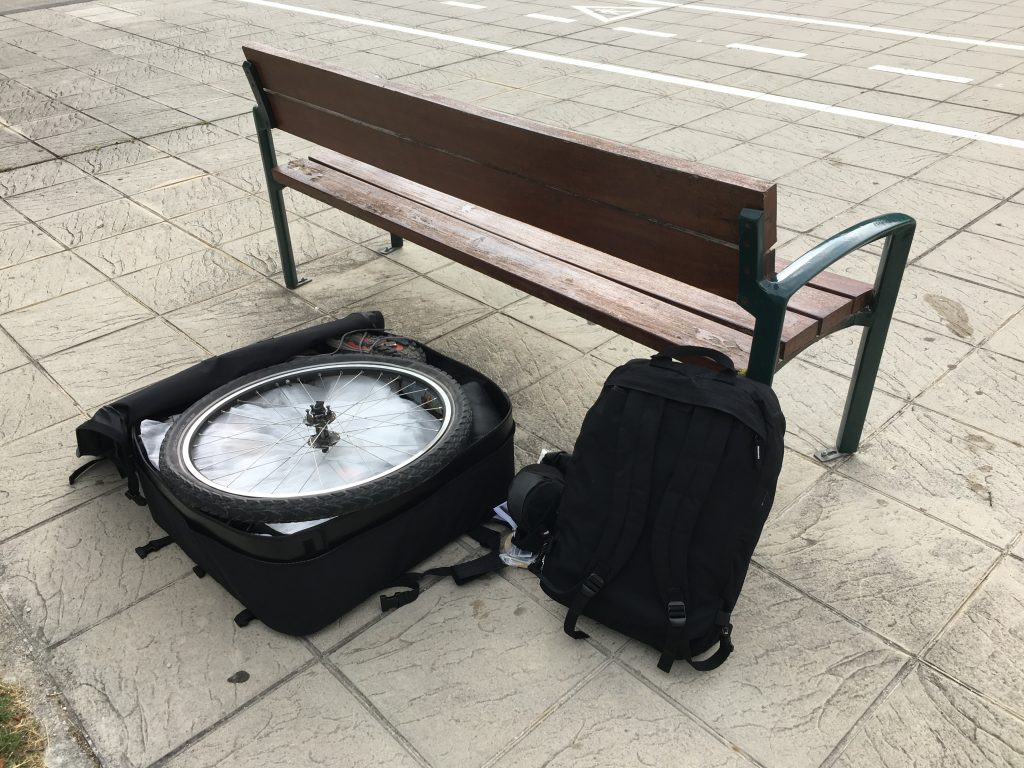
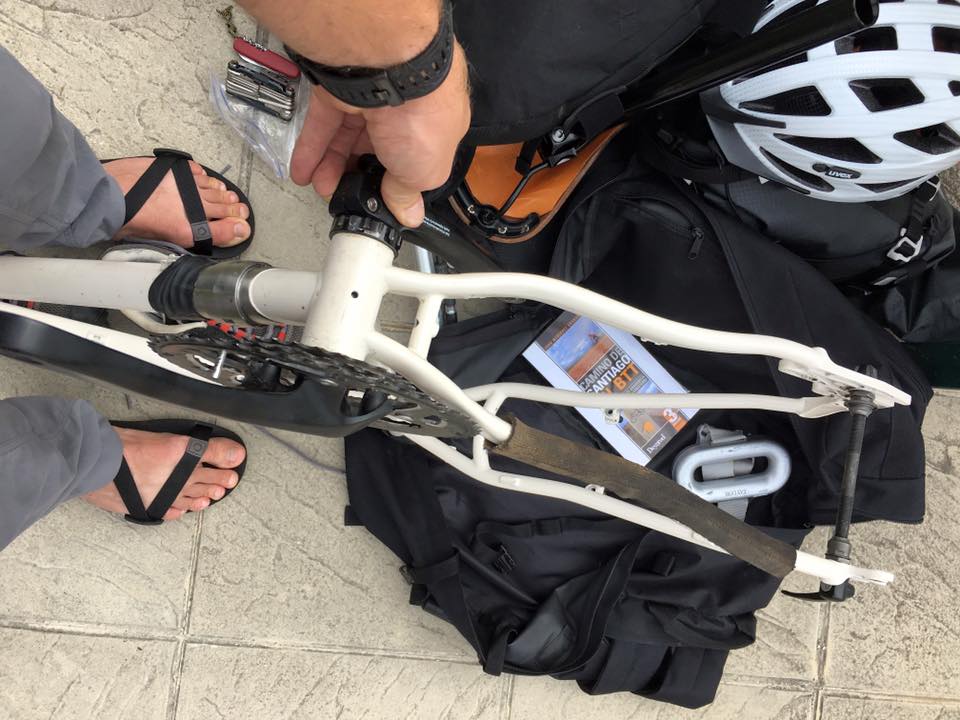
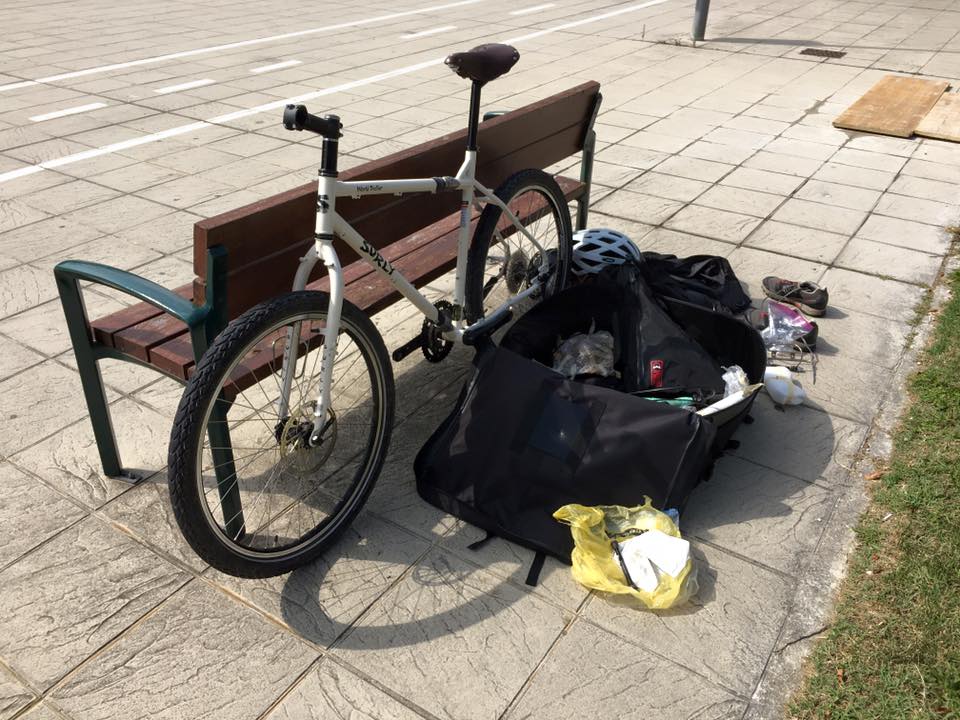
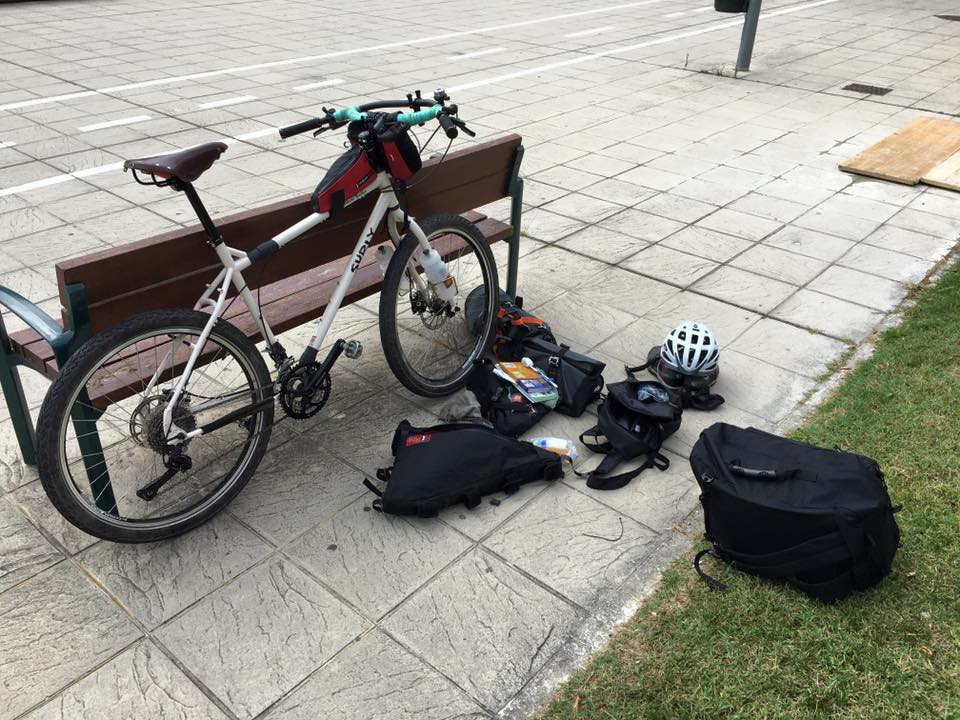
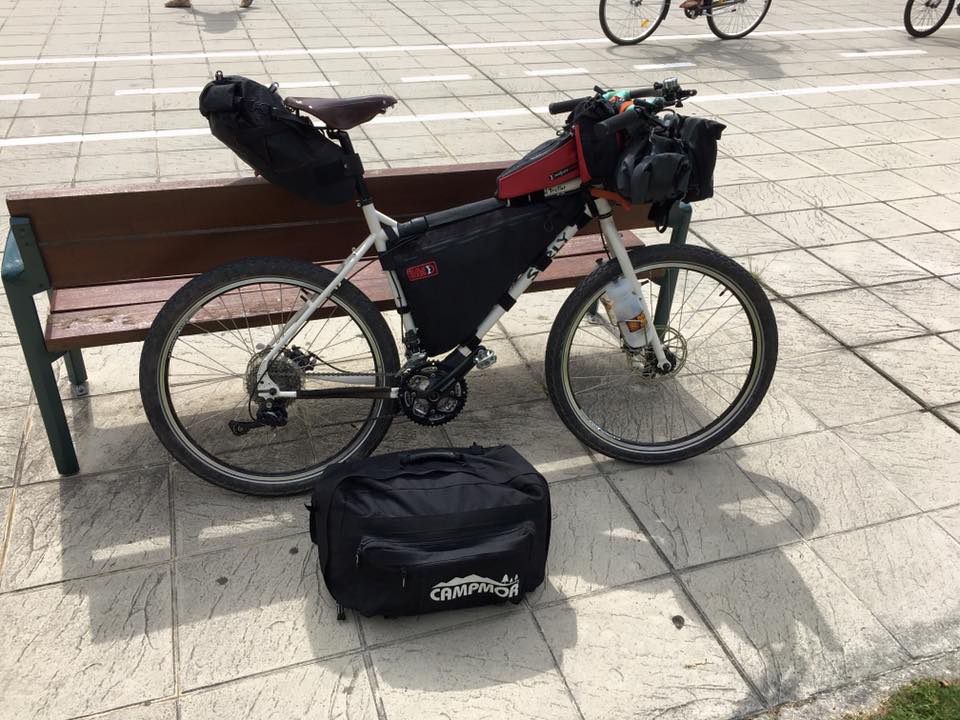
The day was mostly a combination of train and bus, with a focused 2 hour bike assembly in the middle in Pamplona at a city park bench near to the train station. I got everything done on my list except mailing my bag to Santiago, but was able to leave it with a friend to mail ahead when I pass through the city in two days.

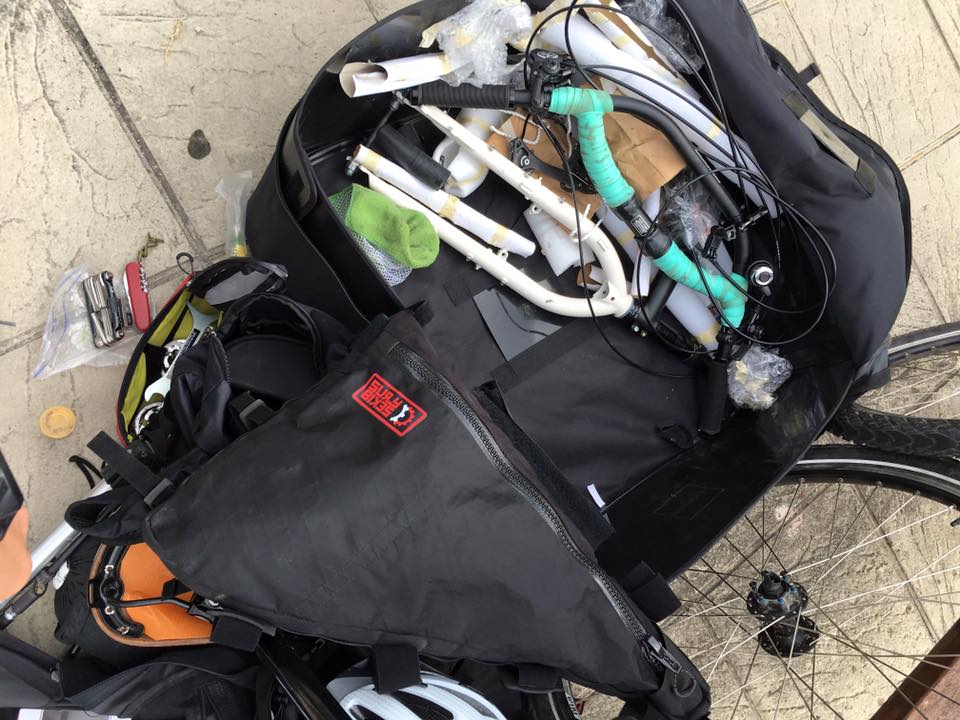
The bike assembly went well, and I made sure to take my time to put things together right. It took a little longer than I expected as I had to unpack everything and leave the packaging in a good state for sending it home, as well as pack all my luggage for the trip and set aside the bag to send home.

2016-08-31 10.58.12

14203354_1367734023254509_4625040739104353981_n

2016-08-31 11.09.00 2016-08-31 11.14.5614117750_1367734039921174_3988676159329936515_n 14102726_1367734096587835_5396924168866656743_n 14202522_1367734129921165_2601213265706477288_n 14100493_1367734143254497_2218149038412742844_n

St. Jean is wonderful as always, and not incredibly overcrowded like I thought it might be. I was glad to reserve a bed, as many places seemed to be full for walk-ins by my 4:30pm arrival time.

Heading to get more rest tonight before a big day of climbing tomorrow.
14199751_1267152263329021_1190158379446929042_n


Travel day to Madrid

After a long and tiring day of travel, I’m glad to be at my hotel in Madrid.

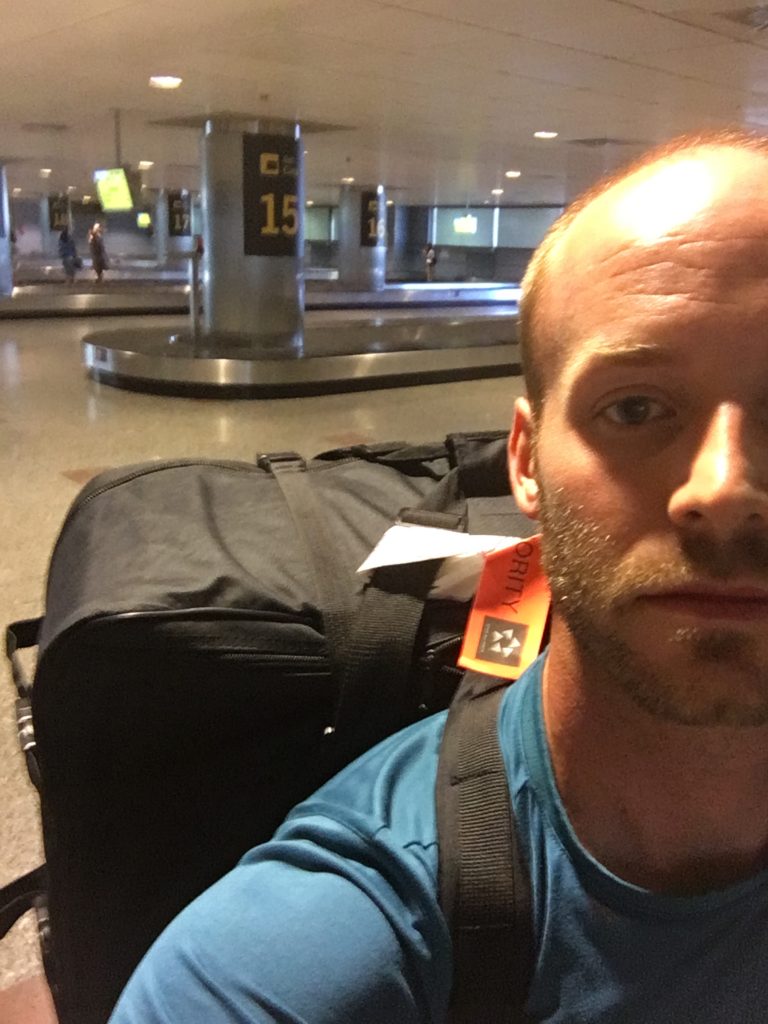
I left Washington, DC late last night, and had a transfer today via Munich flying with Lufthansa, who does not charge extra for a bicycle if it is under the normal baggage weight (51 lbs / 23 kg) and combined dimensions (62 inches / 158 cm). Unfortunately, the seats were cramped and didn’t seem to recline to the normal degree, so I had a pretty sleepless night. Free T-Mobile data in the Munich airport helped pass the time and gave me a chance to FaceTime with Anna & Silas.
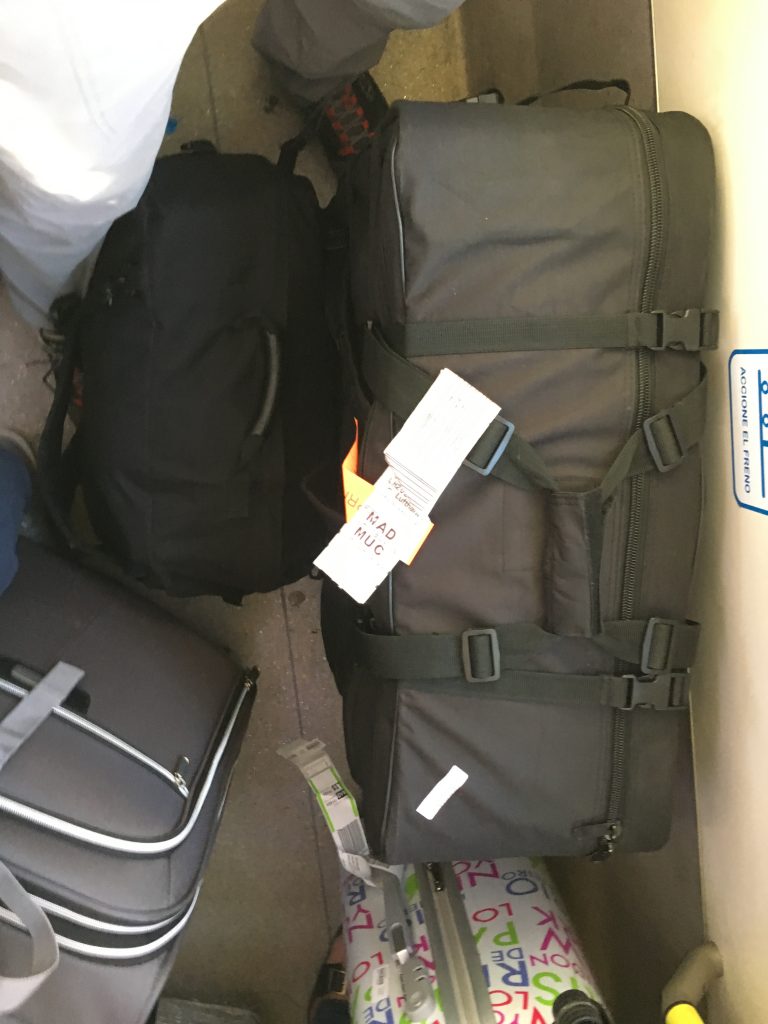
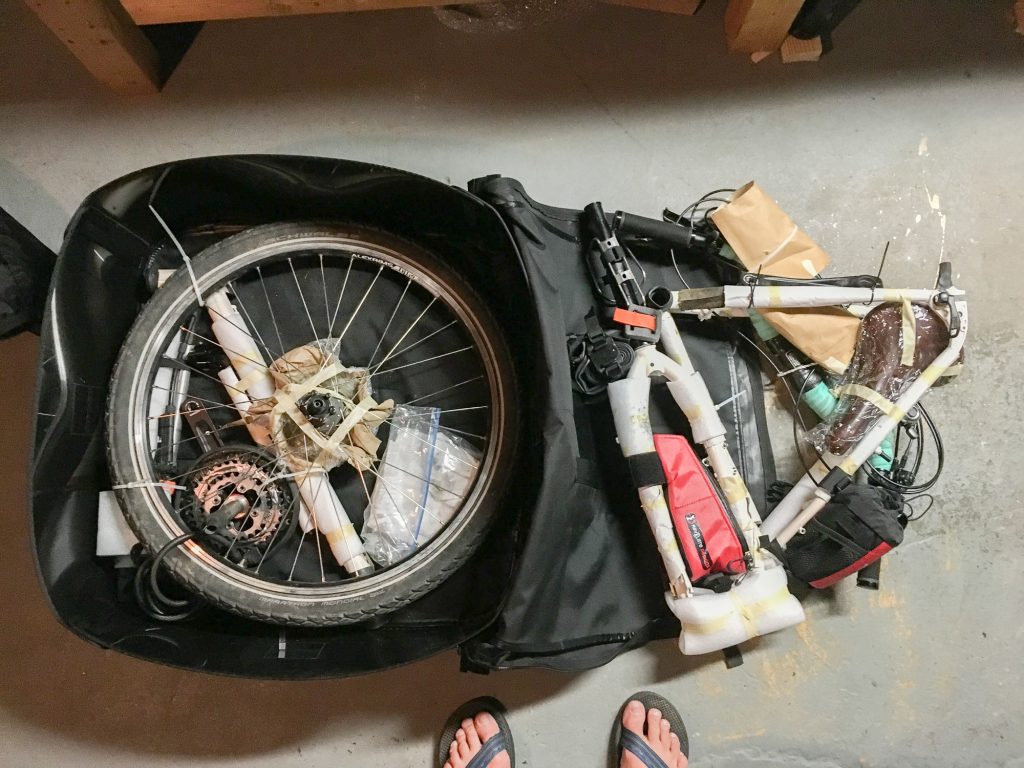
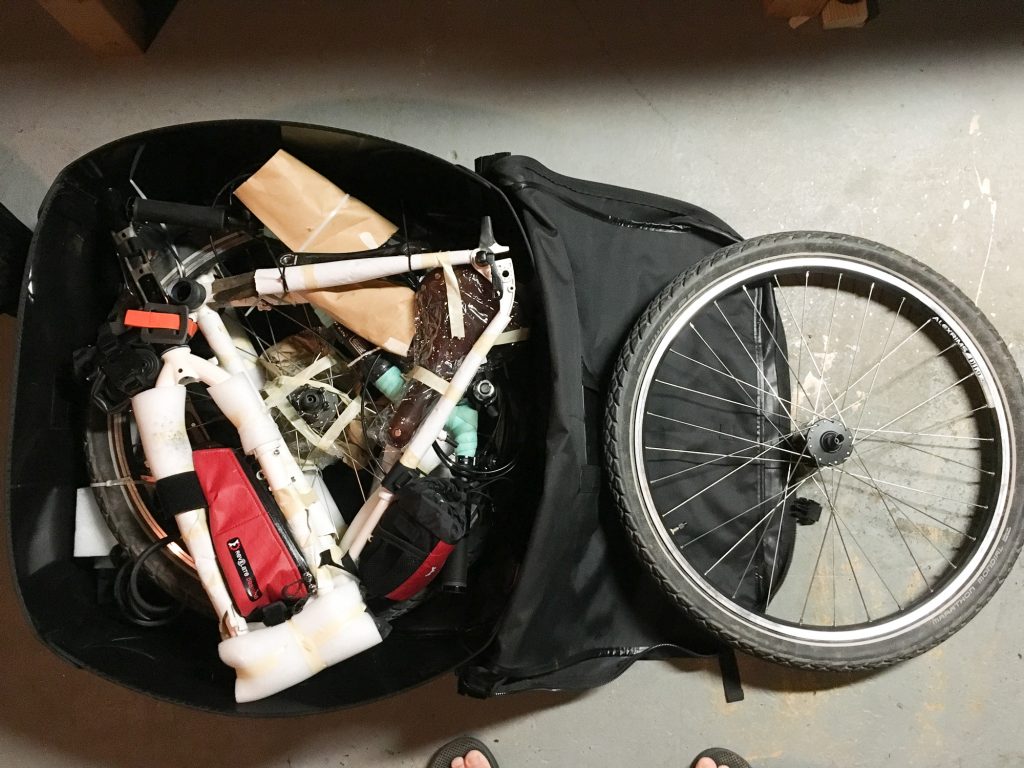
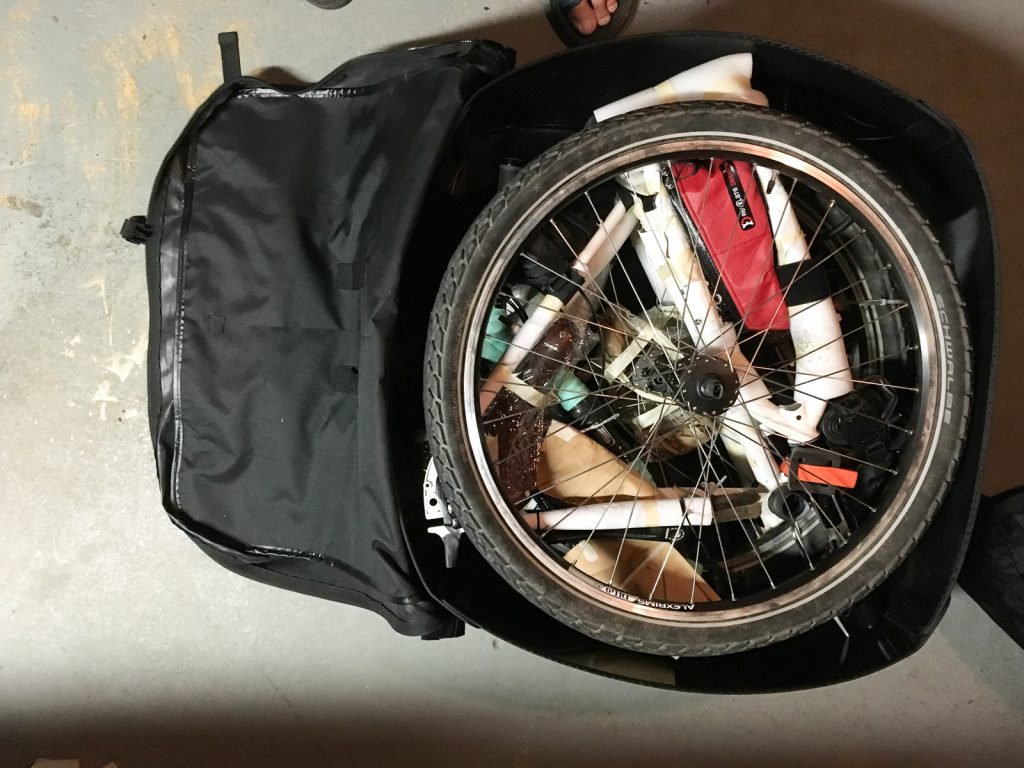
My biggest fear for the day was my bike coming out of the baggage claim completely mangled and damaged. I packed the bike bag in the most logical way I could imagine with all the bicycle parts zip tied together into three large chunks, accompanied with a photo depicting the packing order and orientation. At the moment of truth I noticed that two of the compression straps on the outside had been unbuckled, and opened it to find a TSA slip inside.

But even with their meddling in the box, it seemed that my system and the bike backpack worked in the end. Thankfully the bike appears to not have been damaged upon my inspection at the airport. (If it would have been damaged, I would have had to have an airline representative see it right away and fill out the paperwork to reimburse damages… so important to always check before leaving the airport no matter how tired you are. I believe you have seven days to make a claim.) Once I reassemble it tomorrow, I’ll find out if there’s anything I couldn’t see at the airport, and will still have time to visit a bike shop in Pamplona if necessary.
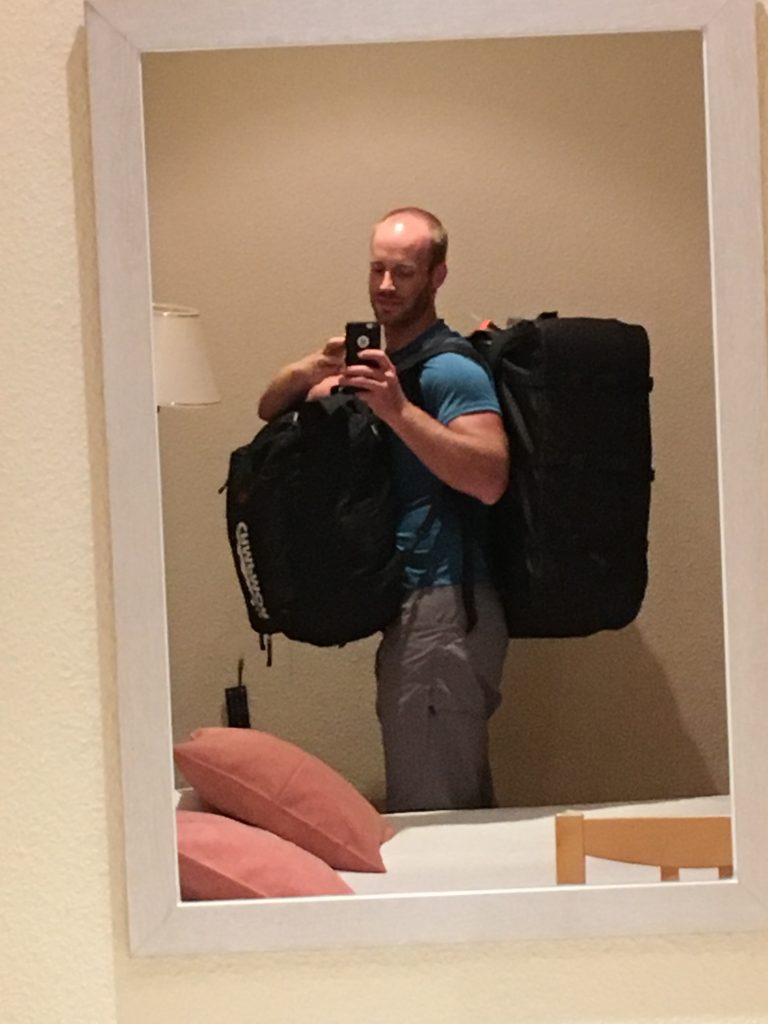
At the airport, I removed some of the heavier small pieces from the bike bag backpack to my carry on bag to lighten the load of the bike that I’d take on my back. I had packed my bike tools, chain lube, lock and other dense items in bike packing bags (feed bags, gas tank) in the bike backpack secured to the bike frame with zip ties or the velcro attachments already on the bike packing bags. Although the backpack straps on the huge square bike bike pack are really thin and hardly padded, lugging it on my back wasn’t as bad as I had anticipated. The carry-on bag, however, seemed more awkward.

It looks like a lot of luggage for a three week trip, except when you remember that there’s a bike inside the bag!

2016-08-30 18.10.40 2016-08-30 18.43.312016-08-30 19.13.55

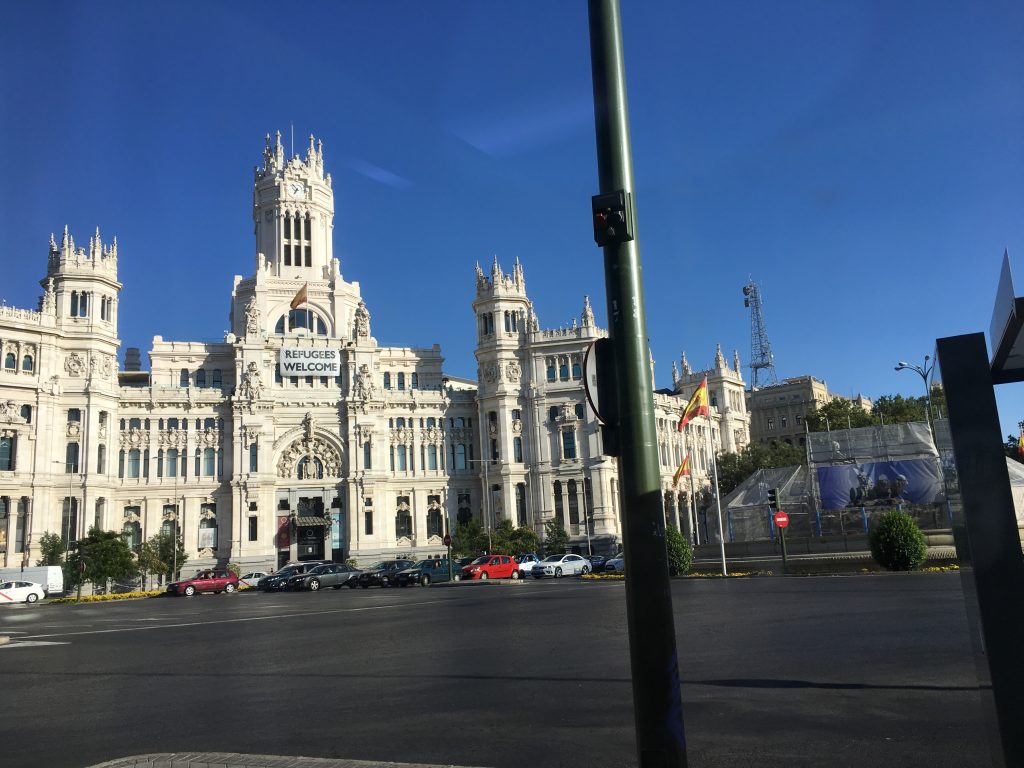
I managed to catch the airport bus from Terminal 2 (#200, 5 euros) just as it was leaving, and enjoyed the rest of the 45 minute drive to the Atocha train station, where my hotel is located so I can easily make my 7:30am train tomorrow morning. I forgot how many beautiful buildings Madrid had, an was a little sad to be heading north right away tomorrow to start my Camino.
2016-08-30 18.53.13

2016-08-30 18.53.48

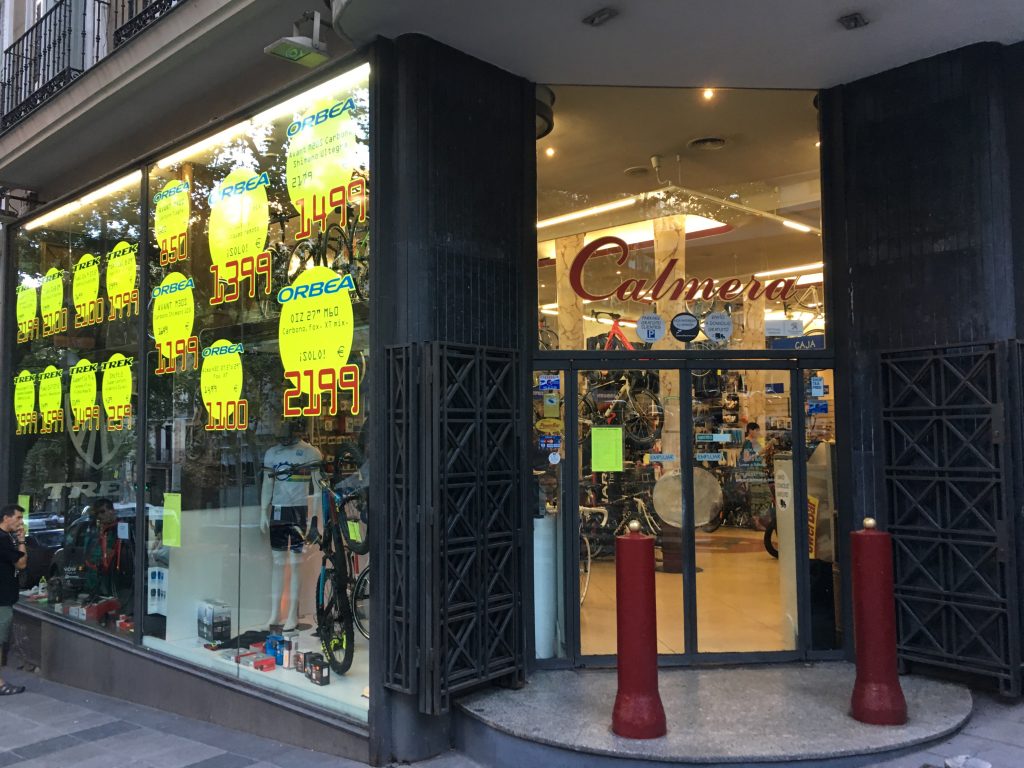
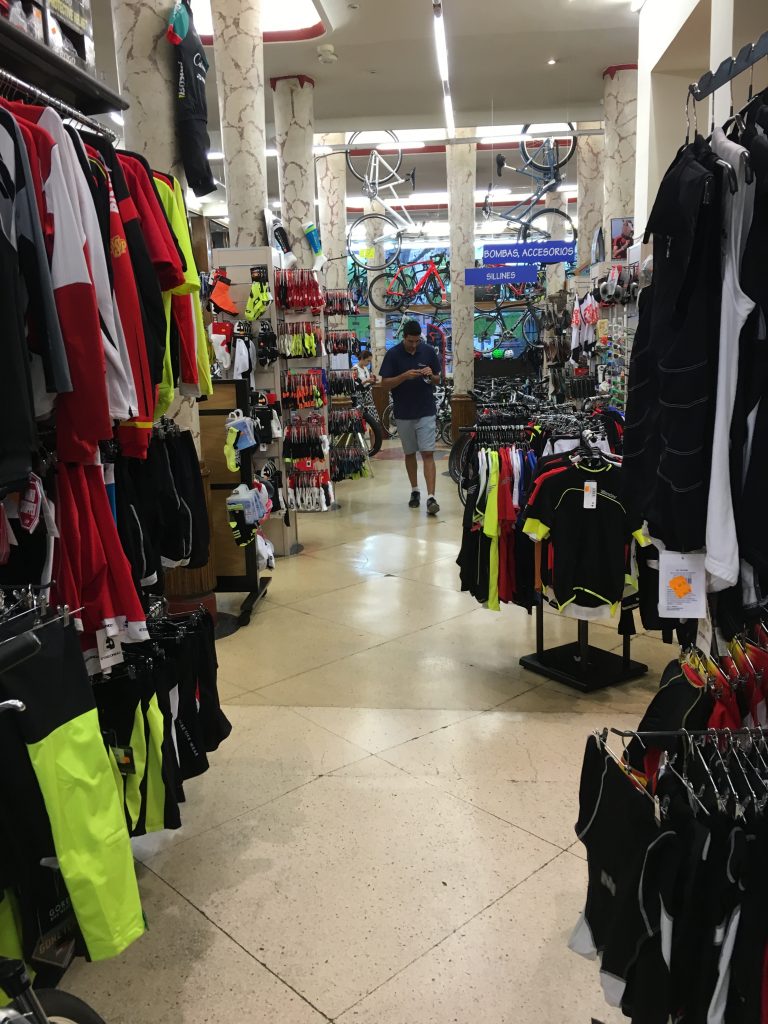
After a quick rest and shower at the hotel, I headed out to try and check out two shops before they closed at 8:30pm. The first is a bike shop just two blocks northwest from the Atocha Metro stop called Calmera Ciclismo, which is a great bike shop that is apparently one of the oldest in Madrid. If you forget anything or lose it in the flight, this place should have it and is conveniently located near the train station and city center.

2016-08-30 19.45.33

2016-08-30 19.47.31

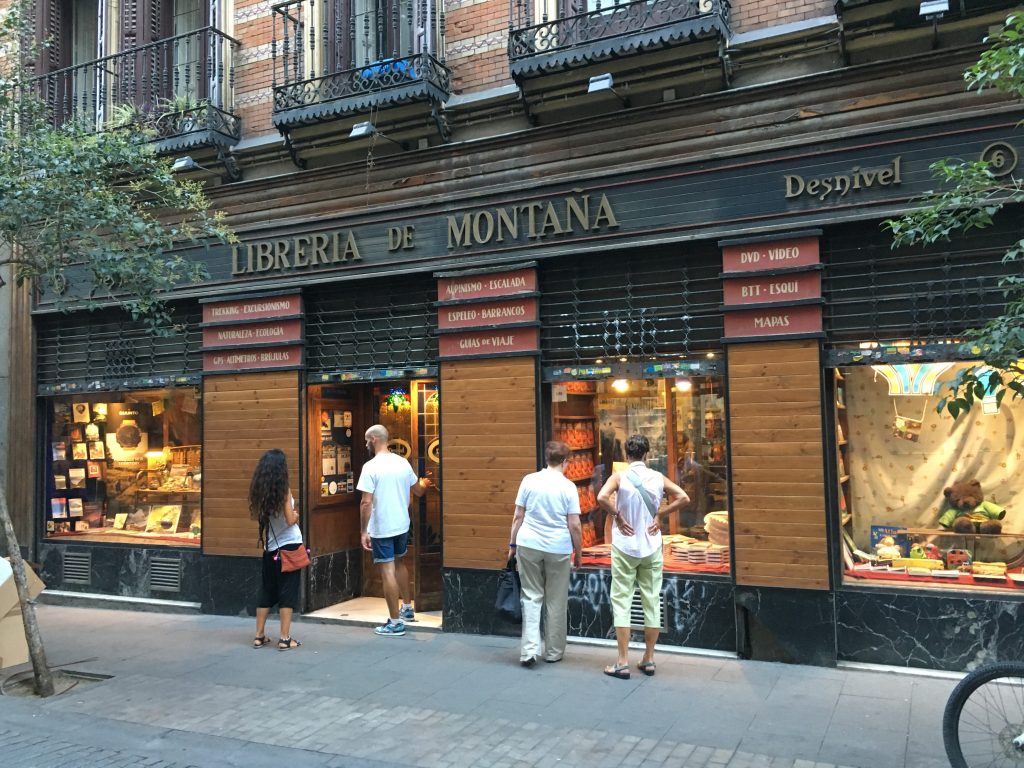
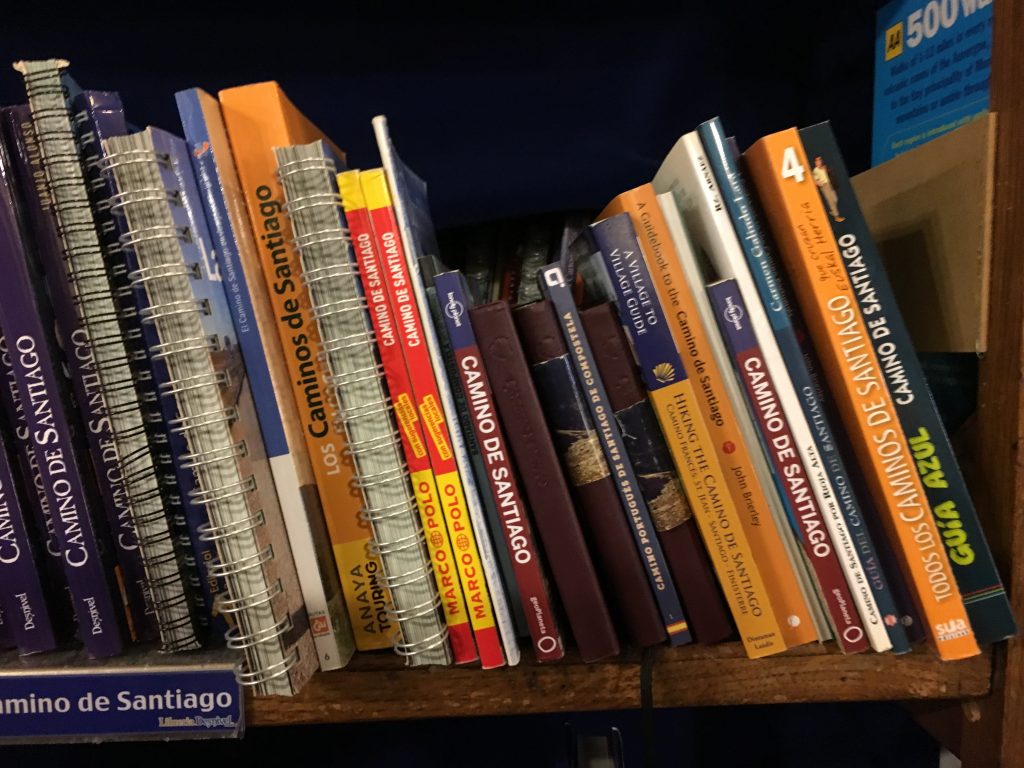
The next stop is Desnivel’s “Liberia de Montaña,” a huge store with exclusively outdoor and travel guides and books filling the space. Thankfully I only had 15 minutes before closing, or I would have probably spent all day there. Most books were in Spanish, but there were a number of English-language titles mixed in. It was great to see our walking guidebook, “Hiking the Camino de Santiago,” on the shelves!

2016-08-30 19.59.11 2016-08-30 20.05.24

Tomorrow I have an interesting logistical day that I hope all goes well:

  1. Catch an early 3 hour train to Pamplona. In Pamplona I have 4 hours to:
    1. Assemble my bike into working order
    2. Mail my bike backpack and carry on bag and a few tools to the end of the route at Santiago de Compostela using the Lista de Correos service through the Post Office where they will hold my bags for pickup for free for up to 2 weeks (then 1 euro/day afterwards). This is a great and affordable service that makes it easy for Camino pilgrims to move gear around for their journey. I’m doing it in Pamplona because it’s more complicated and expensive to do it from St. Jean in France, where I’ll begin the cycling route.
    3. Try to find time to visit the Caminoteca gear shop in Pamplona, who offers our guidebook and has been enthusiastic of our work.
    4. Ride the assembled bike to the bus station and hope I don’t need to re-disassemble it to get it under the bus.
  2. Travel by bus for about 2 hours to St. Jean Pied de Port in France, where I will start my route the following day.
  3. Visit the pilgrim office in St. Jean and check in to my albergue. From here on it’s all straightforward pedaling with no annoying transport logistics, just in time for a 1400m (4500′) climb to cross the Pyrenees into Spain the next day!

From hiking to biking the Camino de Santiago

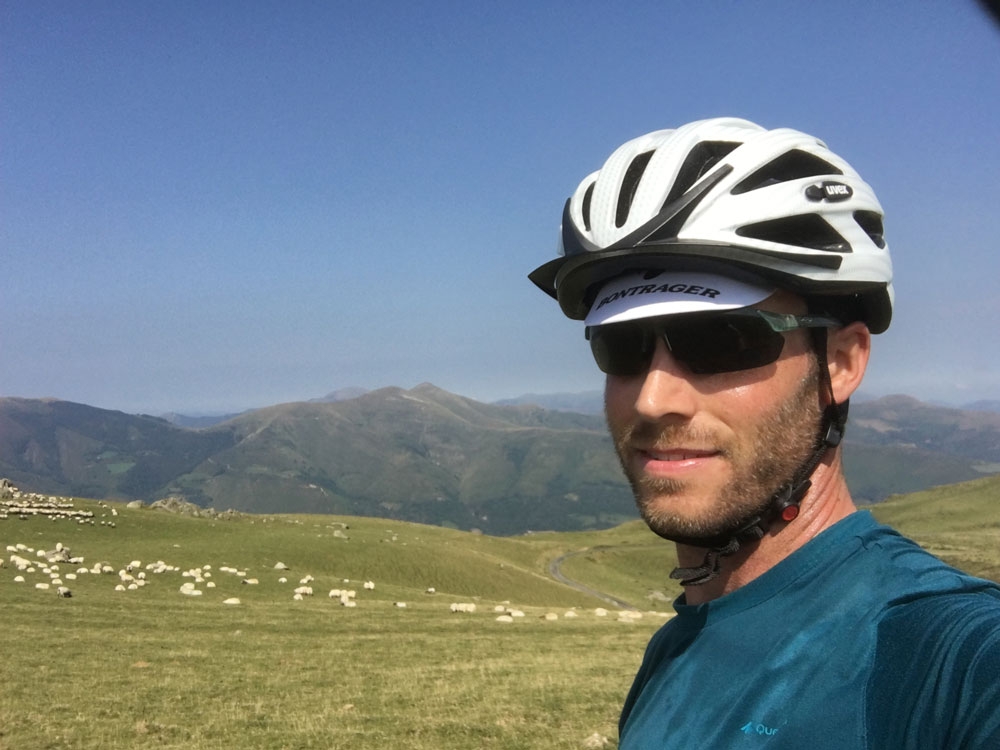
Tonight I travel to Spain for my sixth trip on the Camino de Santiago, an ancient pilgrimage route starting in France and ending at the city of Santiago de Compostela in northwestern Spain. After five times walking, this time I’m going with a bike.
gr11-hiking-biking blog-3 gr11-hiking-biking blog-2 gr11-hiking-biking blog-1

Beautiful vistas in the Pyrenees on Spain’s GR-11 trail

My first experience walking the full 500 mile (800 km) Camino was in 2009 as a personal learning experience while developing hiking trails in the Middle East. During that summer, I started my walk farther east along the Pyrenean border on the GR-11, connecting to the Camino for a total of around two months and 800 miles (1300 km) on foot. Later my wife Anna and I wrote a guidebook to the route (Camino de Santiago: Camino Francés), and have now been working with trail development and publishing for the past decade, via our company (Village to Village Press, LLC).

hiking-biking blog-3

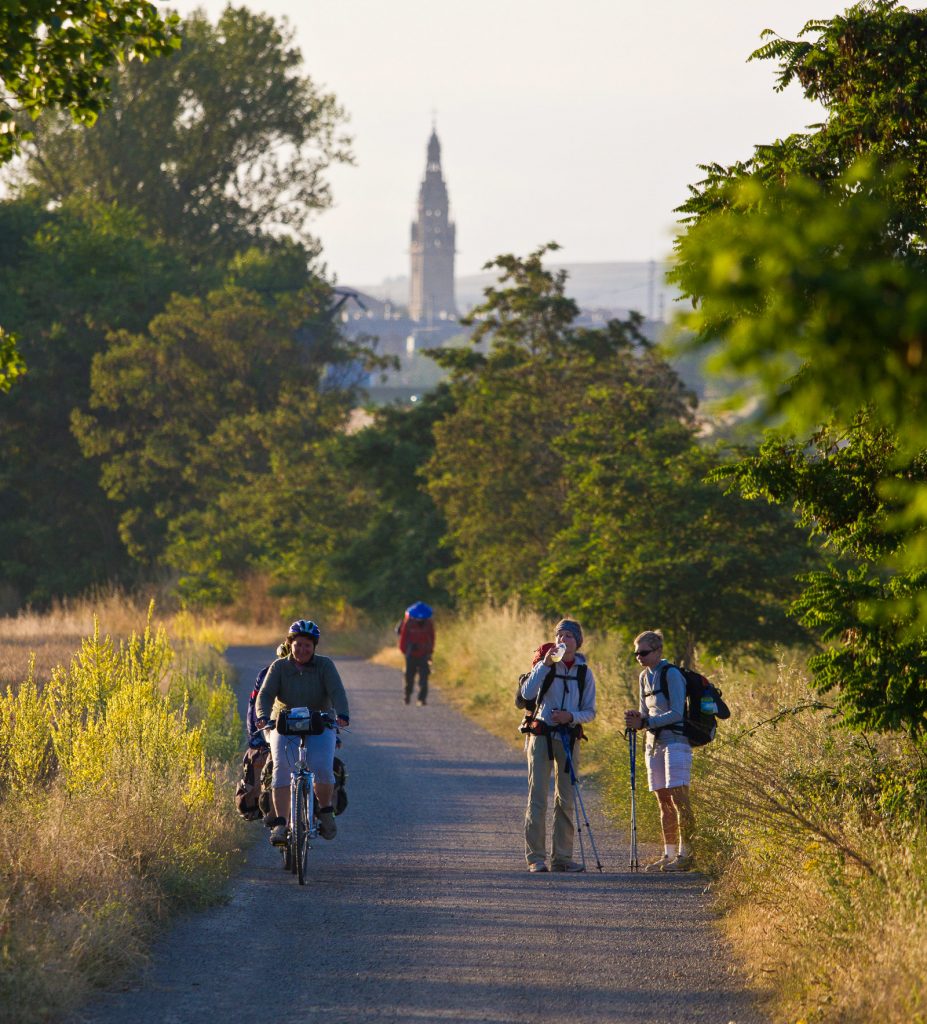
Hikers and bikers along the Camino Francés

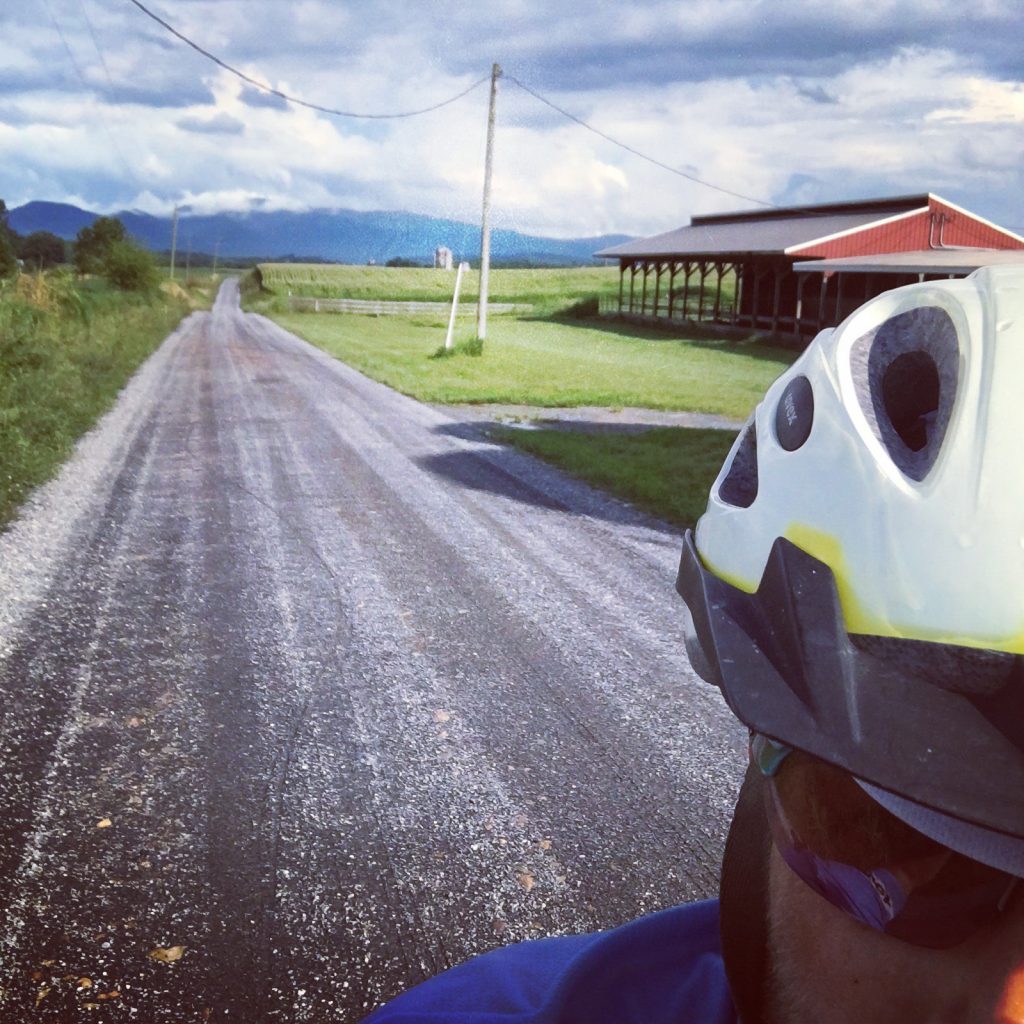
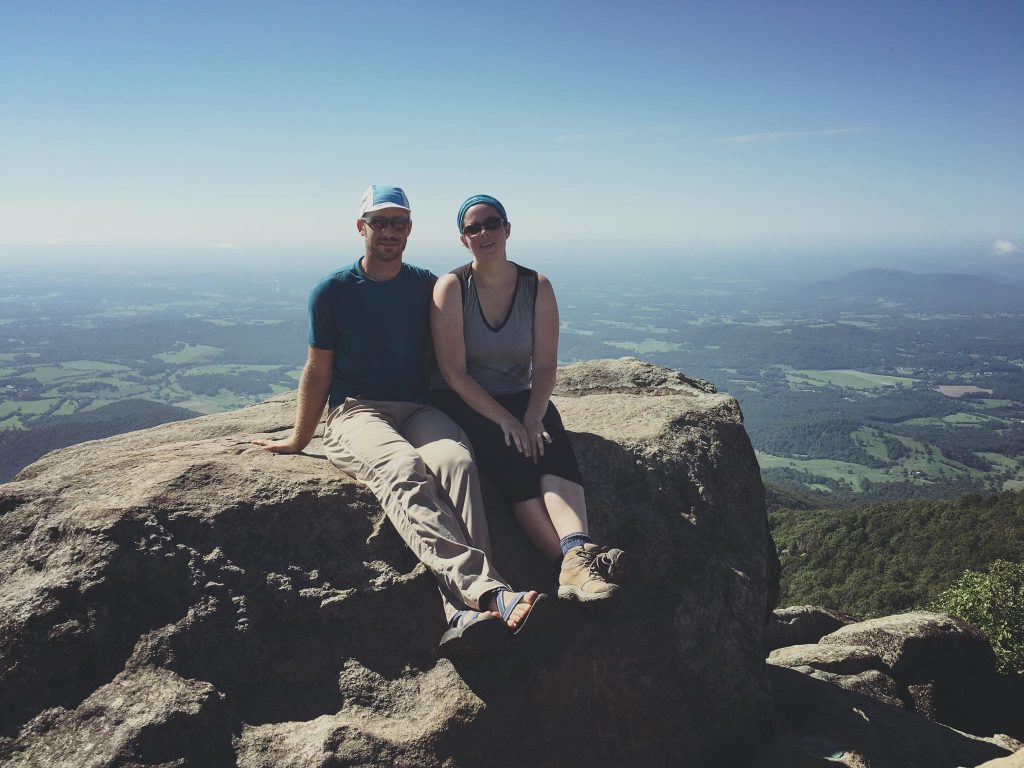
Although I love long-distance hiking, I’ve always been even more drawn to travel by bicycle. Since moving back to Harrisonburg, VA at the end of 2015, I’ve used the beautiful Shenandoah as the perfect reason to get back on the bike. Whether it’s mountain biking in the National Forest or riding gravel country lanes, you can find almost any cycling experience you desire right out your front door.
hiking-biking blog-7

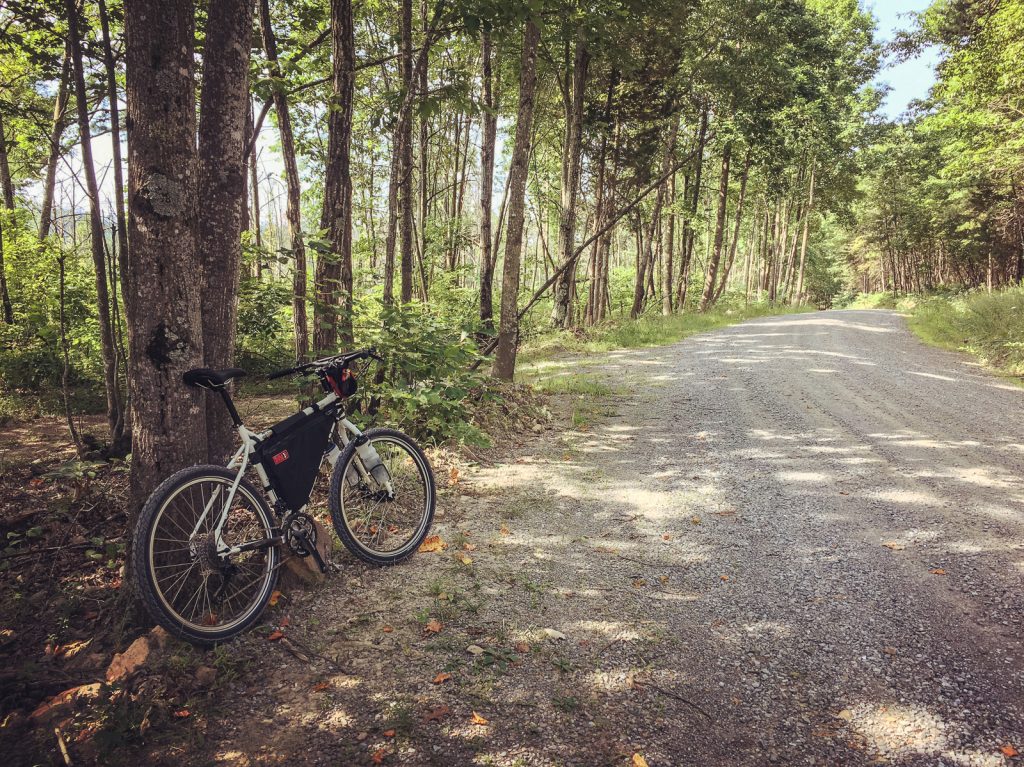
Cub Run Rd. on Massanutten Mountain, Virginia, USA

I’ve spent much of the last 15 years traveling and living abroad, and have always found that I’m happiest when on my bike. In comparing thousands of miles on foot vs. thousands on the bike, it’s no comparison—bicycle travel is the way to go. It’s the perfect pace to experience the world flowing around you without any barriers. A car is too fast; walking can feel too slow, but cycling is a pace that allows you to cover a reasonable distance and connects you to the people along the way, empowering you to go anywhere.

hiking-biking blog-9
hiking-biking blog-5hiking-biking blog-4

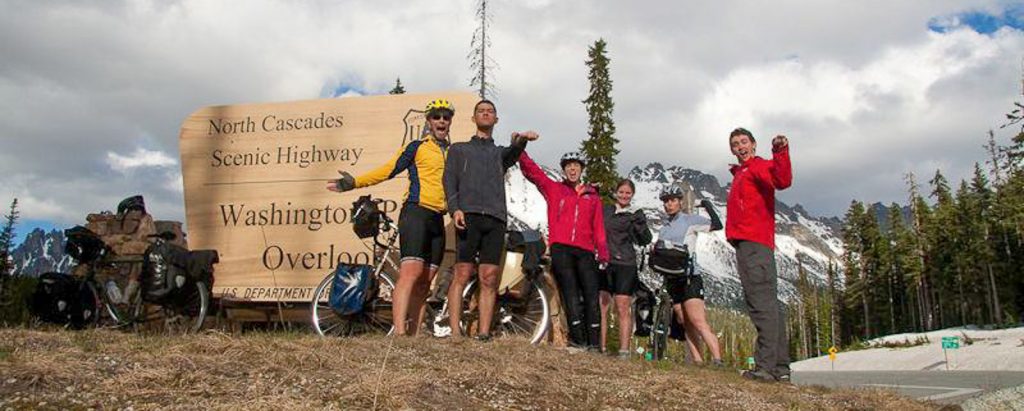
Crossing the Cascades, Washington, USA

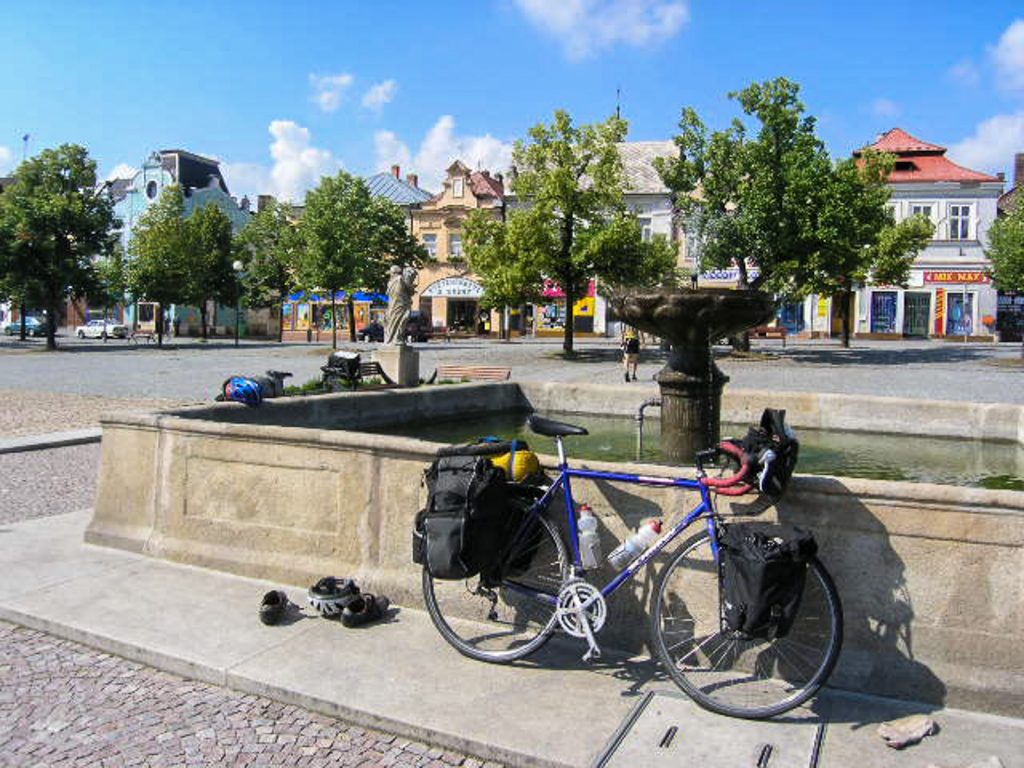
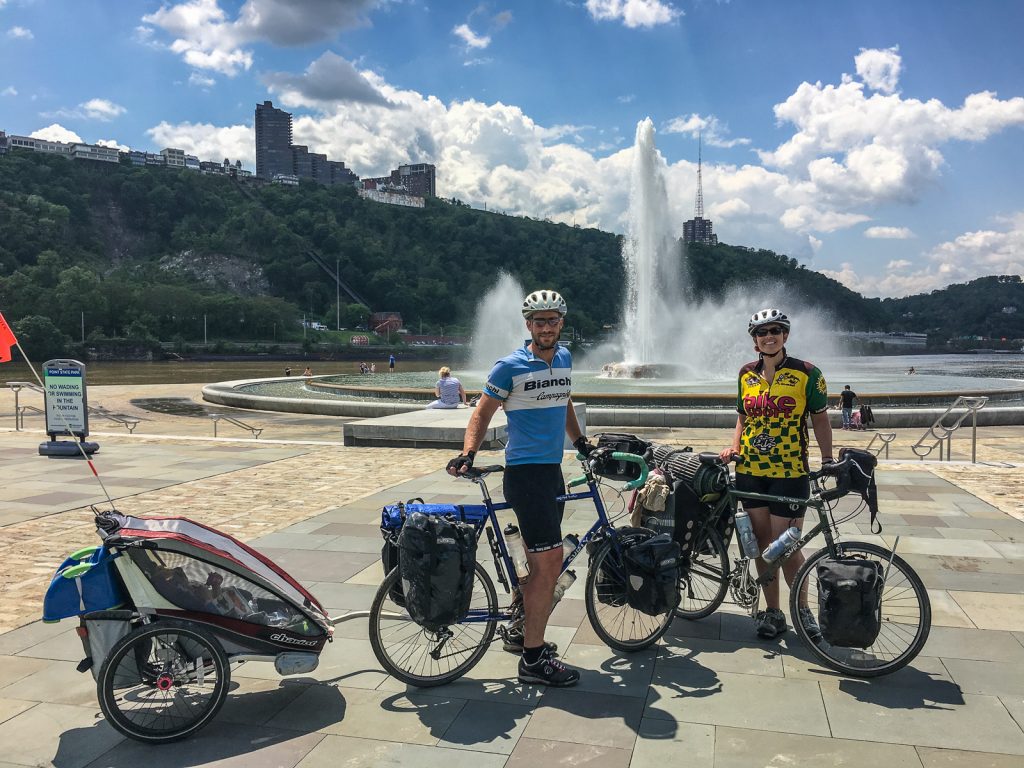
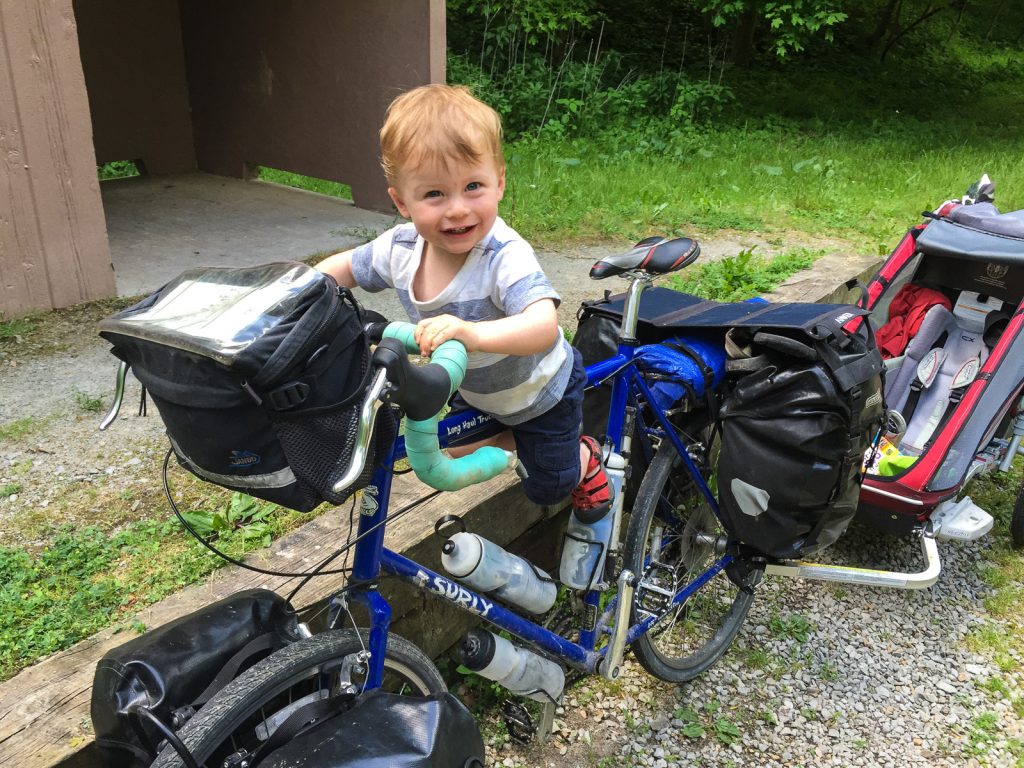
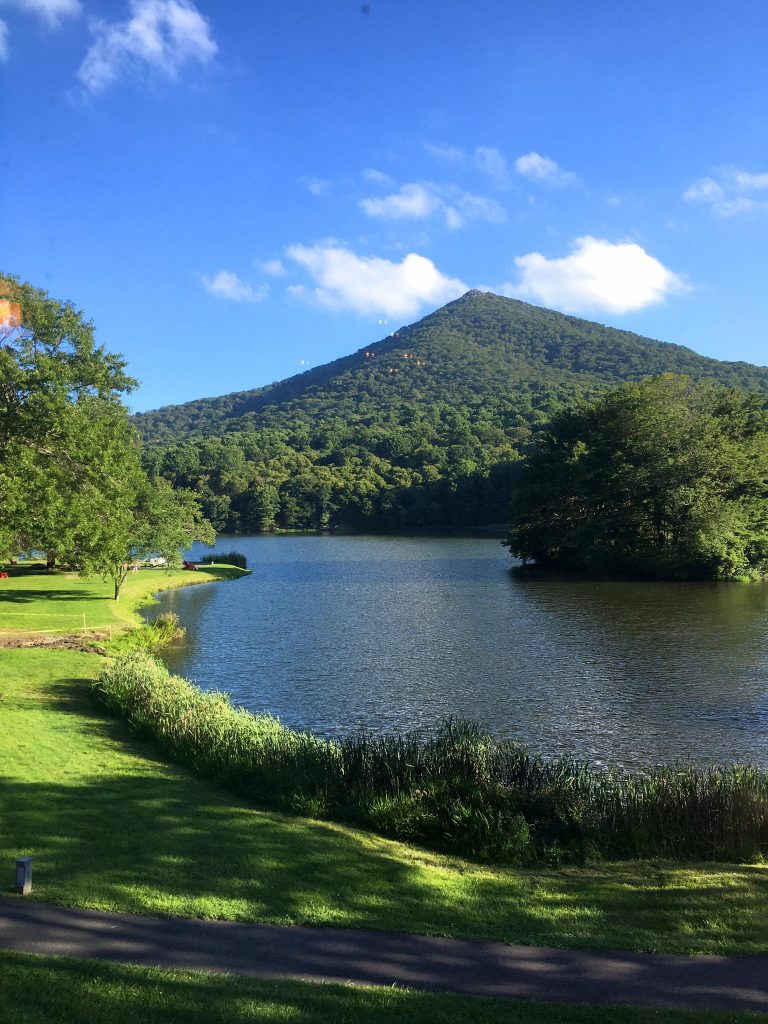
Plaza in Slovakia | Family touring on the Great Allegheny Passage – Pittsburgh, Pennsylvania, USA | Our son Silas’ first bike tour

In planning to head back to the Camino this year to update our book, I decided to ride the route by bike instead of walking, partly to do it more efficiently, but also to have a new experience that would connect my passion for bicycle touring with providing travel information and guidebook to those seeking a similar adventure. And it puts two things I love together, the Camino and bike touring!

Of all the long-distance paths in the world, I think it’s safe to say that the Camino Francés is one of the most utilized (more than 300,000 people/year walk at least 60 miles / 100 km), most serviced (villages overnights every 3-5 miles /5-8 km), and most affordable (beds from $6/night – no camping or cooking necessary) ways to cross a European country on your own power. I like to think of it as a “gateway” adventure, a grand first journey that will infect you with the travel bug for eye-opening sojourns throughout your lifetime.
hiking-biking blog-8

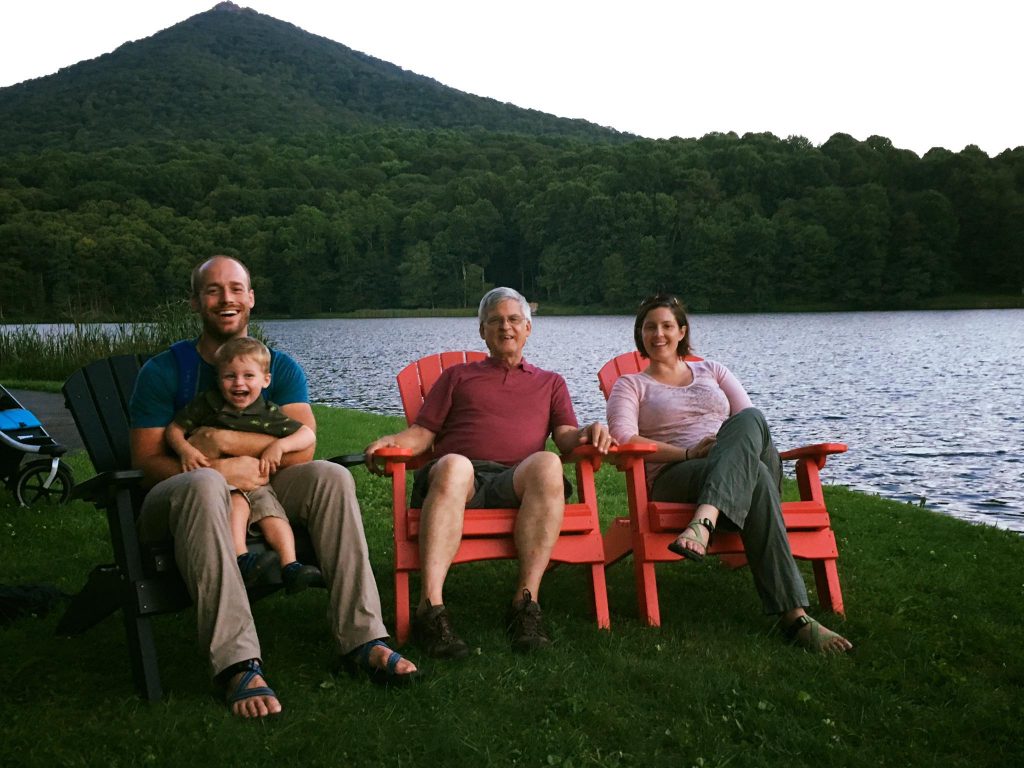
Riding Rockingham Country, Virginia, USA

Early this summer, while on a ride over Hopkins Gap with two friends, the idea came up to consider a Surly Troll with S&S Couplers for my Camino bike, and a bikepacking setup to carry gear. This seemed like an ideal way to travel the Camino, given that I would only take 10-15 lbs (4-7 kg) of gear at the most. [Blog post on the bike and gear coming soon!]

hiking-biking blog-10

Union Springs Road, Virginia, USA

I approached my local bike shop, Shenandoah Bicycle Company (SBC), and they were super excited about the trip, and helped connect me to Surly who makes a Troll frameset/fork available with the couplers factory-installed (called the World Troller). This bike can be broken down to enable it to fly in a more standard suitcase size that doesn’t incur a typical airline bicycle fee (saving me $300 for this trip via Lufthansa).

hiking-biking blog-13hiking-biking blog-14hiking-biking blog-15

Packing the World Troller: 26″x26″x10″

The folks at Surly were also very enthusiastic, and excited to see my adventure take shape, and their World Troller on the Camino. In compiling the gear for the trip, I found that bikepacking bags, while perfect for my needs, were in high demand with many items out of stock. Thankfully through a few months of conversations with suppliers and the support of SBC, I am now set to hit the trail.

“Life is either a daring adventure or nothing at all.” – Helen Keller


hiking-biking blog-11

I’ll be posting images and updates from the journey on www.CaminoCyclist.com, as well as Facebook (www.facebook.com/CaminoCyclist).

The website is still being developed, and will have even more information after the trip is complete, as well as many more images of cycling the route. I see these resources primarily for future cycling pilgrims on the Camino, and also a way to extend that journey into a longer European bike tour.

This month’s trip should take a little over two weeks at my target pace, allowing time to enjoy myself and gather the important research to make our guidebooks an essential tools for other cyclists. And of course, slow down enough to step back and let the Camino work its magic once again!


View my planned 15 day cycling itinerary for the Camino Francés and Camino Finisterre.


Overnight Bikepacking Shakedown Ride
I planned to do at least one shakedown overnight tour with my Camino bike setup, and decided to bike to a family campout south on the Blue Ridge Parkway at the Peaks of Otter to see some new landscape near my hometown of Harrisonburg, VA. Although I’ve spent months touring with racks and panniers, this was the first time I had used bike packing bags and a bike as robust as my new Surly Troll.
Below are a few photos from the trip, as well as lessons and observations to prep for my Camino ride.

Day 1:  Harrisonburg to Douthat State Park: 83 miles, 4550’ feet climbing (Strava)

13680459_10157239966595058_1142110907420330876_o

13923437_10157239966680058_4606854715199070582_o

13909119_10157239966615058_6933573464902430493_o


13923257_10157239966815058_5662359480610980953_o

13920492_10157239966870058_2035365795117822623_o

I slept in and ended up leaving at 11:15am, but still got in in good time before 7.

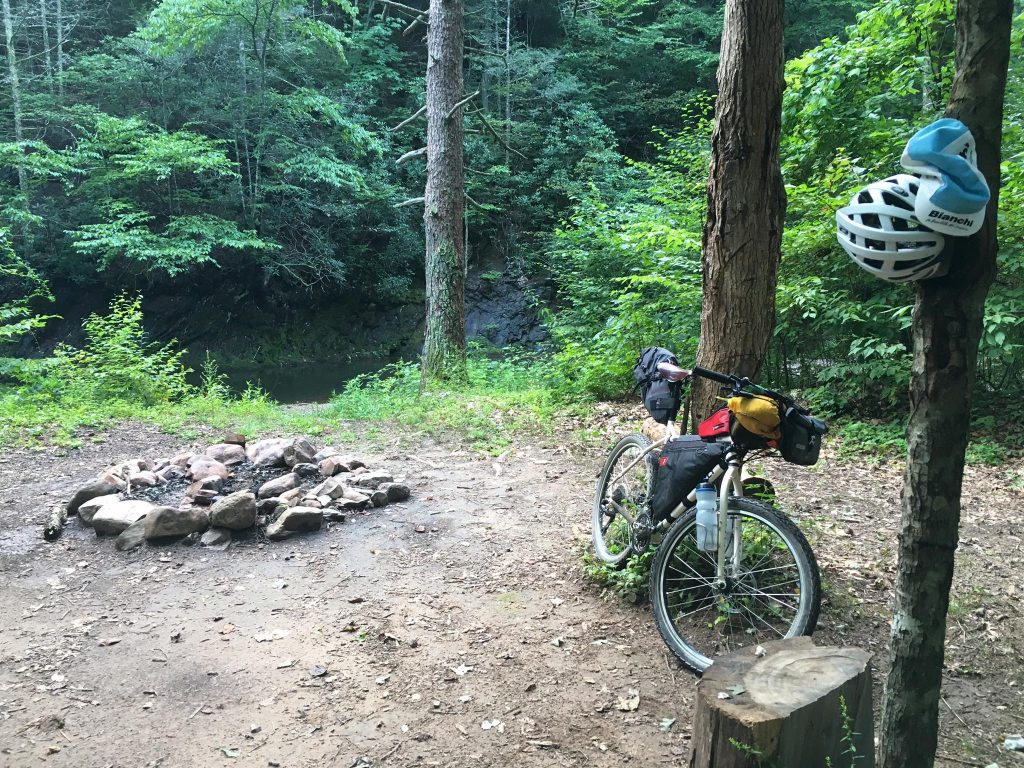
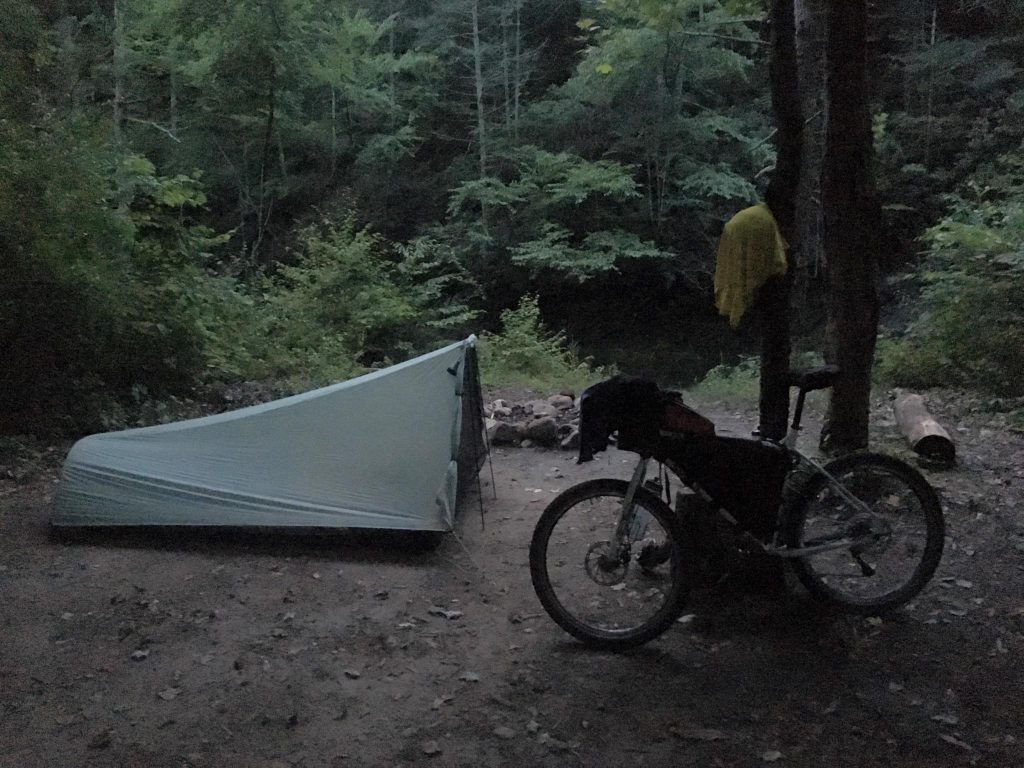
I was pretty tired around 50 miles as it was a gradual climb, but then felt stronger and pushed into the park. I saw a dirt track heading into the George Washington National Forest right before the Douthat State Park boundary. So I filled up my water and turned around to find a perfect primitive site in the National Forest next to the stream, with even a swimming hole to rinse off and cool down.

Random Lessons & Observations

  • I had a headwind most of the day, but the bike packing setup cuts through much better than panniers. The bike handled very well, much more like an unloaded bike.
  • Front derailleur rubs the frame bag a little at the lower corner. Will try to tape it up to soften as it was looking a little worn there
  • As my handlebar bag had not yet arrived, I used a stuff sack with a daisy chain and compression straps to lash my tent to the underside of my Jones loop bar, and a bargain in comparison to the bike packing specific handbag roll bags.
  • Used seat bag as a bear bag to hang food overnight, worked well and was about the right size
  • Used the Nat Geo maps in the tent to protect the sleeping pad as forgot the tent footprint
  • Could have brought less dinner
  • Made a pillow from stuff sacks and random items. As I was super light, most of what remained was the rain jacket
  • Very hot and humid, wouldn’t have needed the sleeping bag (summer 45F), could have just had a liner
  • Xero shoes seem to work great so far as a lightweight alternative to Chacos (3X lighter). Glad I didn’t only have bike shoes
  • Pretty route, would be very beautiful in the fall with changing colors
  • Bike seemed to work well, shifting was smooth after yesterday’s adjustments.  I still need to adjust the brakes some more on the brakes
  • My calves might have touched the frame bag sometimes, but didn’t seem like a big deal.
  • Glad to have tent with mosquitos
  • Phone only dropped about 30% battery after recording full day with Gaia GPS. Garmin Fenix watch around half full. Anger charger could get me through 3 days, depending on how much I use Internet on my phone
  • Glad to save $31 by wild camping, will get a big breakfast tomorrow somewhere. Should be just more than half the distance of today, but a similar level of climbing
  • Foldout keyboard works well, would be easier if I had a desk or table, not laying on my stomach in the tent
  • Troll handles great on dirt roads. It offers a lot of confidence compared to other bikes, beefy 2.15” tires and disc brakes help a lot
  • Summer bugs can be super loud
  • I think if I was bike packing in colder weather or for multiple days that I’d need to consider front panniers or a backpack or more capacity. Seems like it would be hard to carry a lot of food for remote touring like this.

Day 2: Douthat State Park to Peaks of Otter campground: 53 miles, 4400’ feet climbing (Strava)  

13920480_10157239966975058_3678821338844528820_o

13958278_10157239966995058_2387561856685077617_o

13923661_10157239967130058_5150280594071134666_o

13958104_10157239967105058_1805926198894600146_o

13923272_10157240058760058_656911453091502740_o

13923620_10157240056565058_9057024342055084810_o

13995399_10157240055260058_3043815022850957570_o

13919998_10157240057230058_6993358164077958045_o

Thankfully every day on my Camino itinerary should be easier than each of these, with shorter distances and less weight on the bike. I should be good to go. 🙂

Gravel Roads Test Run

13612169_10157150635970058_7673053056743991545_n

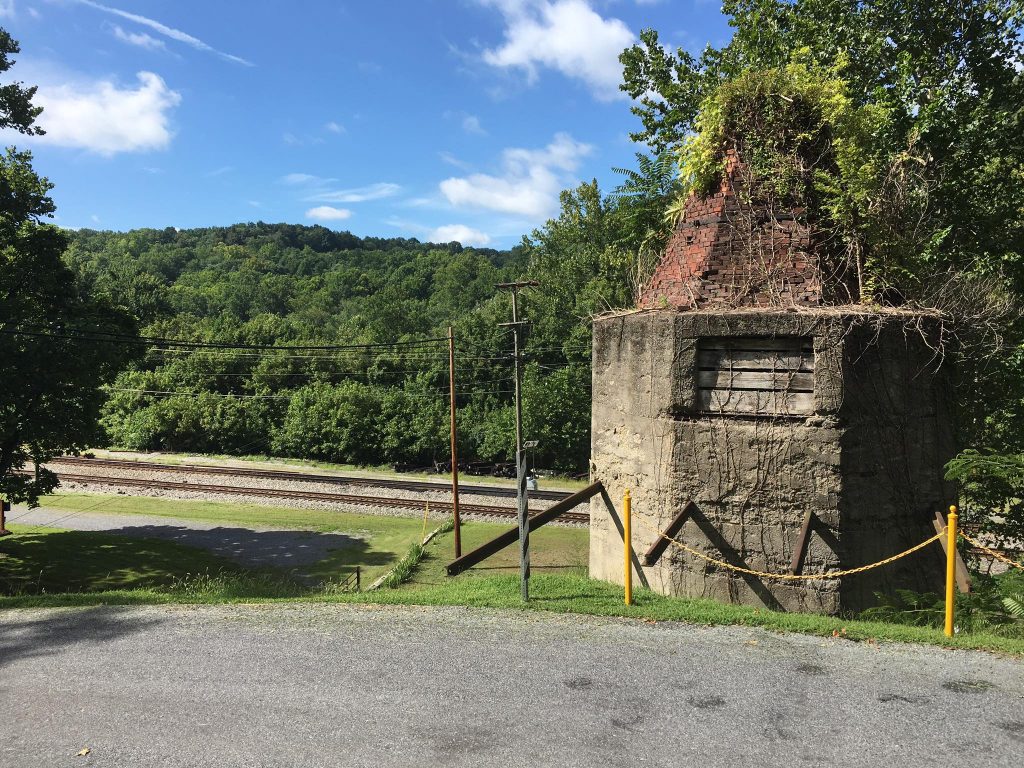
Catherine Furnace

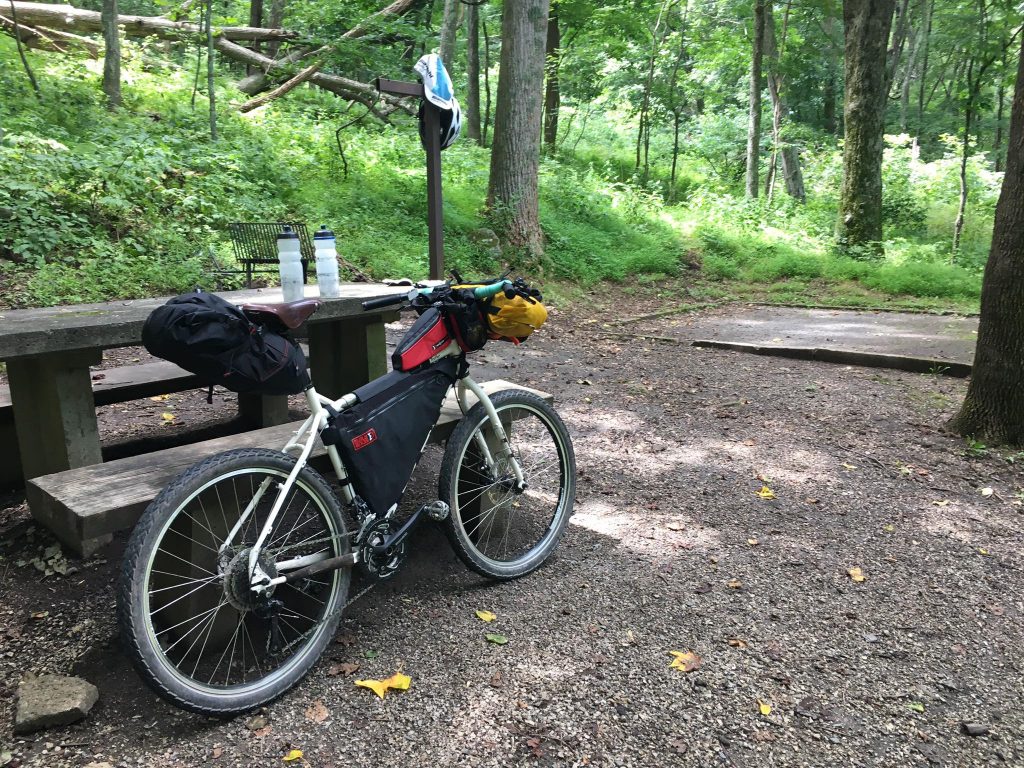
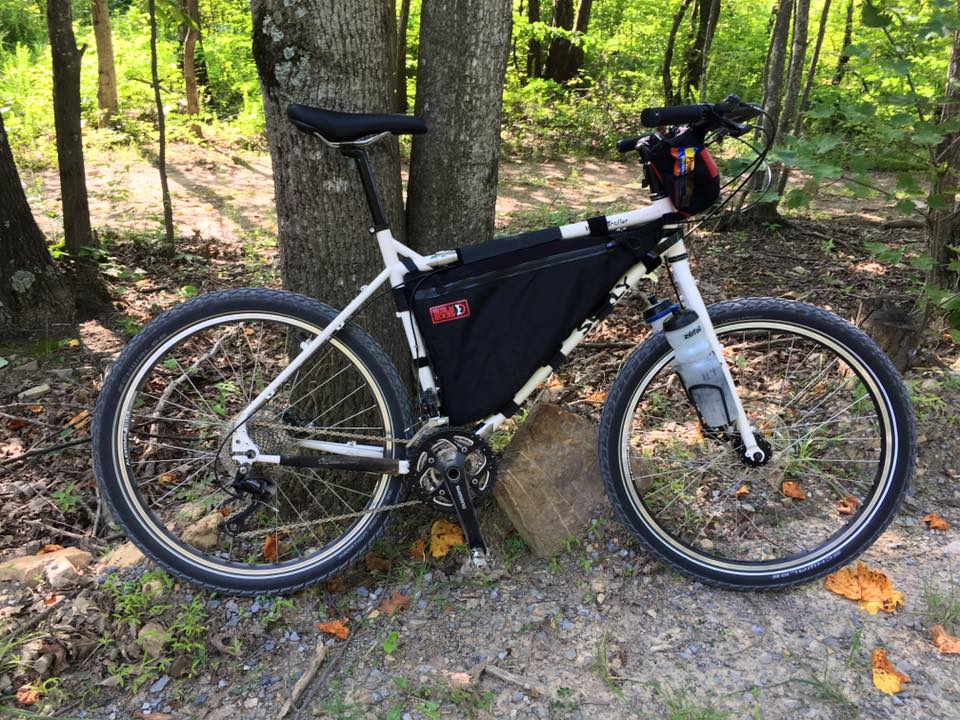
I decided to take the new Troll out for a test run with a mix of paved and gravel roads, similar to what the Camino would offer. The bike performed great, and the Schwalbe Marathon Mondial 2.15″ tires rolled much better than I expected.

The route followed quiet country roads along the west side of Massanutten Mountain, climbed over the New Market Gap on Rt. 211, and then climbed up into USNF dirt roads between the ridges on the east side of the mountain. After the descent back to asphalt, the temperature really started heating up (105F/41C heat index), and I needed to stop at a gas station for a cold drink/electrolyte refuel.

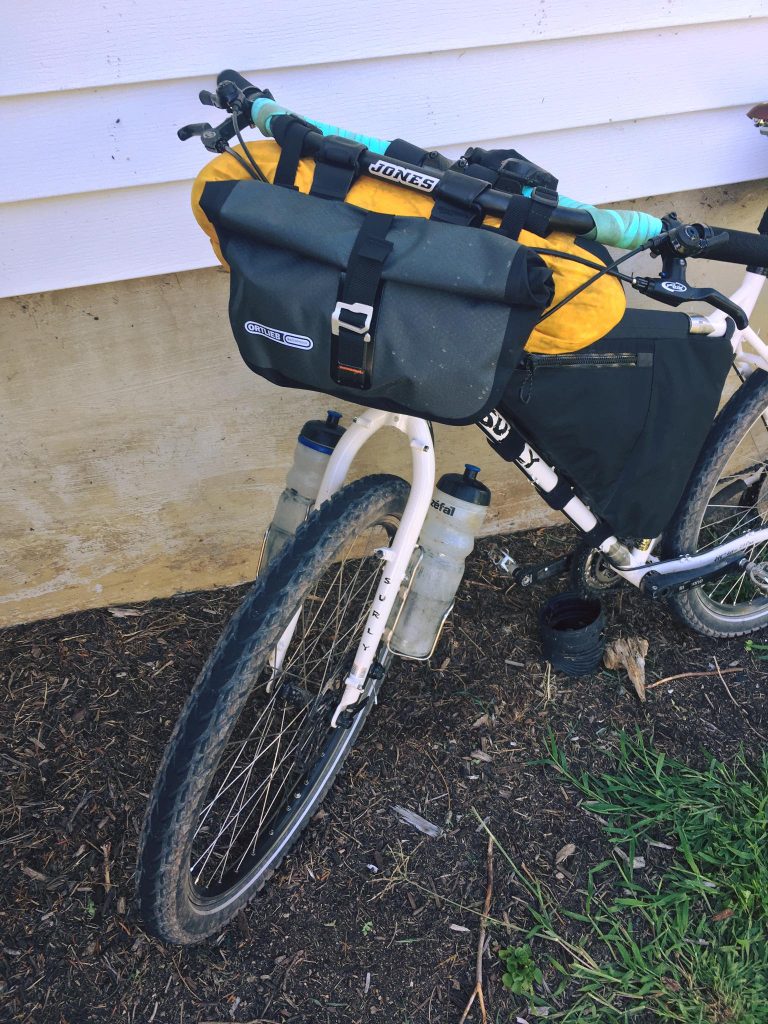
I loaded the frame bag with repair supplies, snacks and a map, and kept my iPhone in the Revelate Designs Mountain Feedbag. The water bottle mounts on the front fork held the 1L bottles tight, even with the fast, bumpy descent down the road.

I was a little worried about the S&S couplers loosening up on the rough roads, but they were still as snug as could be after finishing that section of trail. Overall, the bike was much more comfortable (and faster) than I expected given it’s weight and wide tires.

13612203_10157150637150058_4811971376636315221_n

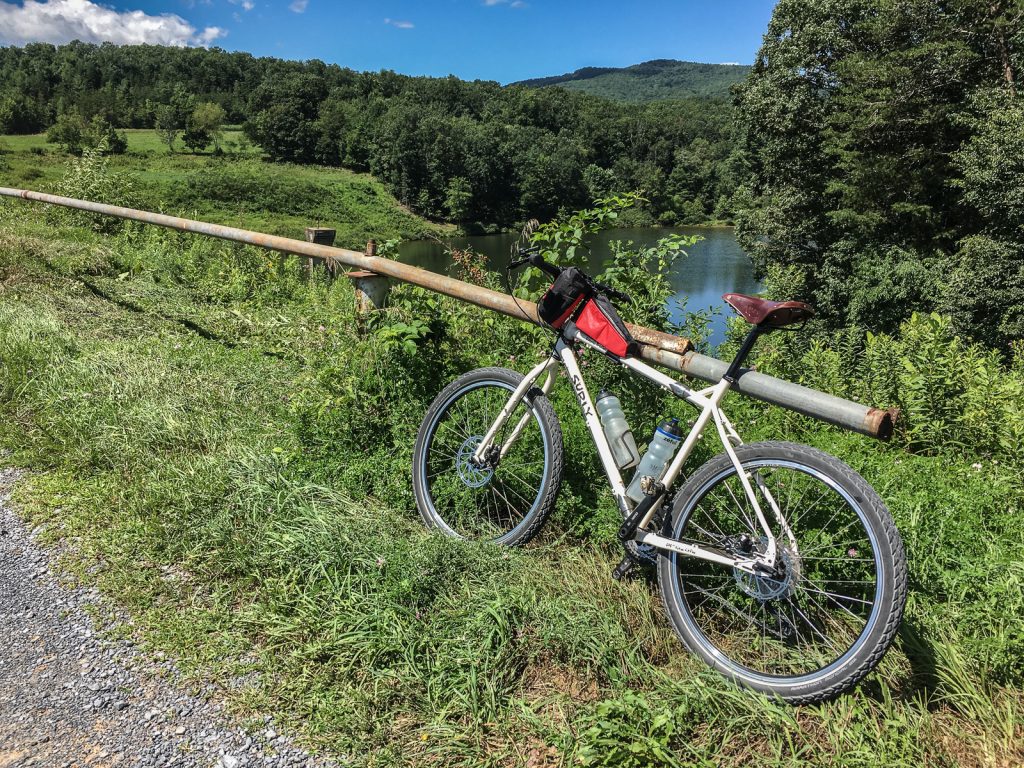
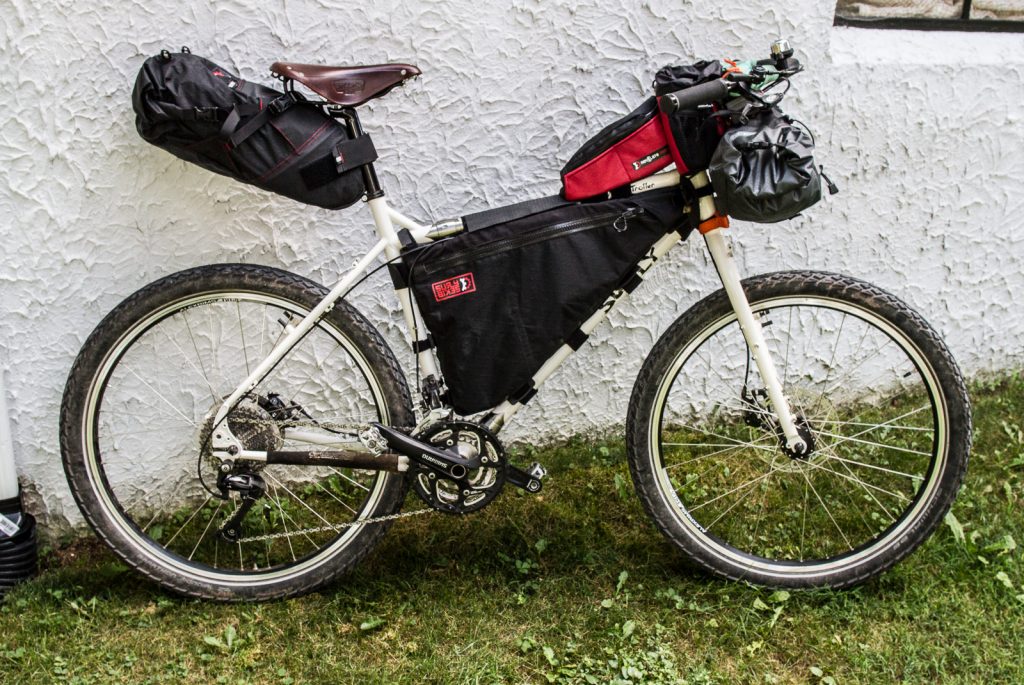
Surly World Troller


Bikepacking the Camino

As the Camino is a mix of off-road trails and paved riding, I wanted to try a bicycle travel setup different than traditional racks and panniers.

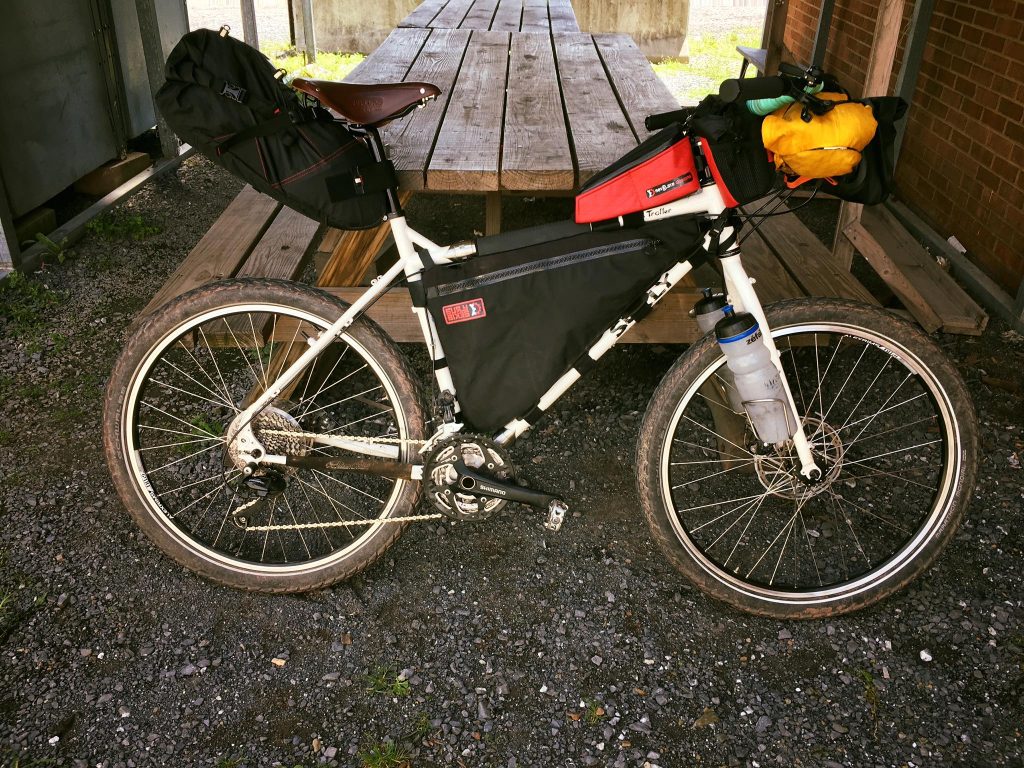
With a lot of momentum in the bike packing world, I’ve opted for the standard setup of seat pack, frame bag and handlebar bags, which avoid the need to have racks and panniers. Advantages include saving weight (no racks), as well as keeping the bike to a narrow profile, helping cut through head winds, navigate single track trails (and crowed paths of walkers), as well as keeping the weight of the bike closer to the center to improve maneuvering the bike.

More soon…